Laparoscopic Nissen Fundoplication
This anti-reflux procedure involves mobilizing the gastric fundus and wrapping it 360 degrees around the distal esophagus. The anatomical goal is to reinforce the lower esophageal sphincter to prevent gastroesophageal reflux.
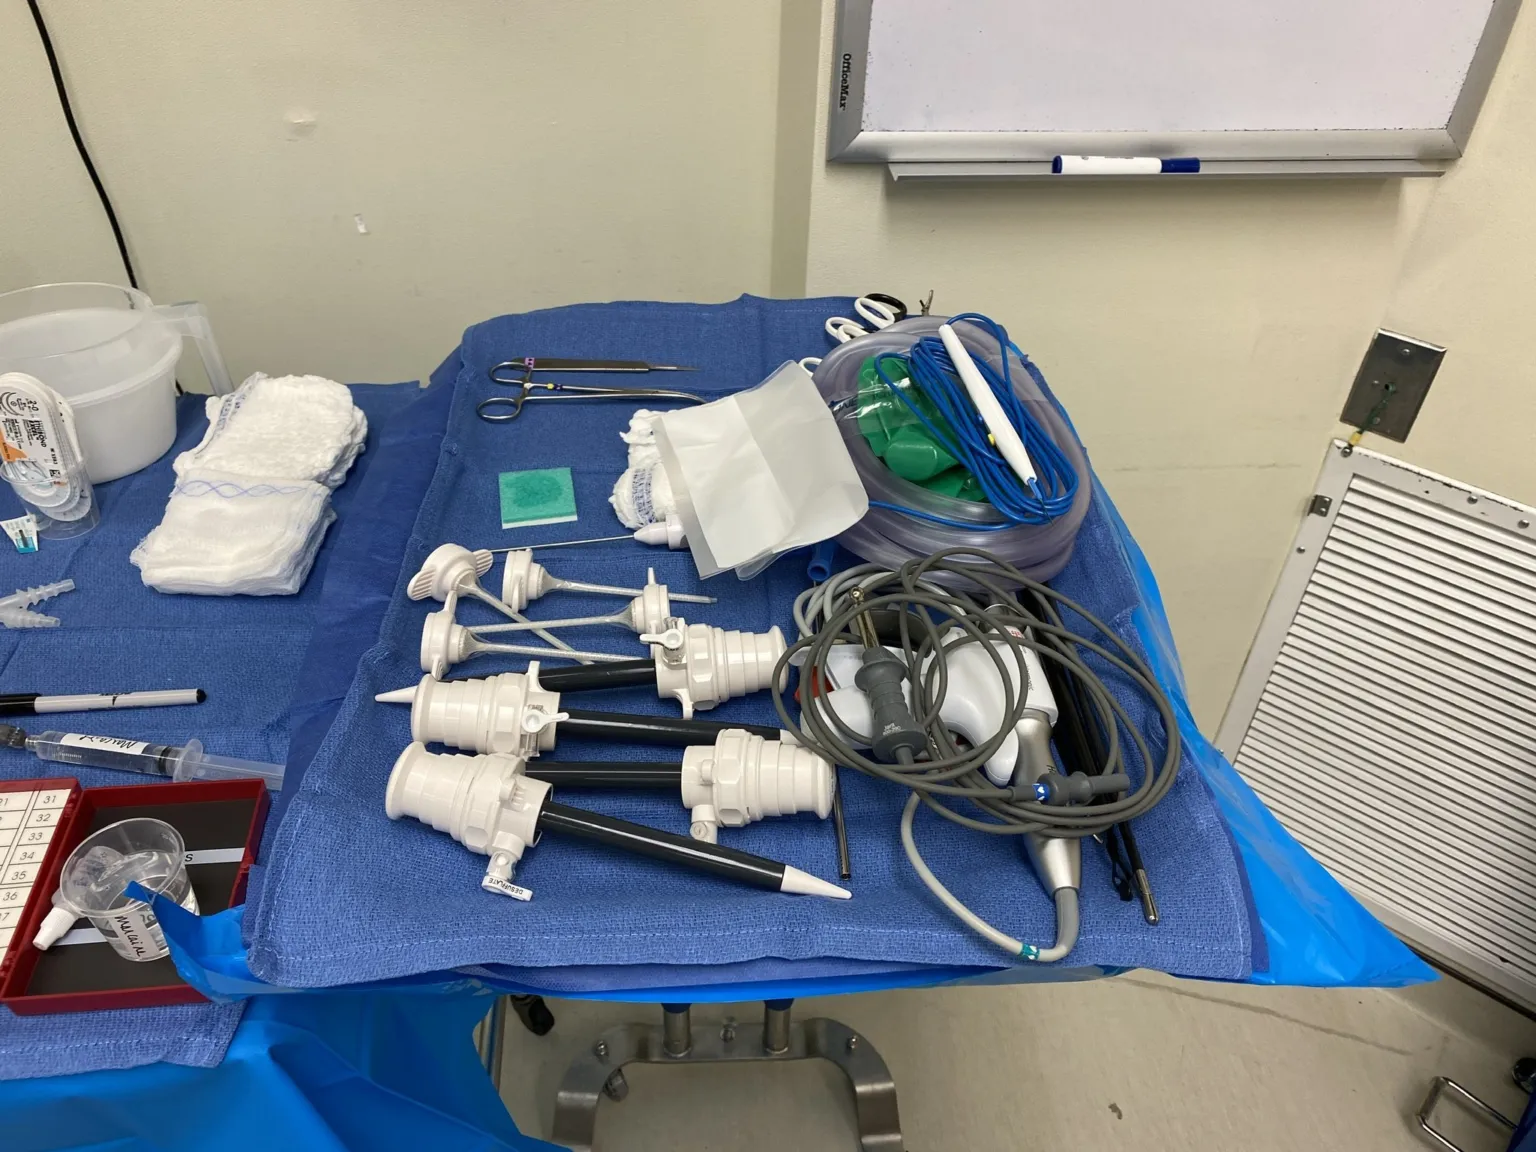
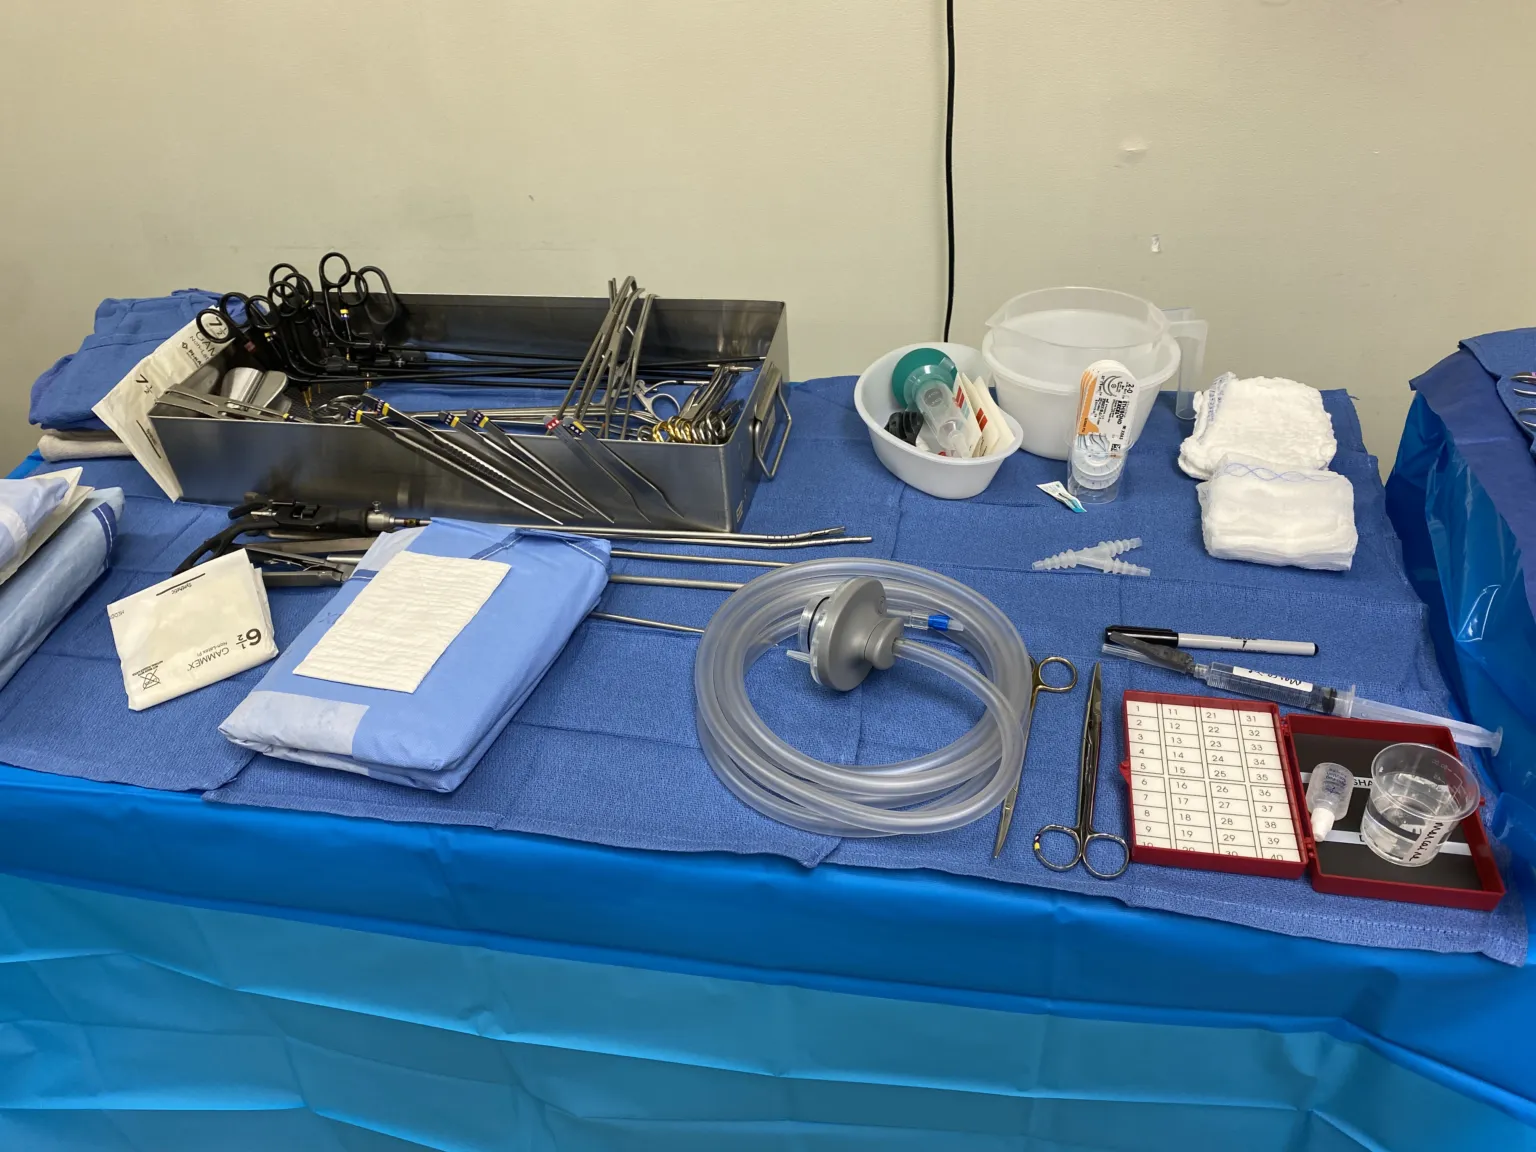
The tray
20 instruments, by what they do. Tap a name for its card.
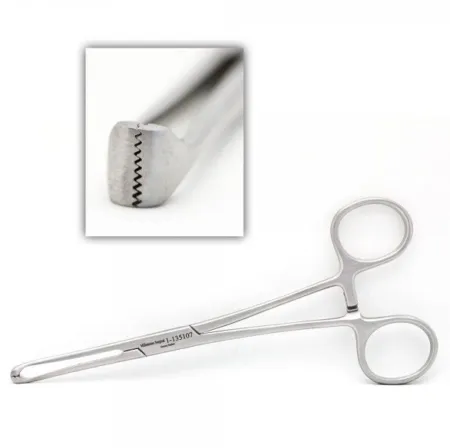 Allis ForcepsClamping
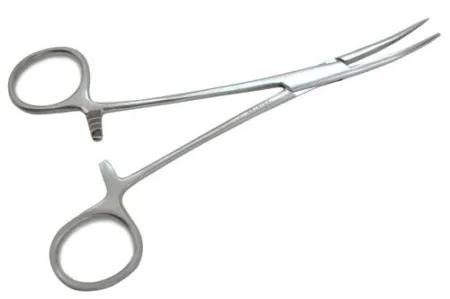 Curved HemostatsClamping
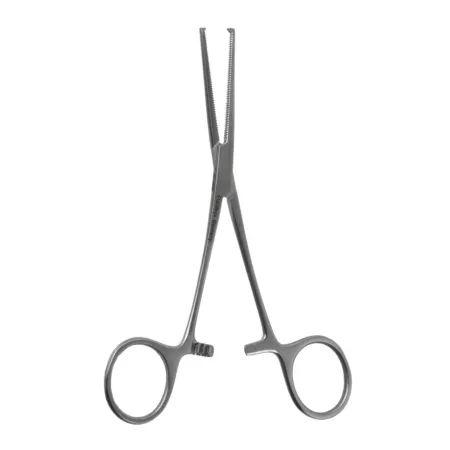 Kocher ForcepsClamping
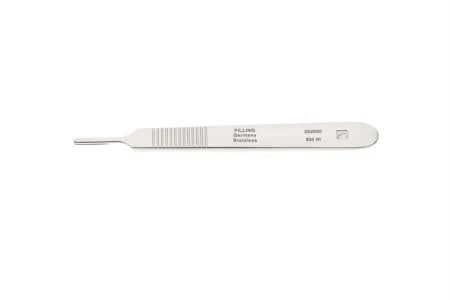 #3 Knife HandleCutting
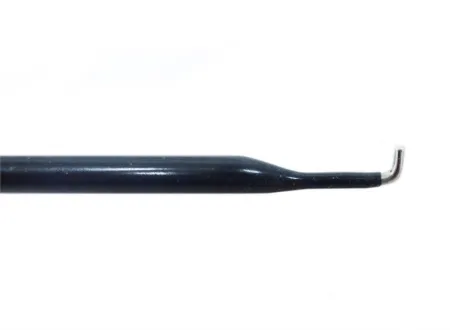 L Hook CauteryCutting
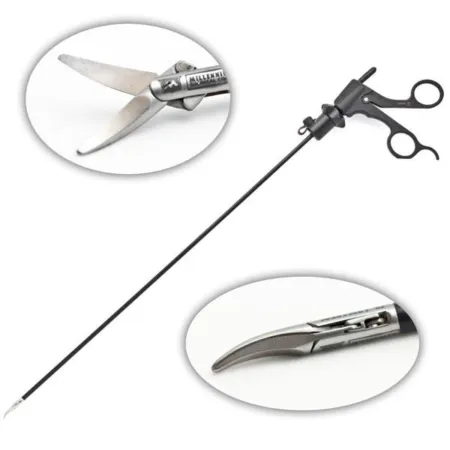 Laparoscopic Metz ScissorCutting
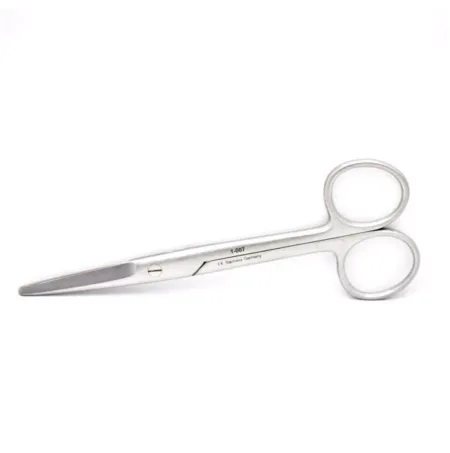 Straight Mayo ScissorCutting
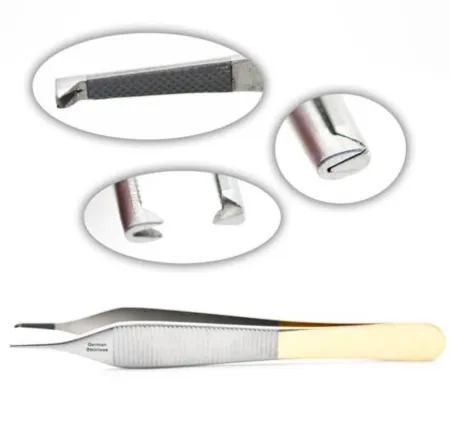 Adson ForcepsGrasping
All 20 instruments
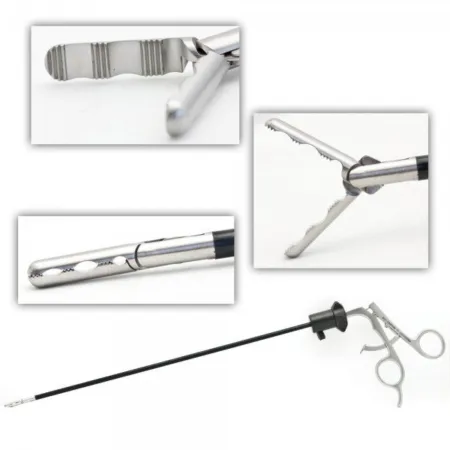 Fundus Laparoscopic Grasping ForcepsGrasping
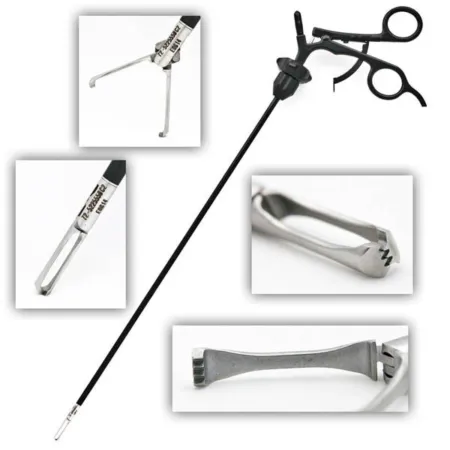 Laparoscopic Allis GrasperGrasping
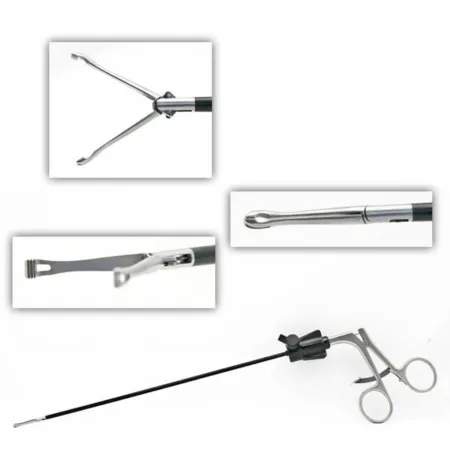 Laparoscopic Babcock ForcepsGrasping
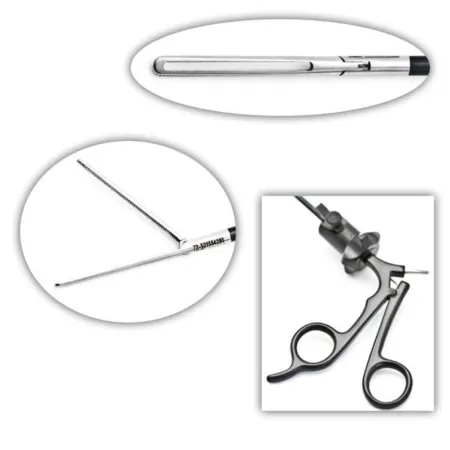 Laparoscopic GrasperGrasping
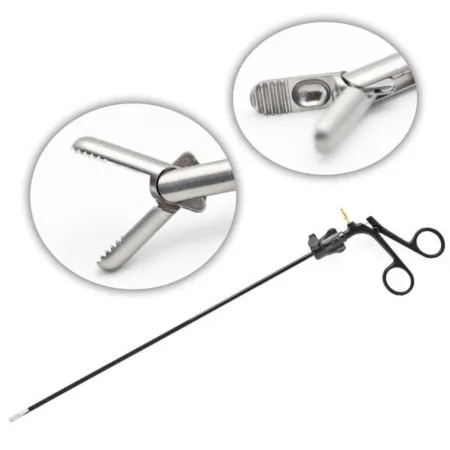 Laparoscopic Grasping ForcepsGrasping
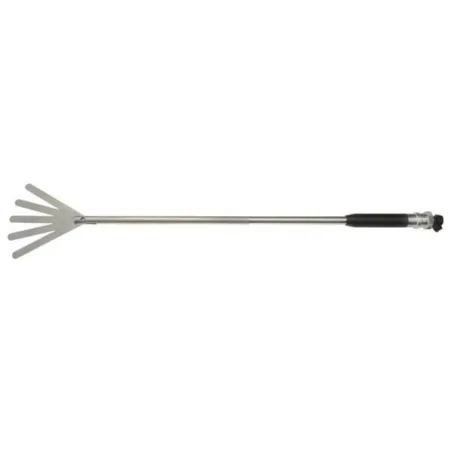 Fan RetractorRetracting
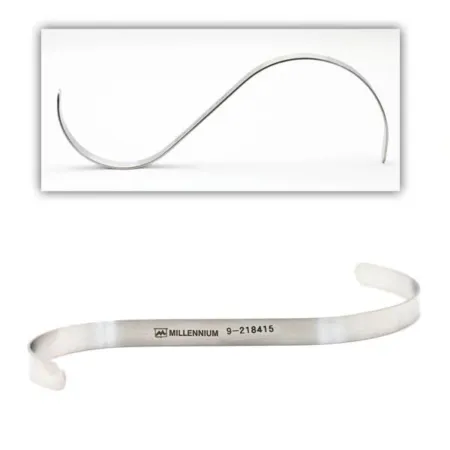 Hasson S RetractorRetracting
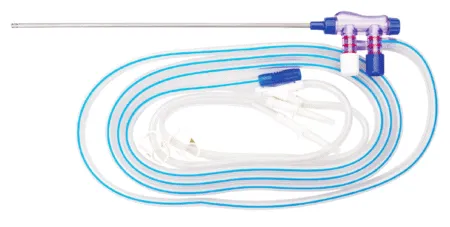 Suction IrrigatorSuctioning
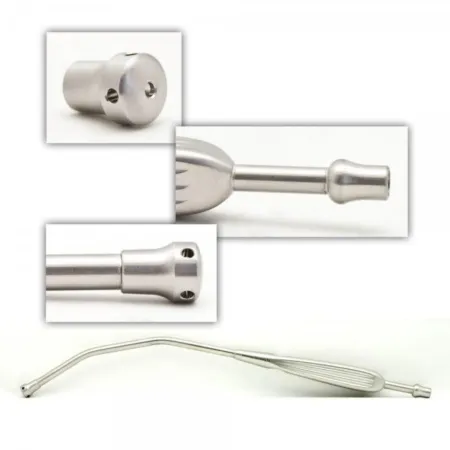 Yankauer SuctionSuctioning
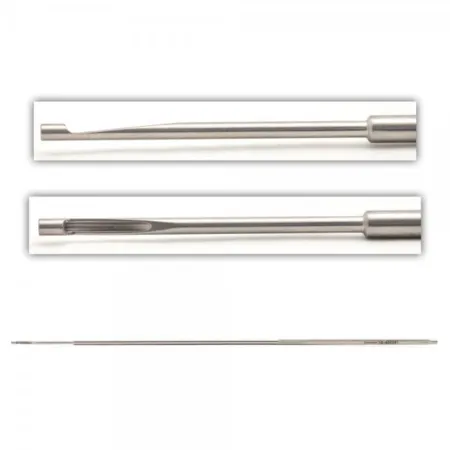 Appel Laparoscopic Knot PusherSuturing
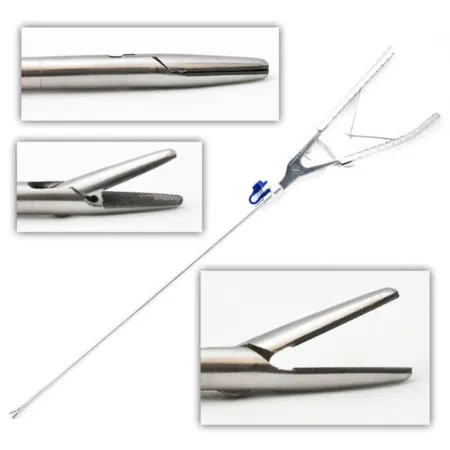 Bariatric and Laparoscopic Needle HolderSuturing
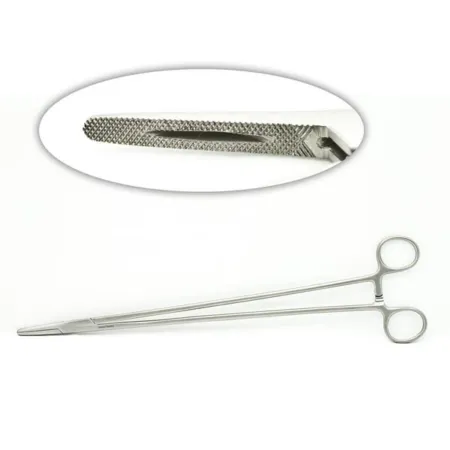 Mayo-Hegar Needle HolderSuturing
Clamping & Occluding3
Cutting & Dissecting4
Grasping & Holding6
Retracting & Exposing2
Suctioning2
Suturing & Stapling3
Know this tray before you scrub in.
With Pro, for every setup in every specialty. Cancel any time.
Or scrub in free: every General setup and 5 questions a day.
The case
Position
Lithotomy with the head tilted up.Step 1: Trocar insertion
During a Laparoscopic Nissen Fundoplication, trocars will be used to make incisions. The #3 knife handle with an 11 blade loaded onto it is usually used to create these incisions. The number of trocars needed and their size will depend on the surgeon's preference. The doctor will usually stand in between the patient's legs, with the surgical technologist positioned on the left.Step 2: Initial Exploration
Once the trocars are in place, the surgeon will insert some laparoscopic graspers to explore the area. The person holding the camera will usually be on the right side. A fan retractor will be used to retract the liver, allowing the surgical team to have a clear view of the area.Step 3: Retracting the Esophageal Hiatus
The next step is to view the esophageal hiatus, and a babcock will be placed on the fat pad and retracted with tension. This allows the surgeon to have better access to the area. A cautery hook and a grasper will be used on the ligament while avoiding the nerves and hepatic artery, creating a "window" that will allow for better access and visibility.Step 4: Dissecting Around the Esophagus
After creating the "window," the surgical team will perform a blunt dissection around the esophagus with their graspers, ensuring that all major body landmarks have been found and dissected. This step is crucial in ensuring the safety of the patient during the surgery.Step 5: Closing the Hiatus
Once all the necessary landmarks have been dissected, the hiatus can be closed, usually with proline suture. A bougie may be placed in the esophagus to ensure that the closure is in the right place. A harmonic may be used on vessels to minimize bleeding during the closure.Step 6: Ligating Gastric Vessels and Closure
The stomach will then be freed by ligating the gastric vessels, allowing for better movement during the surgery. Hemostasis will be achieved before closure begins. After ensuring that the area is free from bleeding, the surgical team will begin the closure of the incision sites.The Surgery Sparknotes
- Insert trocars with #3 knife handle and 11 blade.
- Use laparoscopic graspers to explore.
- Retract liver with fan retractor.
- View esophageal hiatus and retract with babcock.
- Use cautery hook and grasper to create a "window".
- Do blunt dissection around esophagus.
- Close hiatus with proline suture.
- Place bougie in esophagus and use harmonic on vessels.
- Ligate gastric vessels and achieve hemostasis.
- Closure of incision sites.
Built by the techs who scrub it.
Every surgeon runs it a little differently. Send your table, or a fix for this page.
 Diana Lei-alohaReviewer
The rest of this setup is Pro.
Everything unlocked above stays free. Pro opens the rest, on every setup: where new techs slip, what to load next at every step, the circulator’s side, the medicines, the specimen, wound class and trays on standby, what to grab if it goes wrong, and practice for every tray.
Free, for good. No card.
- All 2,882 instrument cards
- Every General setup in full
- 5 exam questions a day
- Your own preference cards
Pass your exam. Know every case.
Everything in Free, plus:
- All 260 setups in every specialty: back table, Mayo and every step
- Practice that never runs out and full timed exams for the CST, TS-C, CRCST, CSPDT and CSFA, with the why behind every answer
- Flashcards on any tray, timed to come back before you forget
- Every instrument card in full: the 3D model, cautions, inspection, how to pass it
Cancel any time from your account. Not worth it? Email us within 30 days of a charge for a refund, one per customer. Refund policy
Pro is also in the CSTSetup app, on the same account. Already have Pro? Log in
Send your table
Your Mayo, your back table, your surgeon’s way, or anything wrong on this page. Your email is only used to credit you. Submissions stay private and are reviewed by our team; accepted ones earn a Contributor credit here.