Port Placement
Port placement surgery involves creating a small incision below the collarbone to implant a device called a port (PowerPort or MediPort) under the skin, which connects via a catheter to a large vein in the chest, providing long-term access for intravenous medications like chemotherapy.
13 instruments to master.
Master this setup: test yourself on every instrument, earn the tier, hold the record.
No site record yet · target 5:02
Study flashcards
Card by card, grade yourself · 13 cards
Practice test
Answer, see why · all 14
Take the exam
14 questions · target 5:02
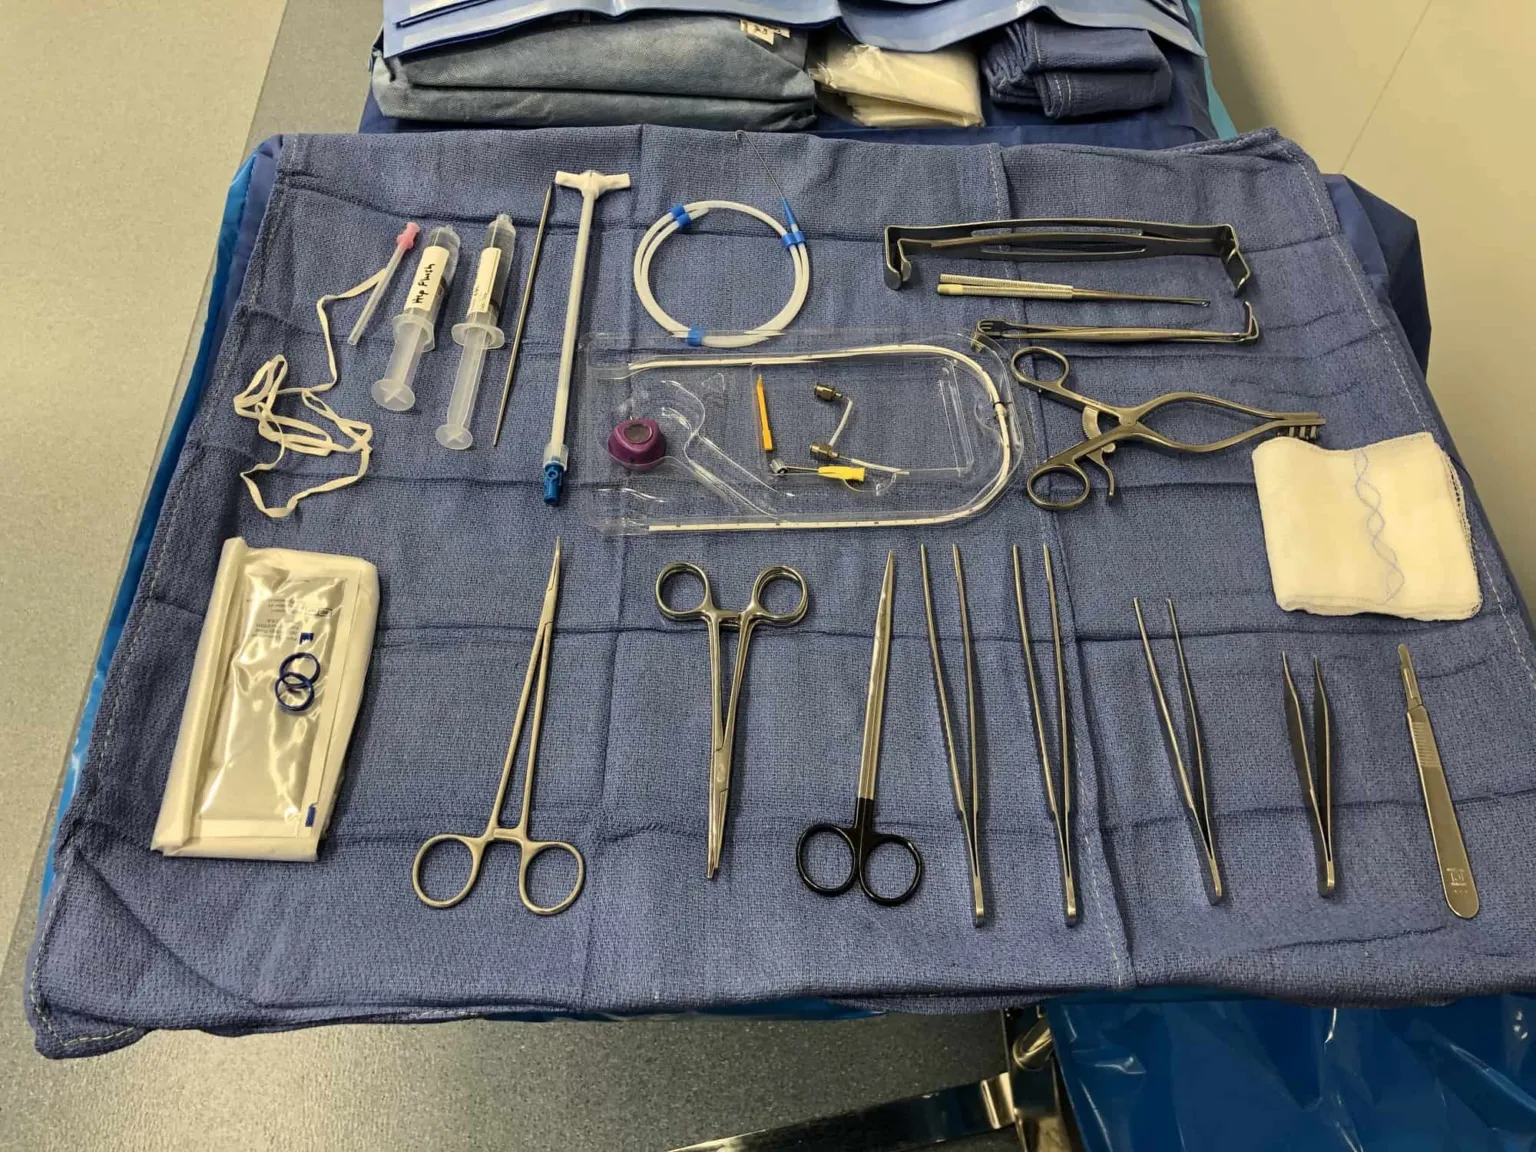
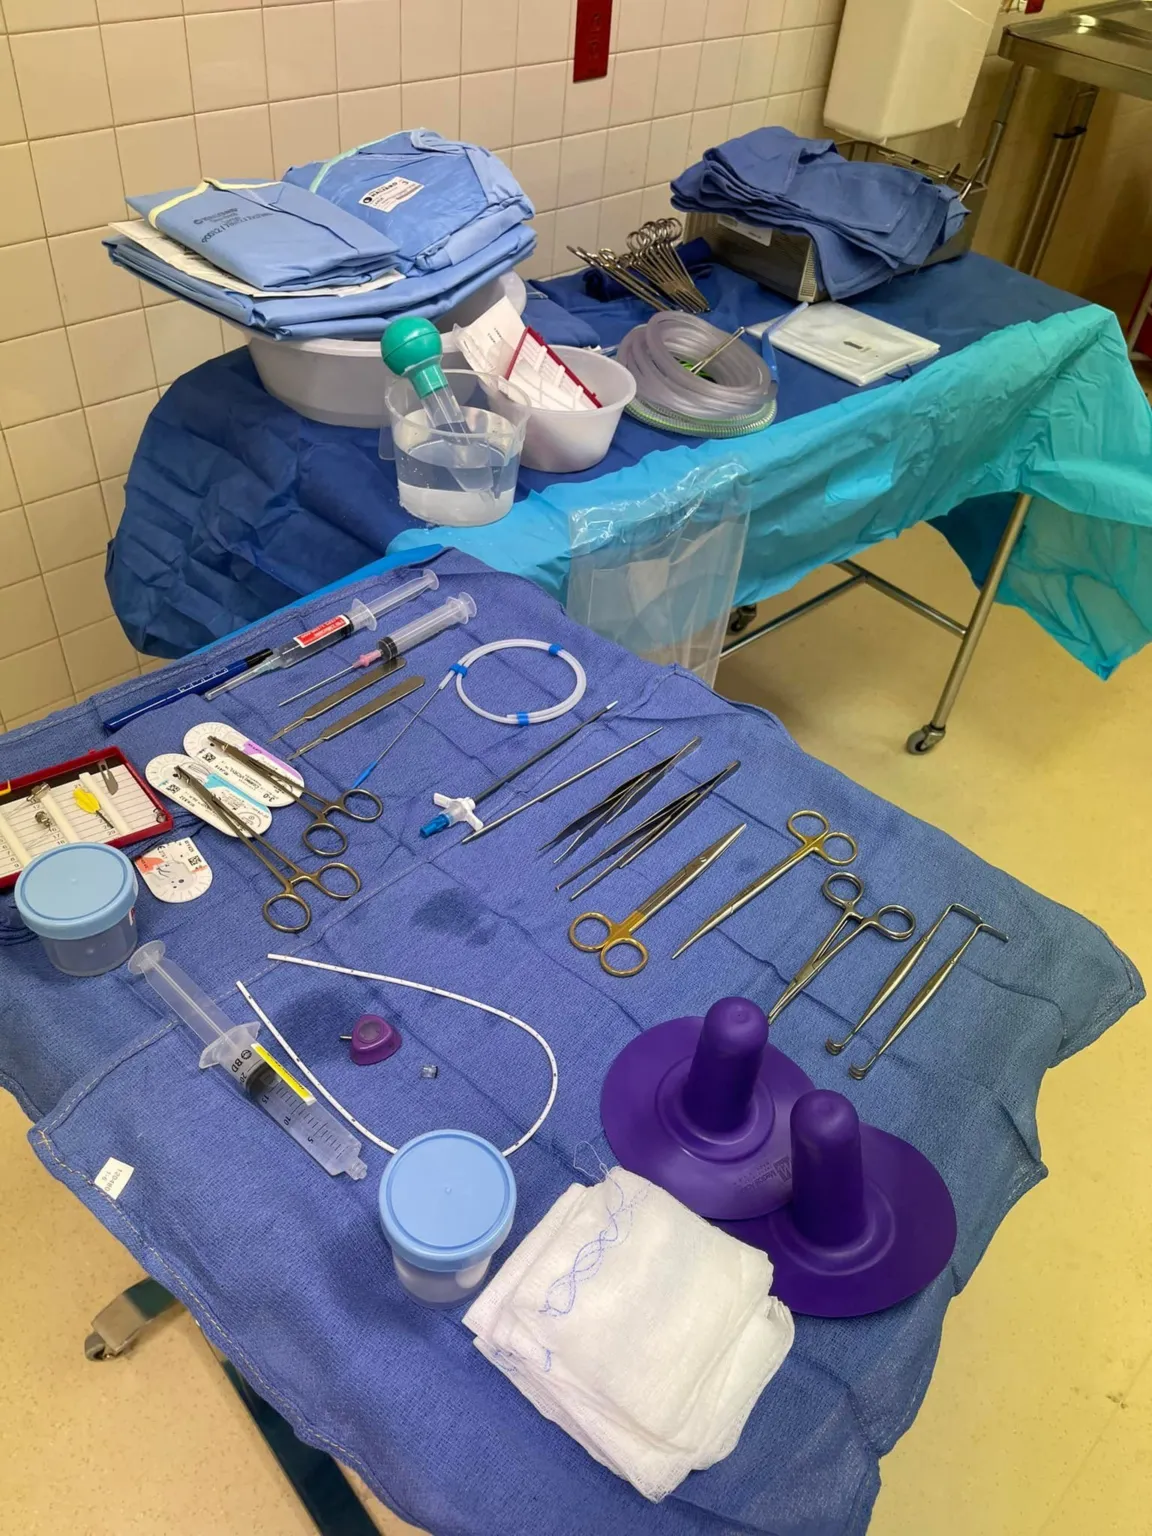
Surgical instruments
13 on this table. Tap a photo to zoom, the name for its card.
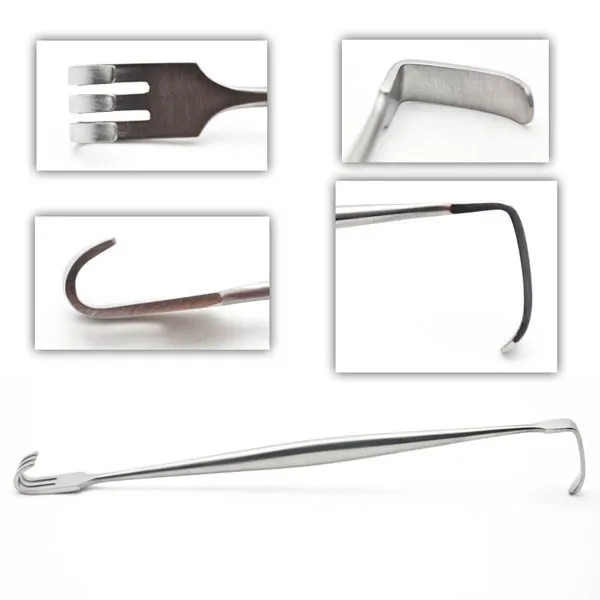
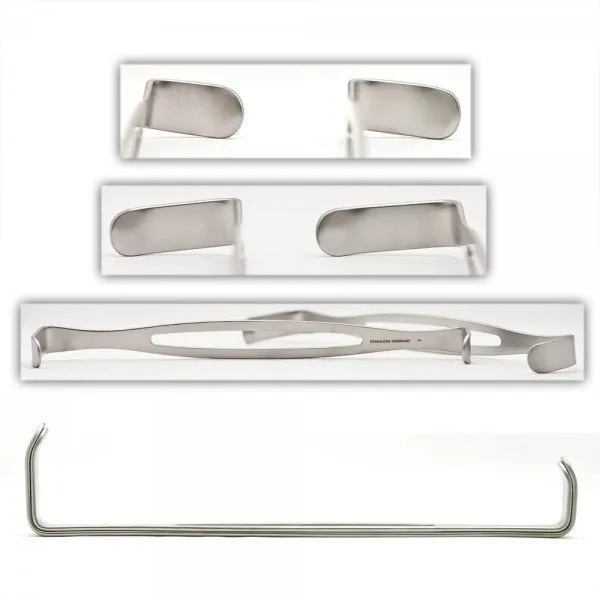
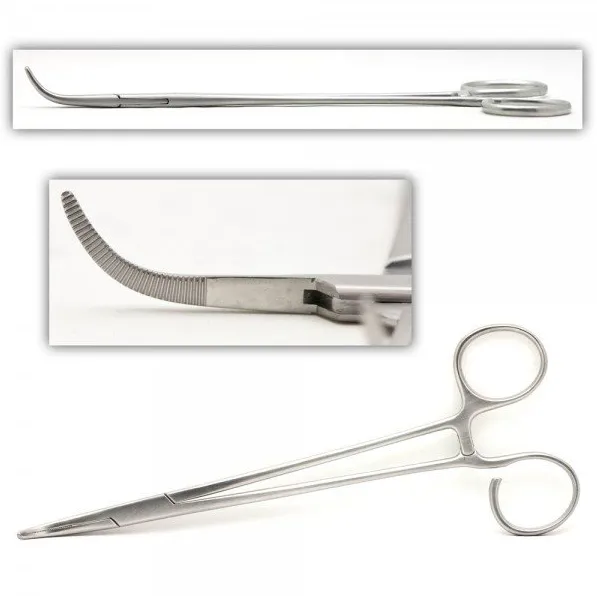
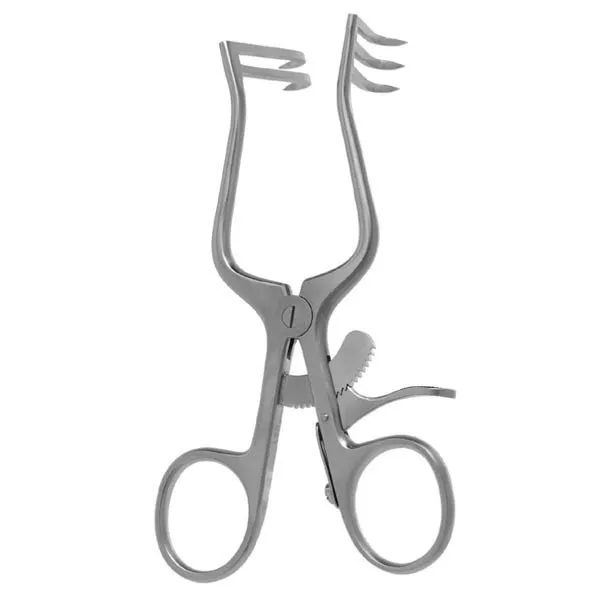
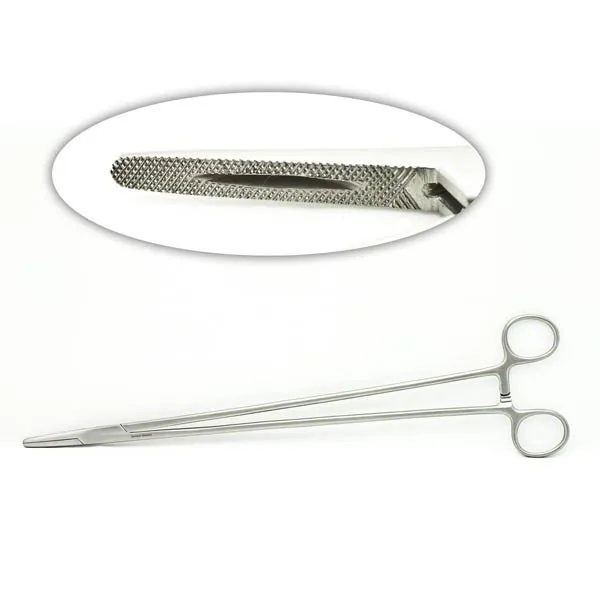
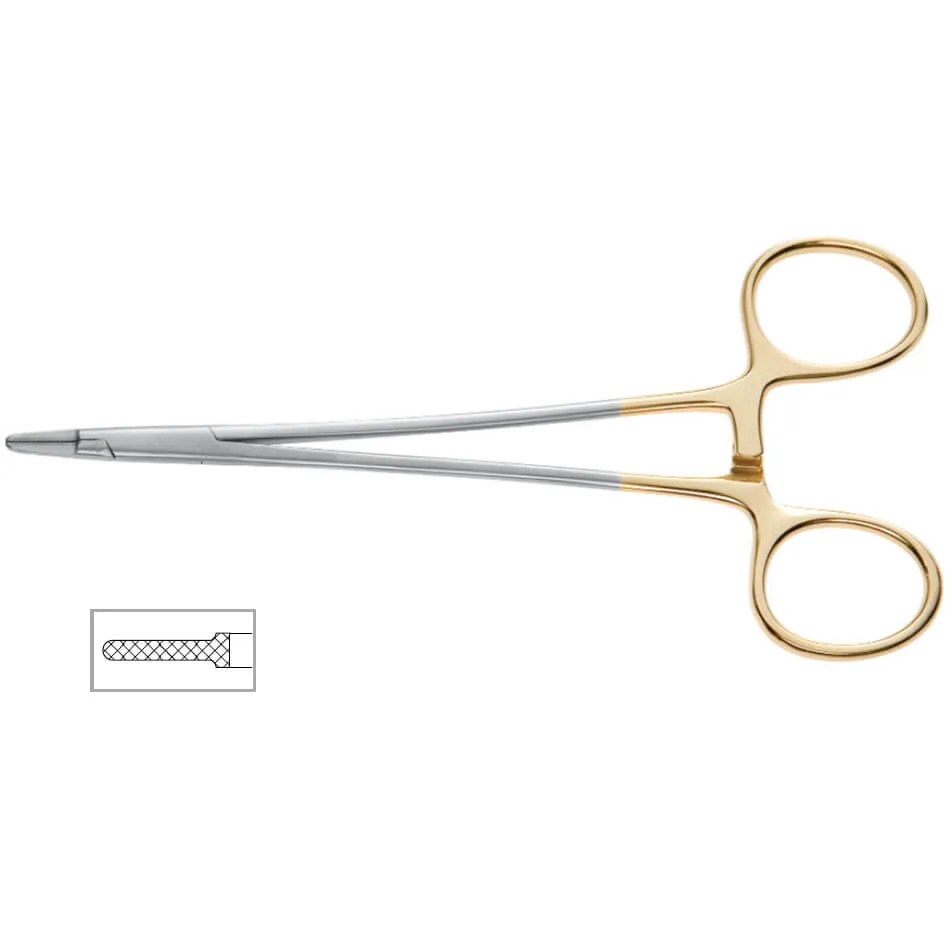
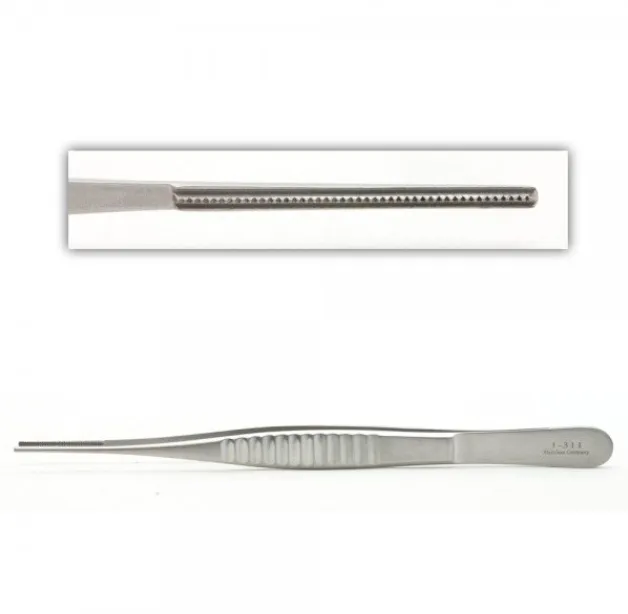
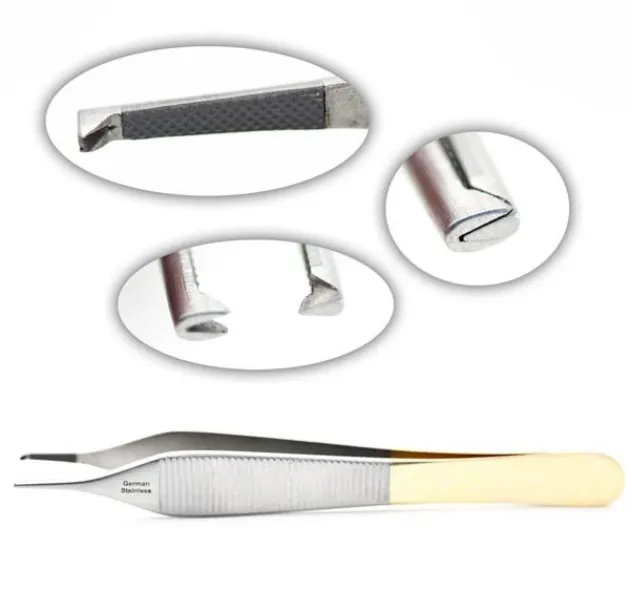
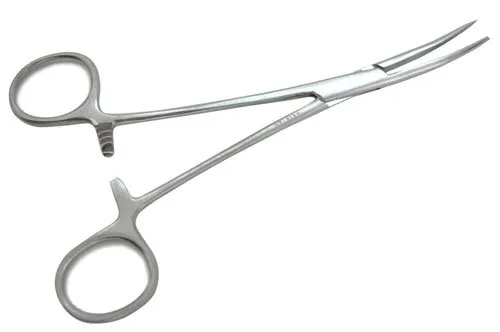
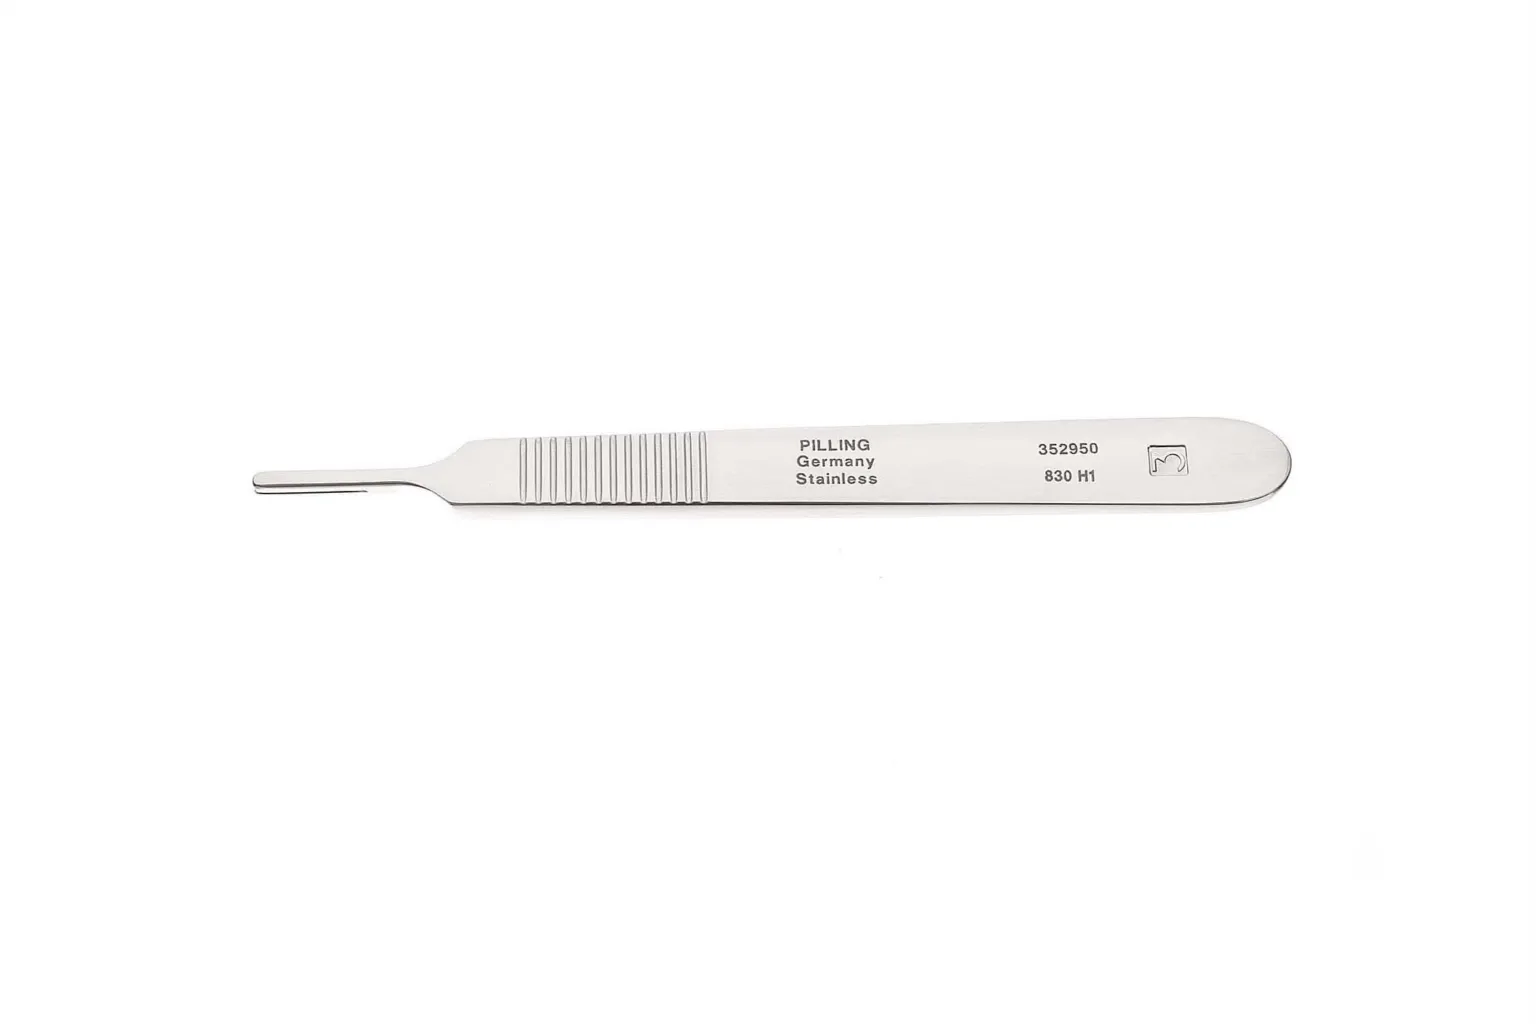
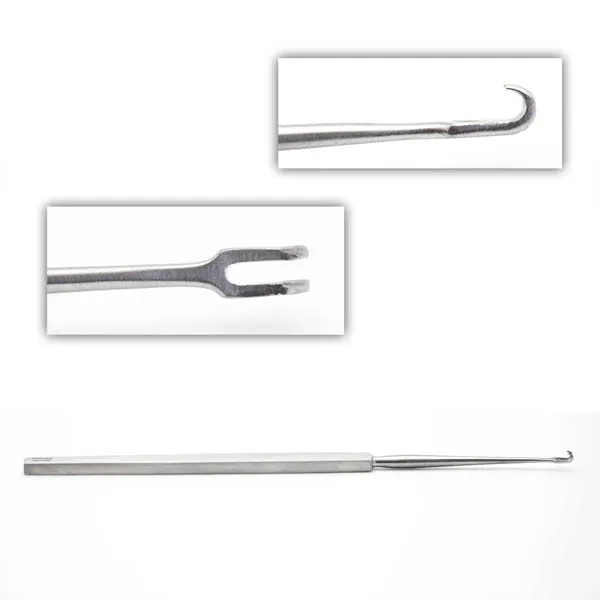
The case
Spark notes
The 30-second rundown. Scan this outside the room.
- Identify the jugular vein with a needle from the port kit. Use ultrasound if necessary.
- Use the guide wire to create a path for the catheter.
- Wear X-ray lead and use the C-arm to ensure proper placement.
- Make an incision below the collarbone and form a pocket for the port.
- Create a pathway for the catheter using the tunneler in the kit. Attach the port to the catheter and prime with heparin flush.
- Use the tunneler to pull the catheter back through to the port's pocket. Ensure correct placement with C-arm again.
- Close the skin with derma bond.
Walkthrough
What the surgeon does, and what to have in your hand before they ask.
Identifying the Jugular Vein
During a Port Placement surgery, the doctor will first use a needle from the port kit to identify the jugular vein. In some cases, ultrasound may be needed, in which case a probe cover should be available.
Ensuring Proper Placement with C-Arm
Once the vein is identified, the doctor will use the guide wire from the kit to make a path for the catheter. To ensure proper placement, a C-arm will be used, which means that you will need to wear X-ray lead during the surgery.
Making the Incision and Forming a Pocket
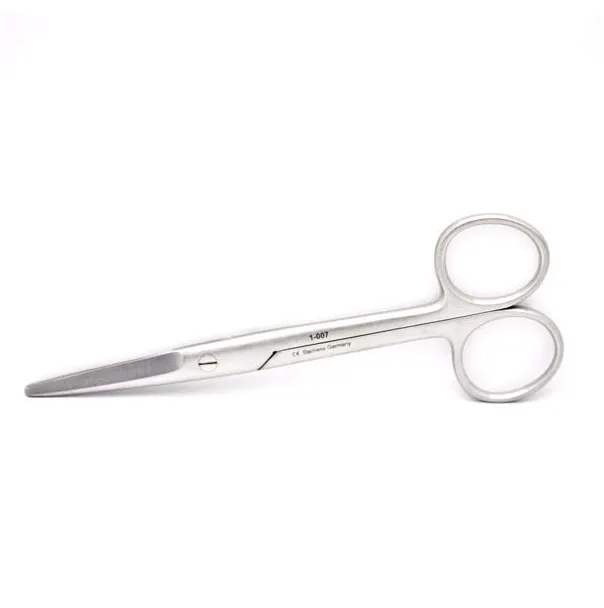
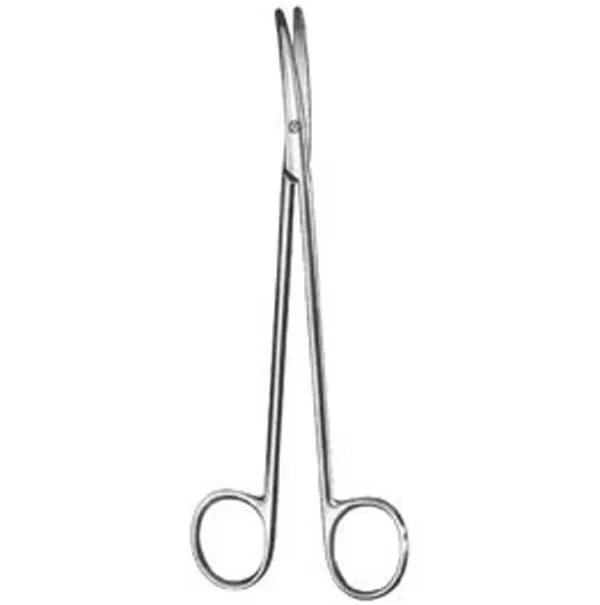
Next, the doctor will use a 15 blade to make an incision below the collarbone. Then, a small pocket will be formed under the skin for the port to sit in. During this step, the following instruments may be used: bovie, metz, adsons, debakeys, and hemostats.
Creating a Pathway for the Catheter
The long metal tunneler in the kit will be used to make a pathway from the incision to the site where the wire was placed before in the neck. The port will then be attached to the catheter and will need to be primed with a heparin flush. The catheter will be attached to the tunneler and pulled back through, so the port is now sitting in its "pocket".
Ensuring Correct Placement with C-Arm (Again)
The sheath in the kit will now be put over the wire, and the catheter will be fed through into the correct place. C-arm will be used again to ensure proper placement.
Skin Closure and Dressing
Skin closure will begin, and usually, derma bond is used for the dressing.
Add your table
Every surgeon runs it a little differently. Submissions stay private, are reviewed by our team, and accepted contributions earn a credit in the contributor list.