Scar Revision
The surgeon excises or reconfigures existing scar tissue to improve its functional movement and aesthetic appearance. Techniques like Z-plasty may be utilized to redirect the scar lines along natural skin tension planes.
13 instruments to master.
Master this setup: test yourself on every instrument, earn the tier, hold the record.
No site record yet · target 5:22
Study flashcards
Card by card, grade yourself · 13 cards
Practice test
Answer, see why · all 15
Take the exam
15 questions · target 5:22
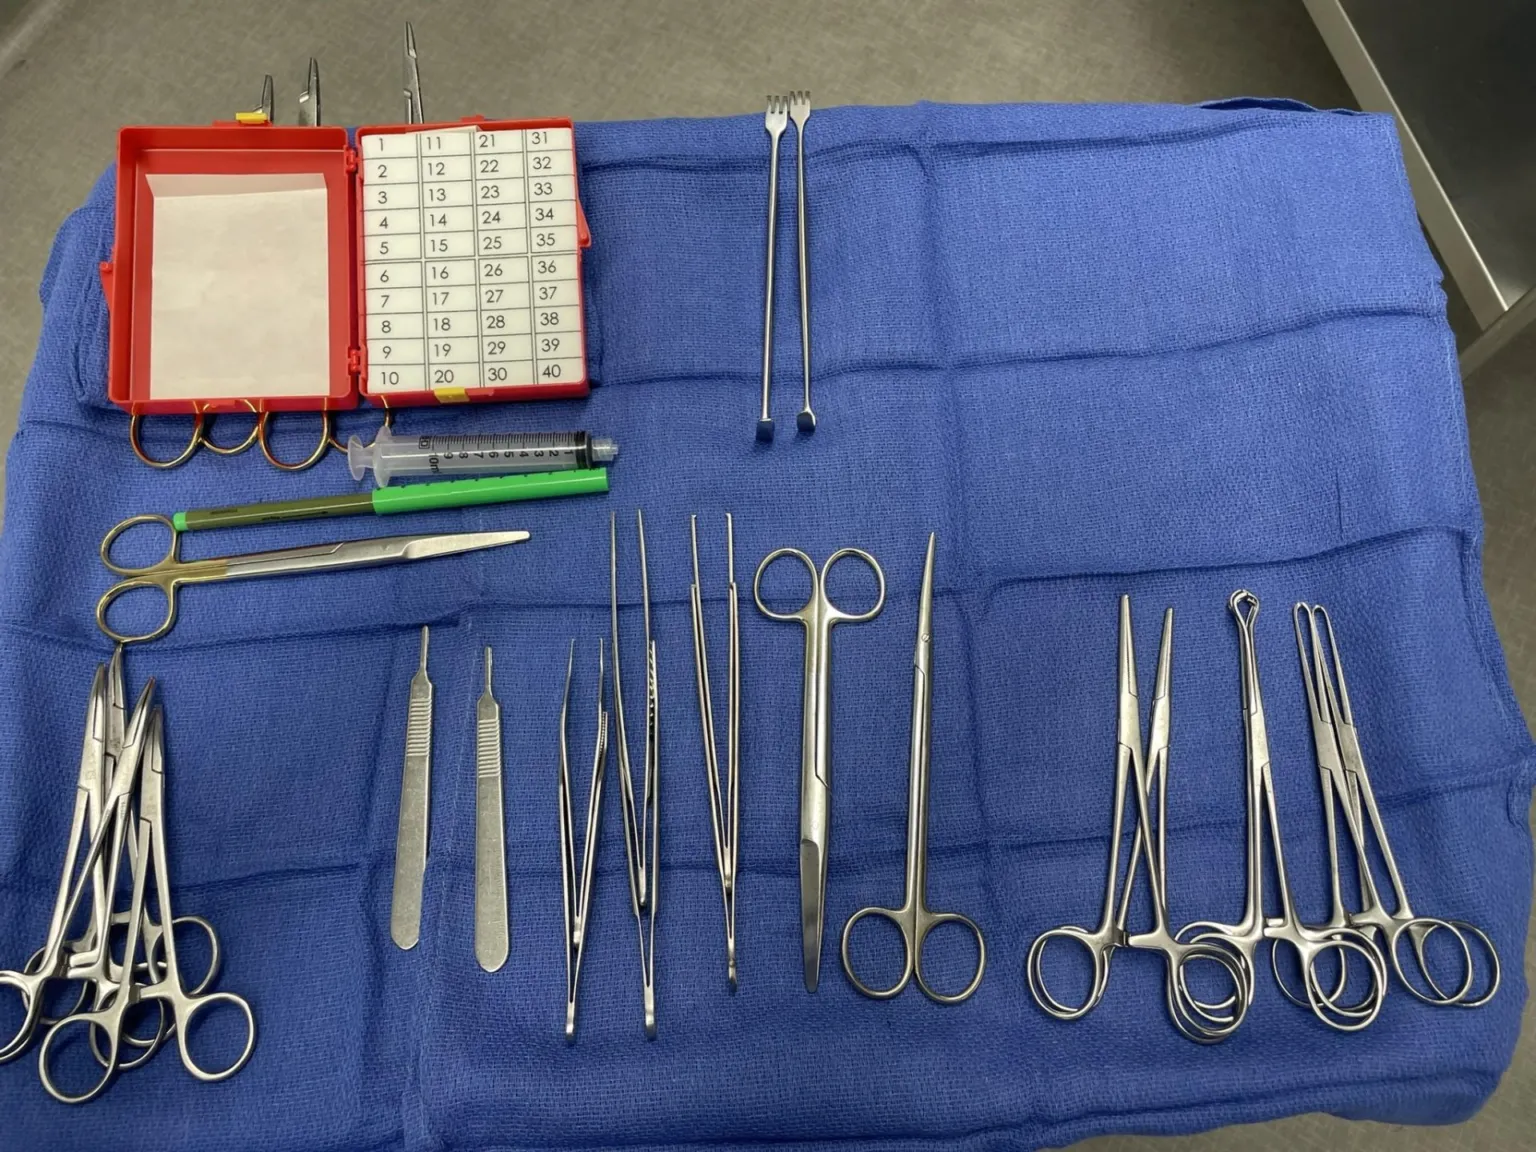
Surgical instruments
13 on this table. Tap a photo to zoom, the name for its card.
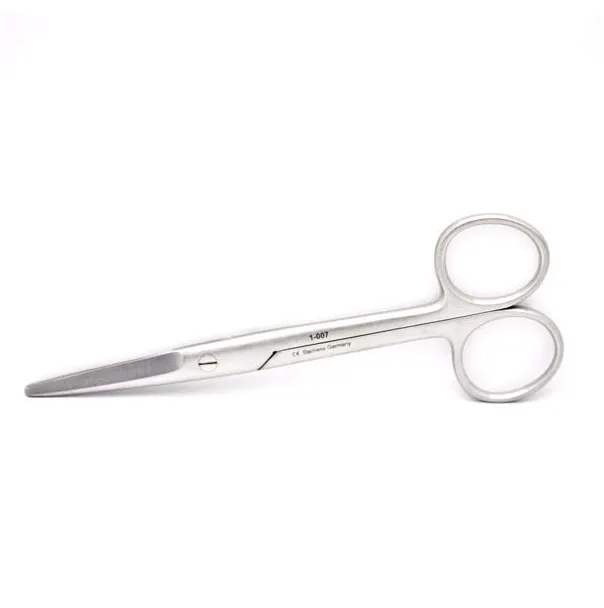
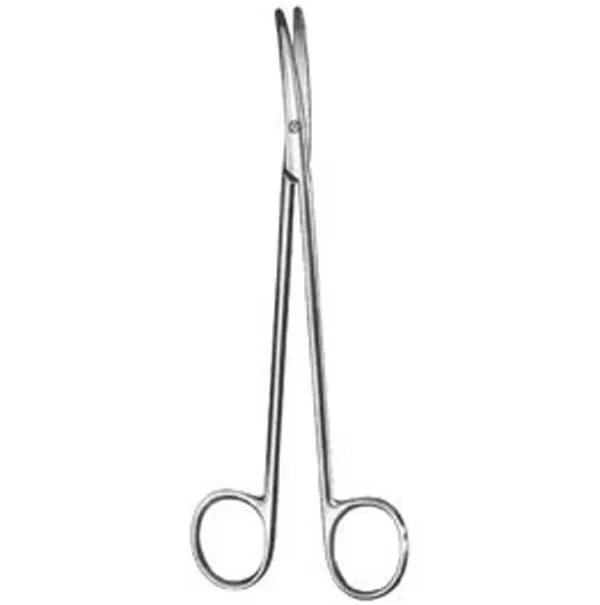
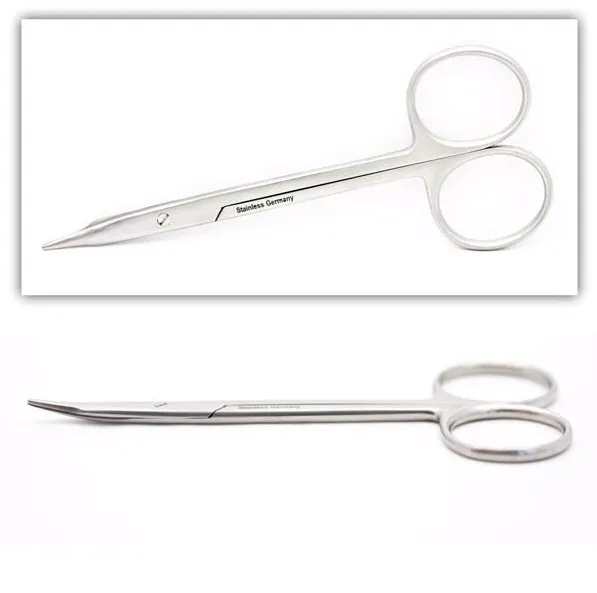
The case
Spark notes
The 30-second rundown. Scan this outside the room.
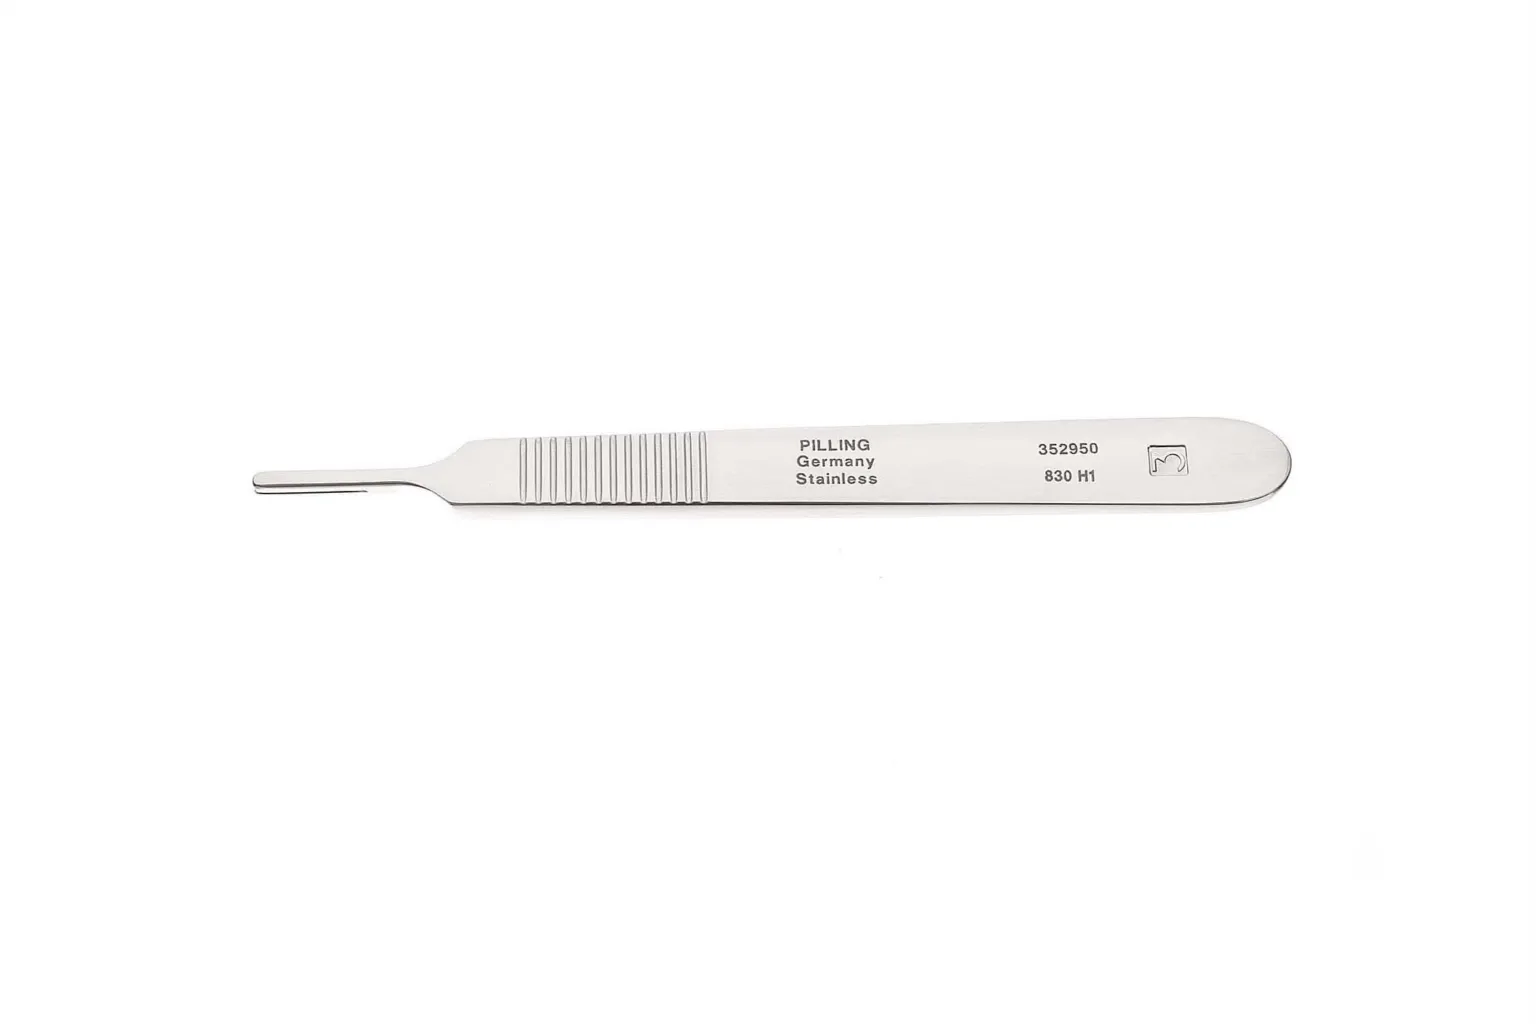
- Make incision using a 15 or 10 blade on a #3 knife handle.
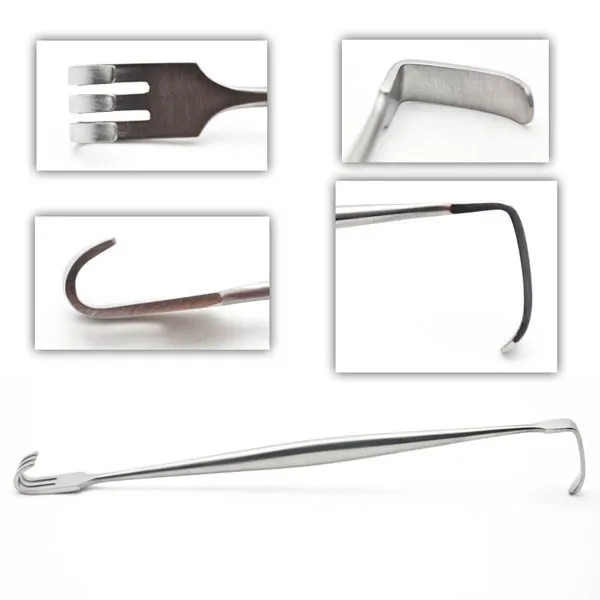
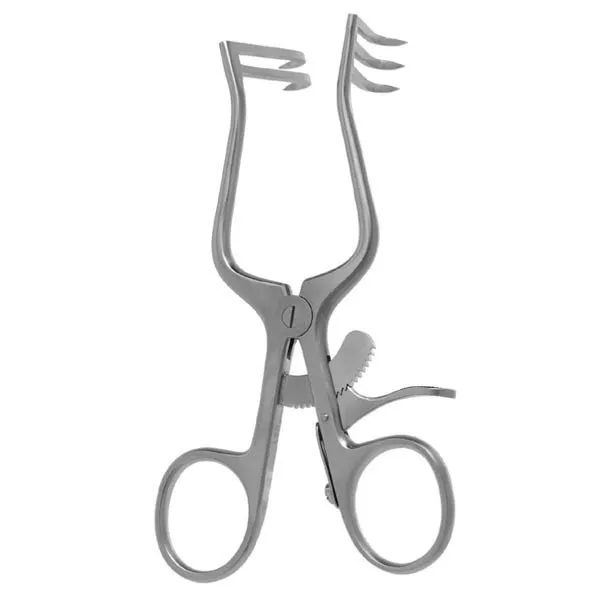
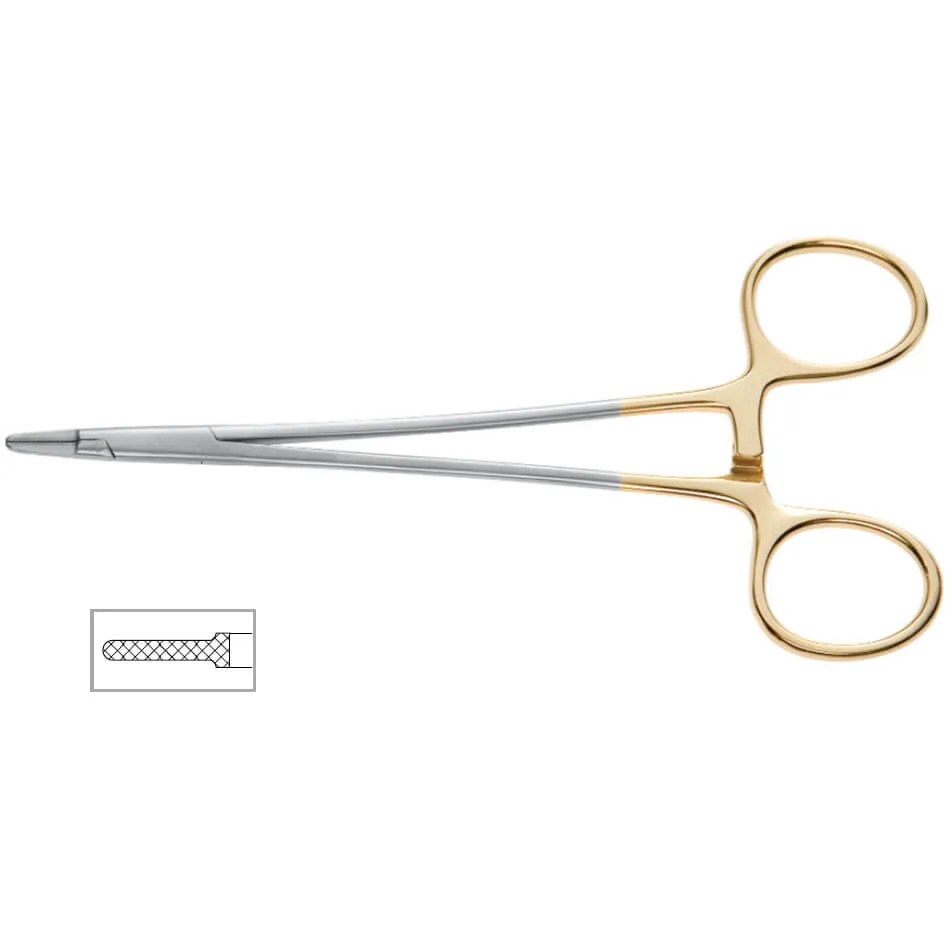
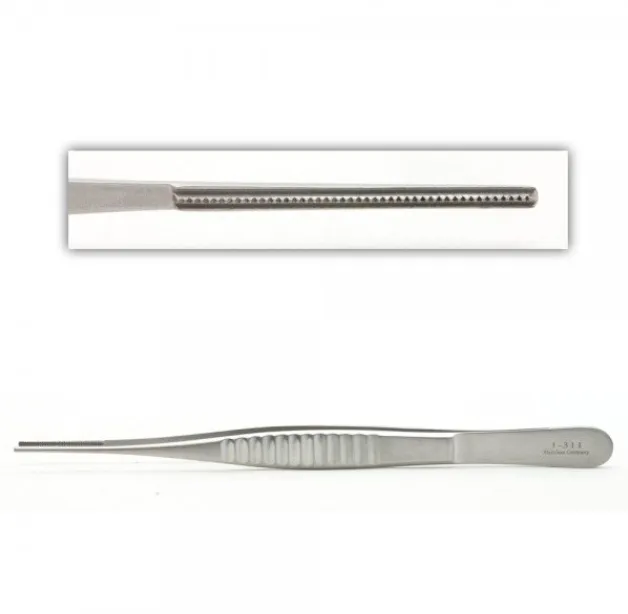
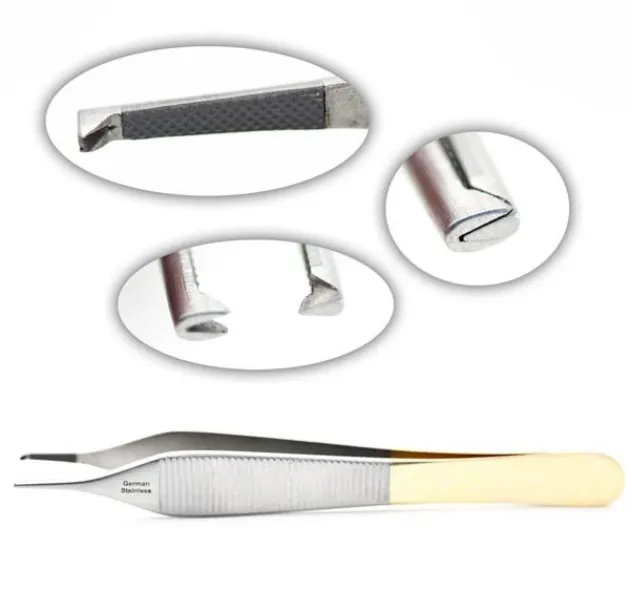
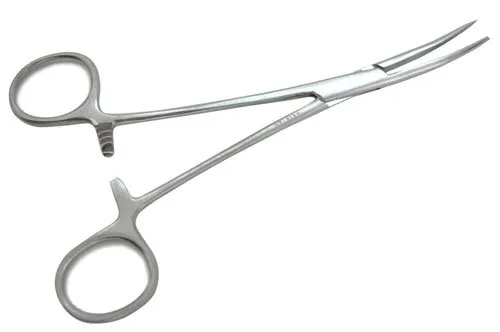
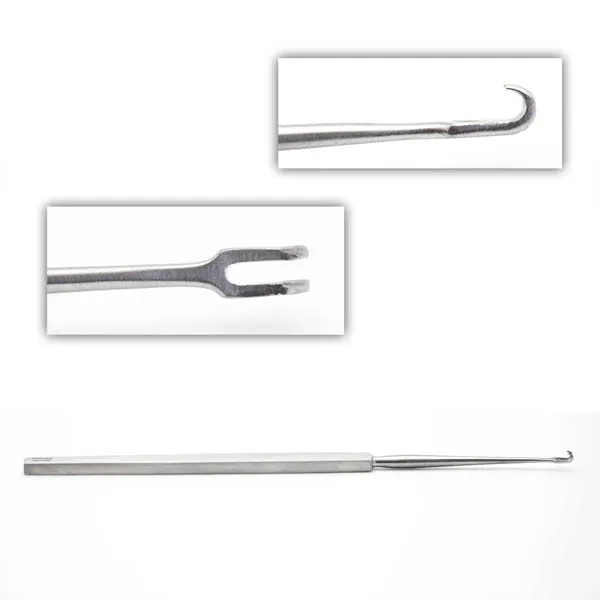
- Create flaps forming a "Z" shape using Metz or Tenotomys scissors and Adson forceps with teeth or DeBakeys, and skin hooks or Small Weitlaners.
- Loosen the flaps and lift them up to cover the original scar.
- Close the incision in layers: deepest layer with absorbable suture such as Vicryl, skin with 4-0 Monocryl or Nylon.
Walkthrough
What the surgeon does, and what to have in your hand before they ask.
Making the Incision
Once the patient is under anesthesia, the surgeon will use a 15 or 10 blade on a #3 knife handle to cut and remove the original scar tissue. Depending on the size and length of the scar, either a 15 or 10 blade on a #3 knife handle will be used.
Creating the Flaps
After the original scar is removed, the surgeon will create two arms off of the main incision, forming a "Z" shape. Small Metz or Tenotomys scissors will be used to loosen the skin underneath the incisions. Adson forceps with teeth or DeBakeys are also used to hold the skin in place. Skin hooks are commonly used in this step to retract the triangular skin. Small Weitlaners may also be used to hold the skin.
Loosening the Flaps
The flaps will be lifted and transposed to cover the original scar, and the skin will be loosened with Metz or Tenotomys scissors. The surgeon will use Adson forceps with teeth or DeBakeys to hold the skin in place while moving the flaps.
Closing the Incision
Once the flaps have been loosened and transposed, the surgeon will carefully close the incision in layers. The deepest layer will be closed with an absorbable suture such as Vicryl. The skin will commonly be closed with 4-0 Monocryl or Nylon.
Add your table
Every surgeon runs it a little differently. Submissions stay private, are reviewed by our team, and accepted contributions earn a credit in the contributor list.