Rib Plating
The internal fixation of fractured ribs using metal plates and screws to stabilize the thoracic wall and facilitate normal respiratory function.
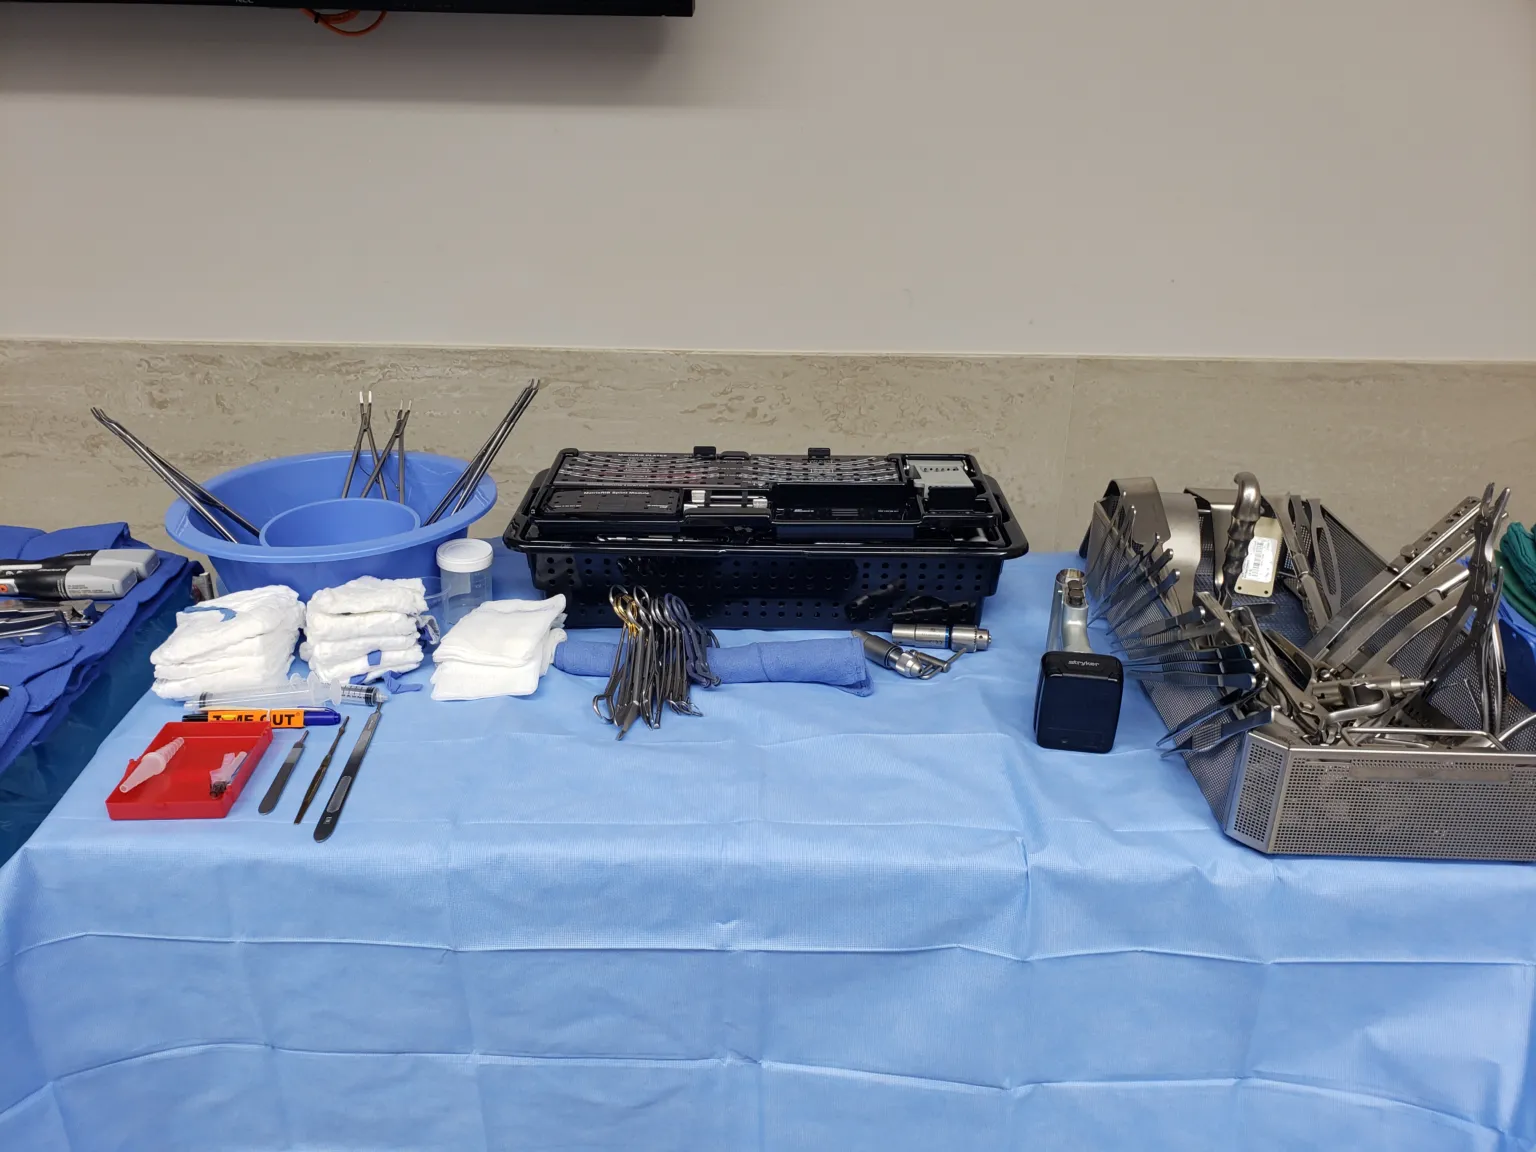
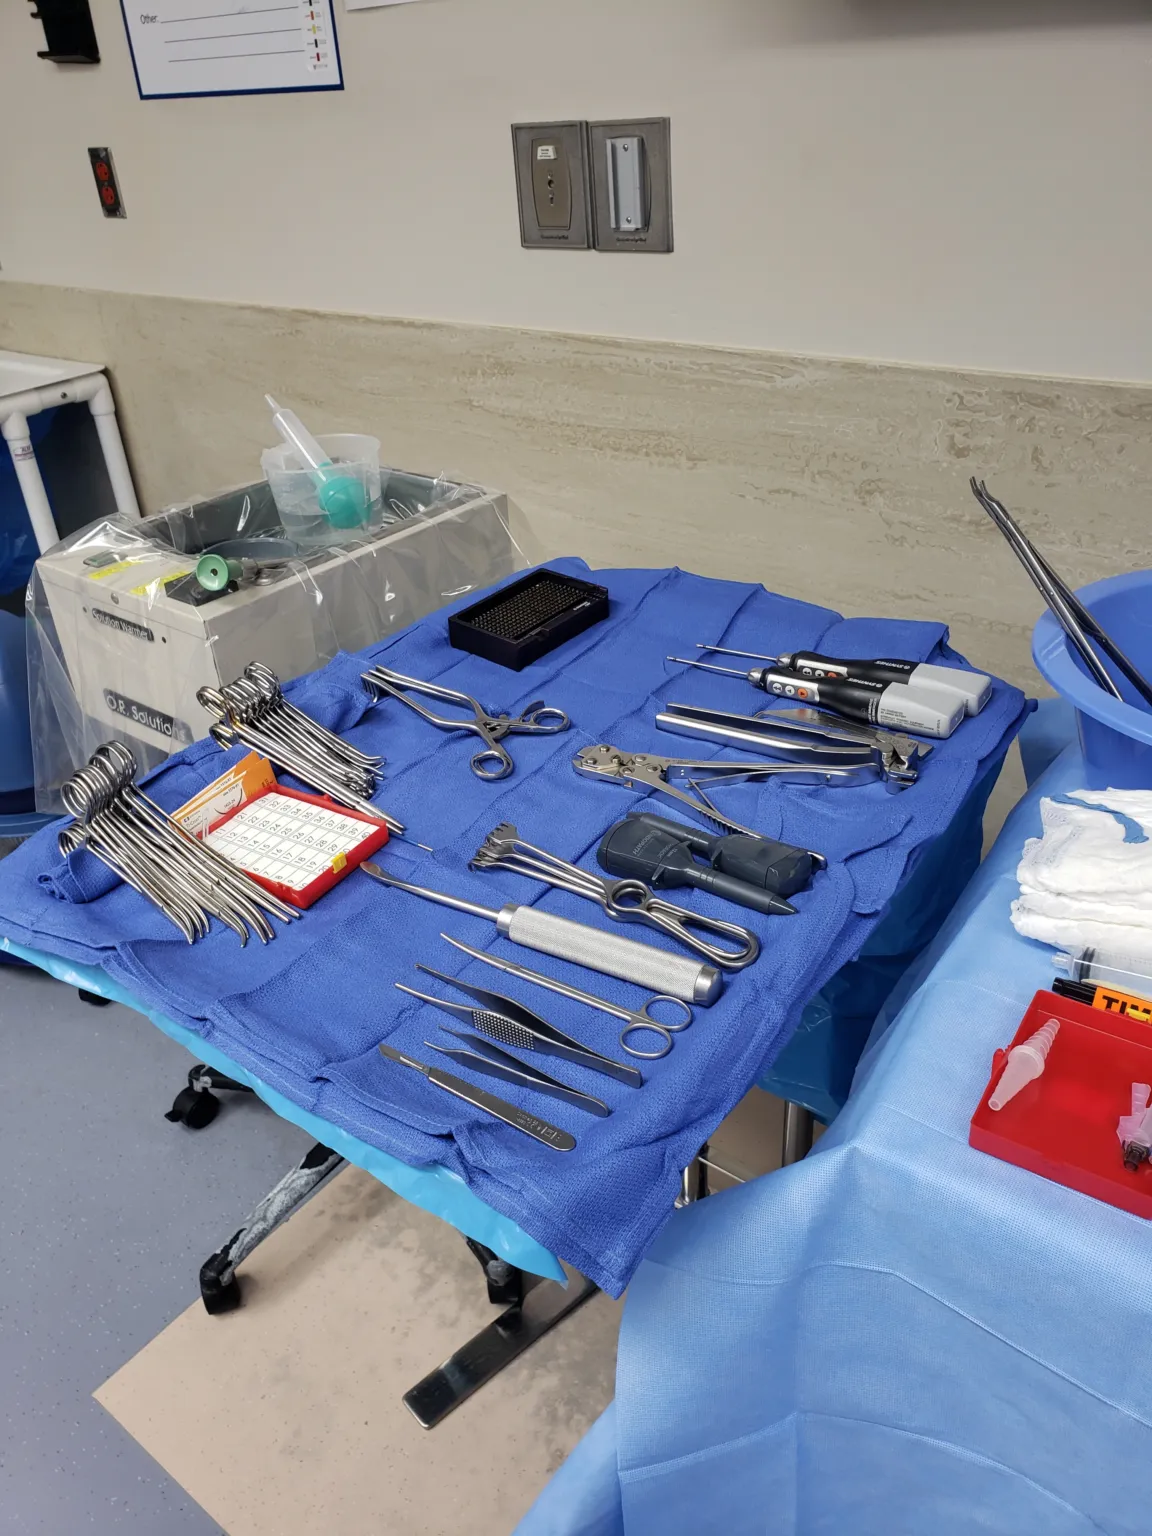
The tray
14 instruments, by what they do. Tap a name for its card.
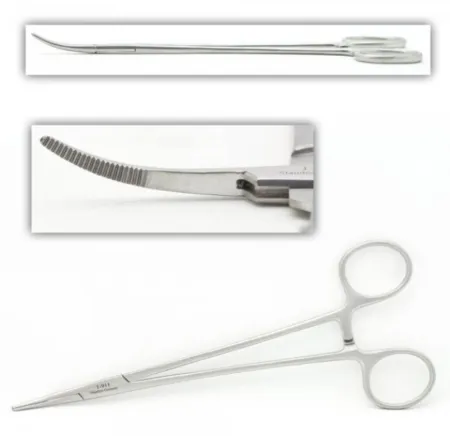
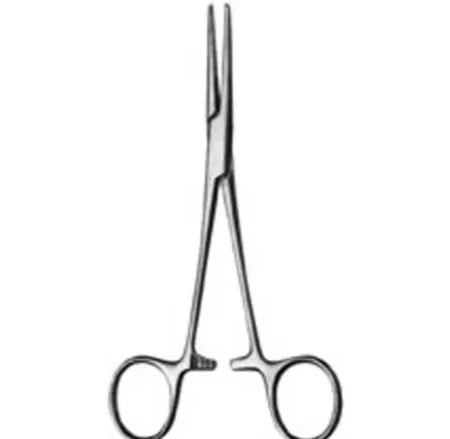
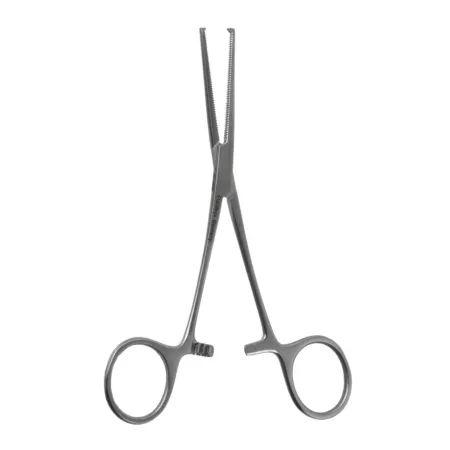
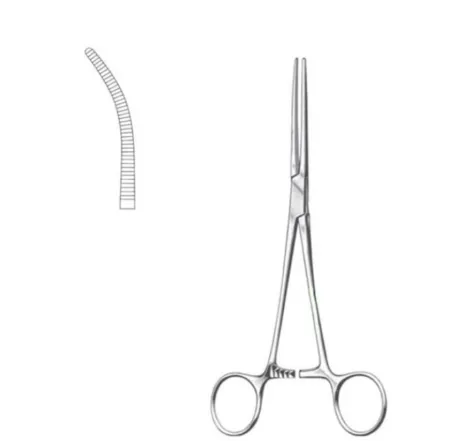
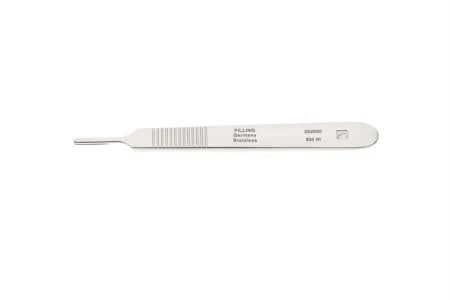
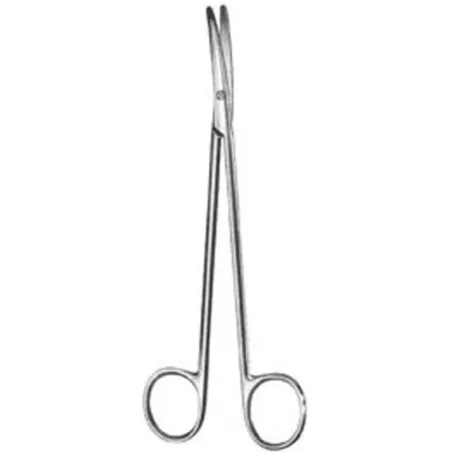
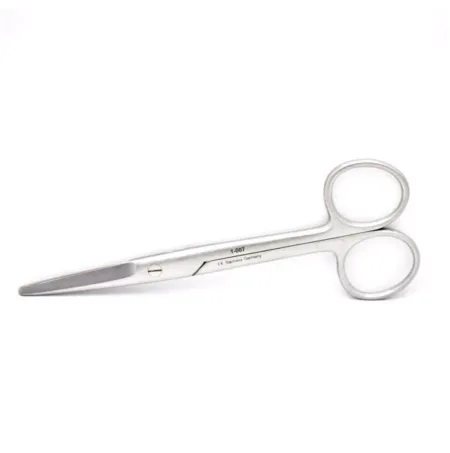
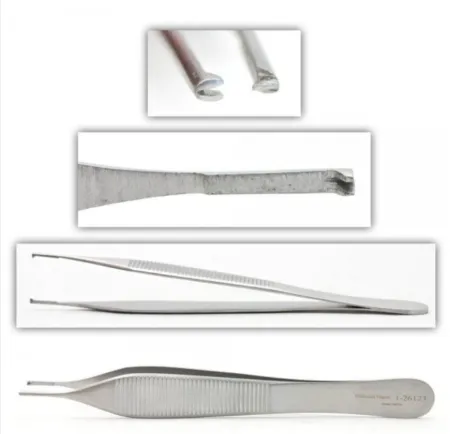
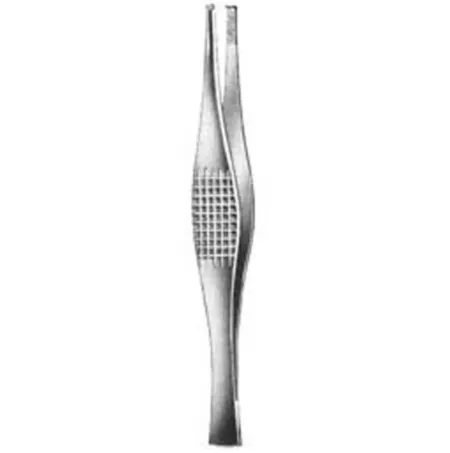
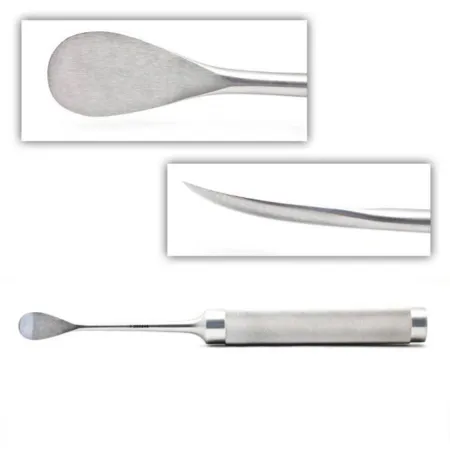
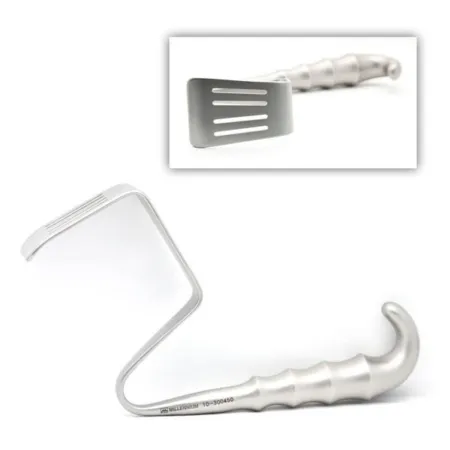
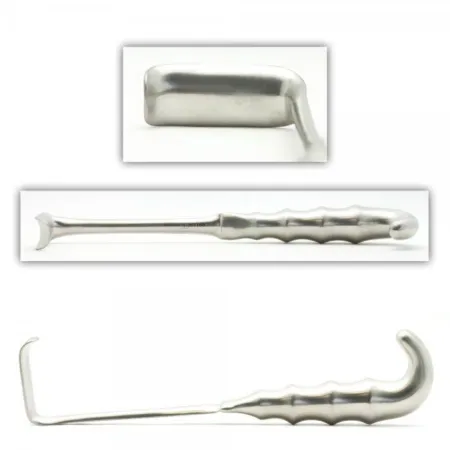
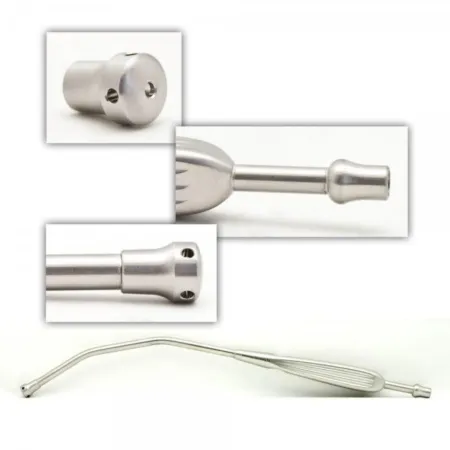
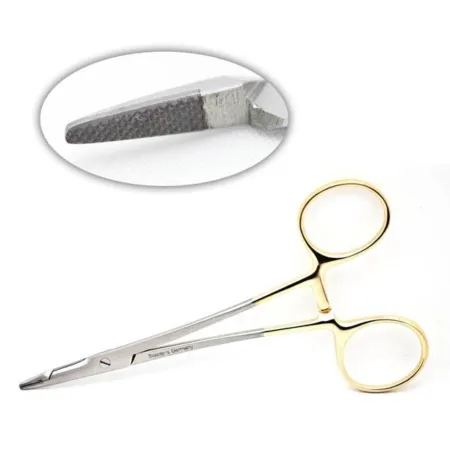
Clamping & Occluding4
Cutting & Dissecting3
Grasping & Holding2
Retracting & Exposing3
Suctioning1
Suturing & Stapling1
Know this tray before you scrub in.
With Pro, for every setup in every specialty. Cancel any time.
Or scrub in free: every General setup and 5 questions a day.
The case
Step 1: Incision and Retraction
The surgeon will make an incision and use a knife and bovie to cut down. Your role as a surgical technologist is to use retractors to hold back the muscles and skin around the surgical site. This will provide a clear view of the ribs that need to be plated.Step 2: Measuring the Ribs
The surgeon will use the caliper from the Synthes set to measure the thickness of the ribs. This measurement will determine the size of the drill bit needed for the procedure. Once the surgeon has determined the size, inform them so that they can instruct you to load the correct drill bit.Step 3: Plate and Hole Measurement
The surgeon will use the reduction clamps from the Synthes set to measure how many holes are needed for the plate. Once they have determined the number of holes, they will use the plate cutter from the set to cut the plate to the correct size. You will then need to retrieve a drill guide from the pan for the next step.Step 4: Drilling
Once the plate is ready, the surgeon will begin drilling holes in the ribs using the drill guide. Your role is to fill the holes with the corresponding size of screw to match the drill bit. The screws are used to hold the plate in place and stabilize the ribs.Step 5: Chest Tube Insertion and Closing
Once all the ribs have been plated and the screws have been inserted, the surgeon will insert a chest tube. This will help drain any excess fluid or air from the surgical site. After that, the surgeon will begin the process of closing up the incision. Your role as a surgical technologist is to assist the surgeon in any way necessary during this process.The Surgery Sparknotes
- Retract muscle and skin with retractors as surgeon directs down with knife and bovie.
- Measure rib thickness with caliper and load correct drill bit.
- Use reduction clamps to measure number of holes needed, cut plate, and retrieve drill guide from pan.
- Fill drilled holes with corresponding size screw and stabilize ribs.
- Insert chest tube and begin closing incision.
Built by the techs who scrub it.
Every surgeon runs it a little differently. Send your table, or a fix for this page.
 april phillipsReviewer
The rest of this setup is Pro.
Everything unlocked above stays free. Pro opens the rest, on every setup: where new techs slip, what to load next at every step, the circulator’s side, the medicines, the specimen, wound class and trays on standby, what to grab if it goes wrong, and practice for every tray.
Free, for good. No card.
- All 2,882 instrument cards
- Every General setup in full
- 5 exam questions a day
- Your own preference cards
Pass your exam. Know every case.
Everything in Free, plus:
- All 260 setups in every specialty: back table, Mayo and every step
- Practice that never runs out and full timed exams for the CST, TS-C, CRCST, CSPDT and CSFA, with the why behind every answer
- Flashcards on any tray, timed to come back before you forget
- Every instrument card in full: the 3D model, cautions, inspection, how to pass it
Cancel any time from your account. Not worth it? Email us within 30 days of a charge for a refund, one per customer. Refund policy
Pro is also in the CSTSetup app, on the same account. Already have Pro? Log in
Send your table
Your Mayo, your back table, your surgeon’s way, or anything wrong on this page. Your email is only used to credit you. Submissions stay private and are reviewed by our team; accepted ones earn a Contributor credit here.