Diagnostic Laparoscopy
A minimally invasive endoscopic examination of the abdominal and pelvic cavities to visualize organs and determine the cause of symptoms or pathology.
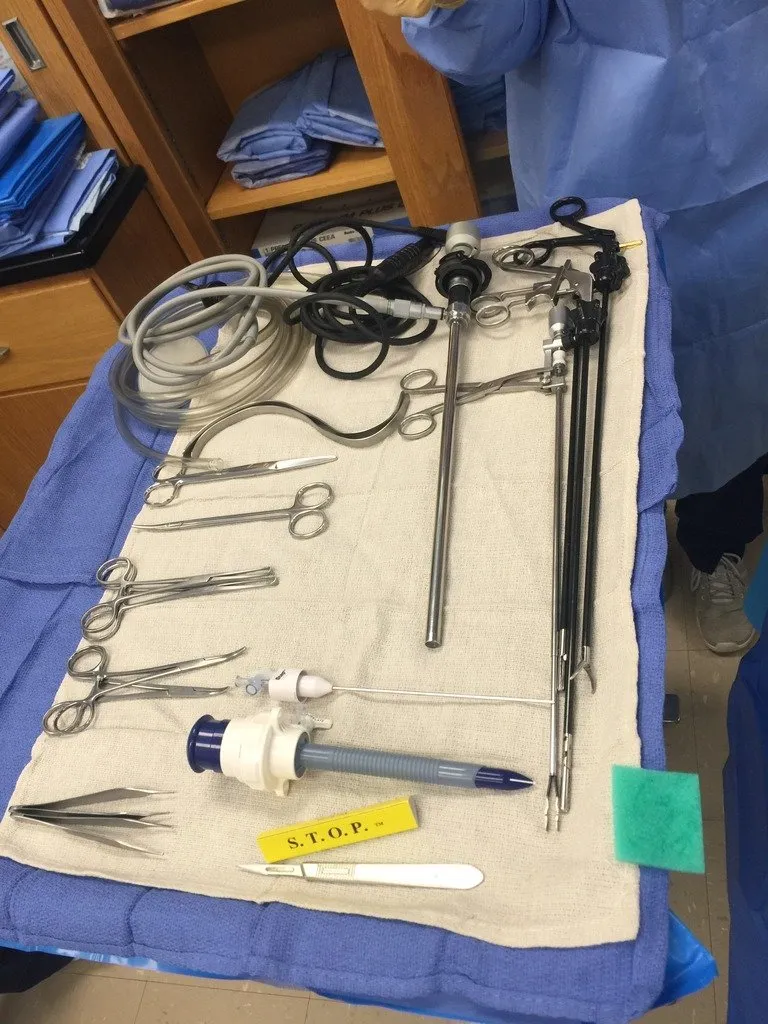 Tap a photo to zoom · 1 photo
In 30 seconds
Scan this outside the room.
- The Surgery Sparknotes
- Insert trocarTROH-karA sharp or bladed instrument inside a tube (cannula), used to pierce a body wall and leave the tube in place as a port.Full entry sheathSHEETHA covering that wraps around a structure; in procedures, a short hollow tube left in a blood vessel to pass catheters through.Full entry and insufflationin-suh-FLAY-shunBlowing a gas into a body cavity, such as carbon dioxide into the abdomen during laparoscopic surgery.Full entry the abdomen.
- Use laparoscopiclap-uh-roh-SKOP-ikDone through a few small cuts in the abdomen with a thin camera and long instruments, instead of one large opening.lapar/o abdomen-scopic viewingFull entry graspers to move bowel around.
- Identify problem, develop treatment plan, and finish procedure.
- Close incision sites using adson forcepsFOR-sepsA hand instrument with two blades or arms used to grasp, hold or pull tissue or objects.Full entry , Mayo hegar needle driver, and Mayo scissors.
- Dress the incision sites with skin glue, steri-strips, or gauze covered with an opsite or tegaderm.
The tray
12 instruments, by what they do. Tap a name for its card.
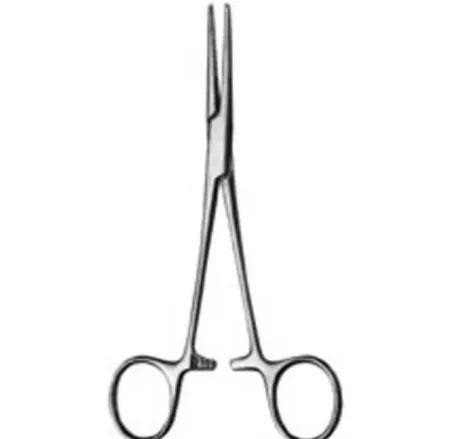
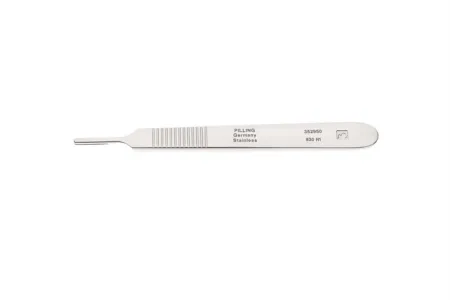
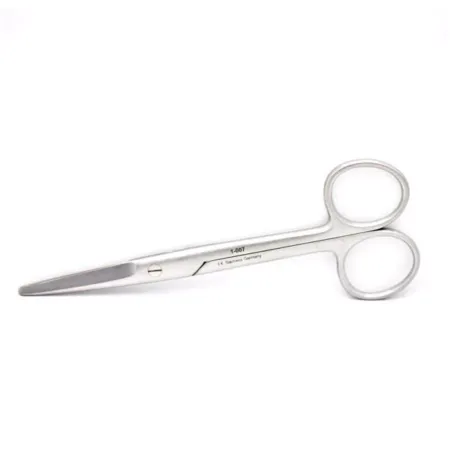
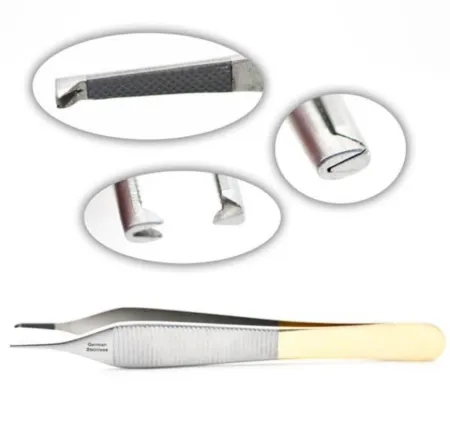
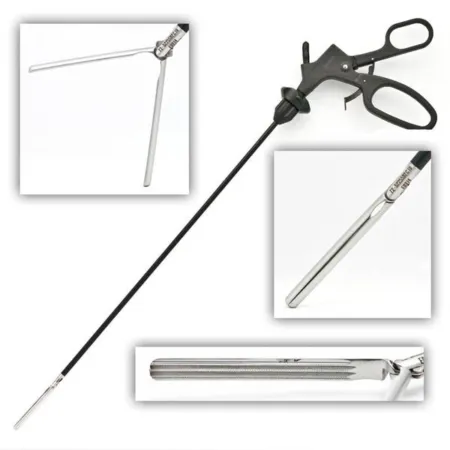
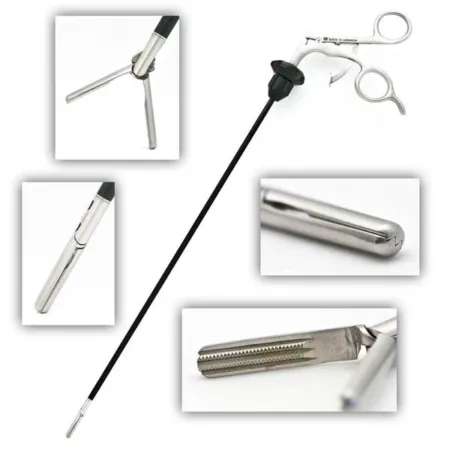
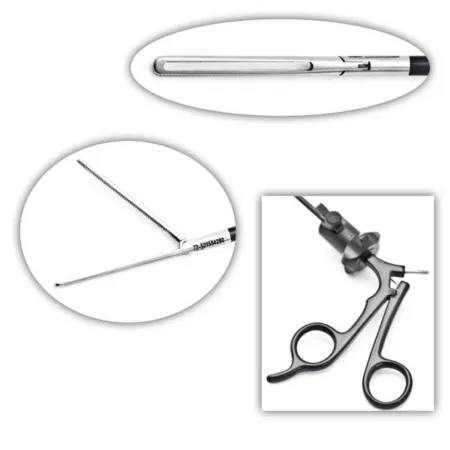
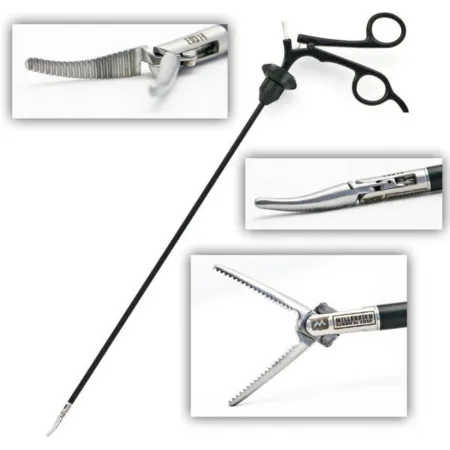
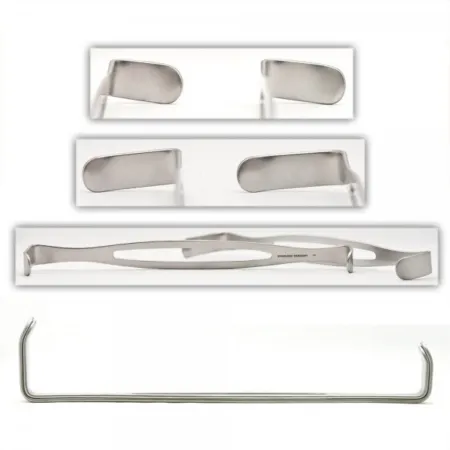
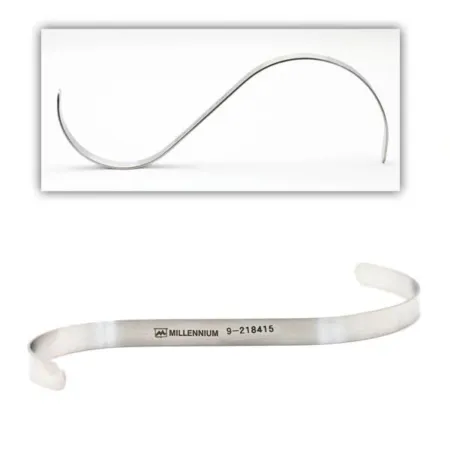
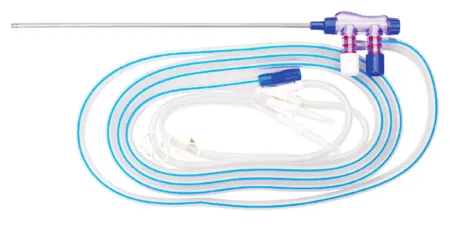
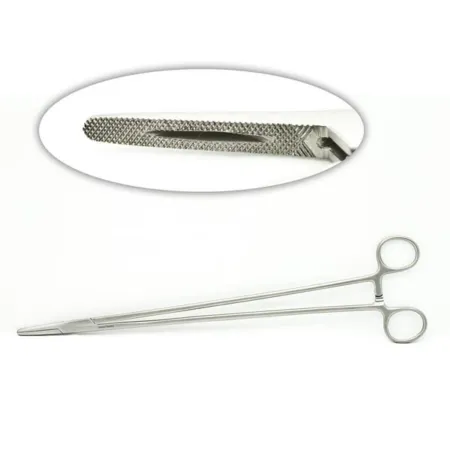
Clamping & Occluding1
Cutting & Dissecting2
Grasping & Holding5
Retracting & Exposing2
Suctioning1
Suturing & Stapling1
Know this tray before you scrub in.
With Pro, for every setup in every specialty. Cancel any time.
Or scrub in free: every General setup and 5 questions a day.
Step by step
6 steps, one line each.
- 1
Preparing for the Procedure
Before starting the diagnostic laparoscopylap-uh-ROS-kuh-peeSurgery or an exam done through small cuts in the belly, using a thin, lighted tube with a camera.lapar/o abdomen-scopy looking with an instrumentFull entry , the surgeon will need to gather the necessary instruments. The basic instruments required are an 11 blade, 15 blade, or a bovie to make the laparoscopiclap-uh-roh-SKOP-ikDone through a few small cuts in the abdomen with a thin camera and long instruments, instead of one large opening.lapar/o abdomen-scopic viewingFull entry trocarTROH-karA sharp or bladed instrument inside a tube (cannula), used to pierce a body wall and leave the tube in place as a port.Full entry incision sites. They may also require S retractorrih-TRAK-terA surgical instrument that holds back tissue or organs so the surgeon can see and reach the operative site.Full entry or Army-Navy’s if a larger incision is needed. These instruments will be used to make the initial incisions to insert the laparoscopic ports.
- 2
Inserting the Trocar Sheaths
Once the initial incisions have been made, the surgeon will insert the trocarTROH-karA sharp or bladed instrument inside a tube (cannula), used to pierce a body wall and leave the tube in place as a port.Full entry sheathSHEETHA covering that wraps around a structure; in procedures, a short hollow tube left in a blood vessel to pass catheters through.Full entry into the ports. They will then connect the insufflationin-suh-FLAY-shunBlowing a gas into a body cavity, such as carbon dioxide into the abdomen during laparoscopic surgery.Full entry tubing and fill up the abdomen with gas. This allows the surgeon to have a clear view of the internal organs during the procedure. After that, they will insert the scope and check around, before inserting the rest of the ports.
- 3
Using Laparoscopic Graspers
During the procedure, laparoscopiclap-uh-roh-SKOP-ikDone through a few small cuts in the abdomen with a thin camera and long instruments, instead of one large opening.lapar/o abdomen-scopic viewingFull entry graspers will be used to move the bowel around. Surgeons can choose between bowel graspers, laparoscopic DeBakey graspers, or plain laparoscopic graspers based on their preference.
- 4
Finishing the Procedure
Diagnostic laparoscopylap-uh-ROS-kuh-peeSurgery or an exam done through small cuts in the belly, using a thin, lighted tube with a camera.lapar/o abdomen-scopy looking with an instrumentFull entry are usually brief and finish after the surgeon takes a look around the patient’s abdominal cavity. The surgeon will try to identify the cause of the patient's symptoms and develop a treatment plan accordingly.
- 5
Closing the Incision Sites
Once the procedure is complete, the surgeon will use adson forcepsFOR-sepsA hand instrument with two blades or arms used to grasp, hold or pull tissue or objects.Full entry , a Mayo hegar needle driver, and straight Mayo scissors to close the incision sites. The instruments will help in securing the incision sites and prevent any further damage.
- 6
Dressing the Incision Sites
Finally, the incision sites will be dressed using skin glue, steri-strips, or gauze covered with an opsite or tegaderm. The dressing will help to keep the incision site clean and promote proper healing.
The case
A diagnostic laparoscopy is a minimally invasive surgical procedure that involves inserting a small camera through a small incision in the abdomen to look inside the body. This procedure is usually performed to diagnose and treat certain medical conditions related to the abdomen and pelvis, such as abdominal pain, infertility, or unexplained bleeding. It is a short procedure that typically lasts around 30 minutes, and patients can usually go home on the same day.
Built by the techs who scrub it.
Every surgeon runs it a little differently. Send your table, or a fix for this page.
 Diana Lei-alohaReviewer
The rest of this setup is Pro.
Everything unlocked above stays free. Pro opens the rest, on every setup: where new techs slip, what to load next at every step, the circulator’s side, the medicines, the specimen, wound class and trays on standby, what to grab if it goes wrong, and practice for every tray.
Free, for good. No card.
- All 2,882 instrument cards
- Every General setup in full
- 5 exam questions a day
- Your own preference cards
Pass your exam. Know every case.
Everything in Free, plus:
- All 260 setups in every specialty: back table, Mayo and every step
- Practice that never runs out and full timed exams for the CST, TS-C, CRCST, CSPDT and CSFA, with the why behind every answer
- Flashcards on any tray, timed to come back before you forget
- Every instrument card in full: the 3D model, cautions, inspection, how to pass it
Cancel any time from your account. Not worth it? Email us within 30 days of a charge for a refund, one per customer. Refund policy
Pro is also in the CSTSetup app, on the same account. Already have Pro? Log in
Send your table
Your Mayo, your back table, your surgeon’s way, or anything wrong on this page. Your email is only used to credit you. Submissions stay private and are reviewed by our team; accepted ones earn a Contributor credit here.