Da Vinci Robotic Ventral Hernia Repair
An umbilical, epigastric or small incisional hernia in the front of the abdominal wall is closed from inside with the da Vinci Xi robot, and a mesh is placed in the space between the peritoneum and the abdominal wall, outside the abdominal cavity.
29 instruments to master.
Master this setup: test yourself on every instrument, earn the tier, hold the record.
No site record yet · target 11:01
Study flashcards
Card by card, grade yourself · 29 cards
Practice test
Answer, see why · 25 at a time
Take the exam
31 questions · target 11:01
Surgical instruments
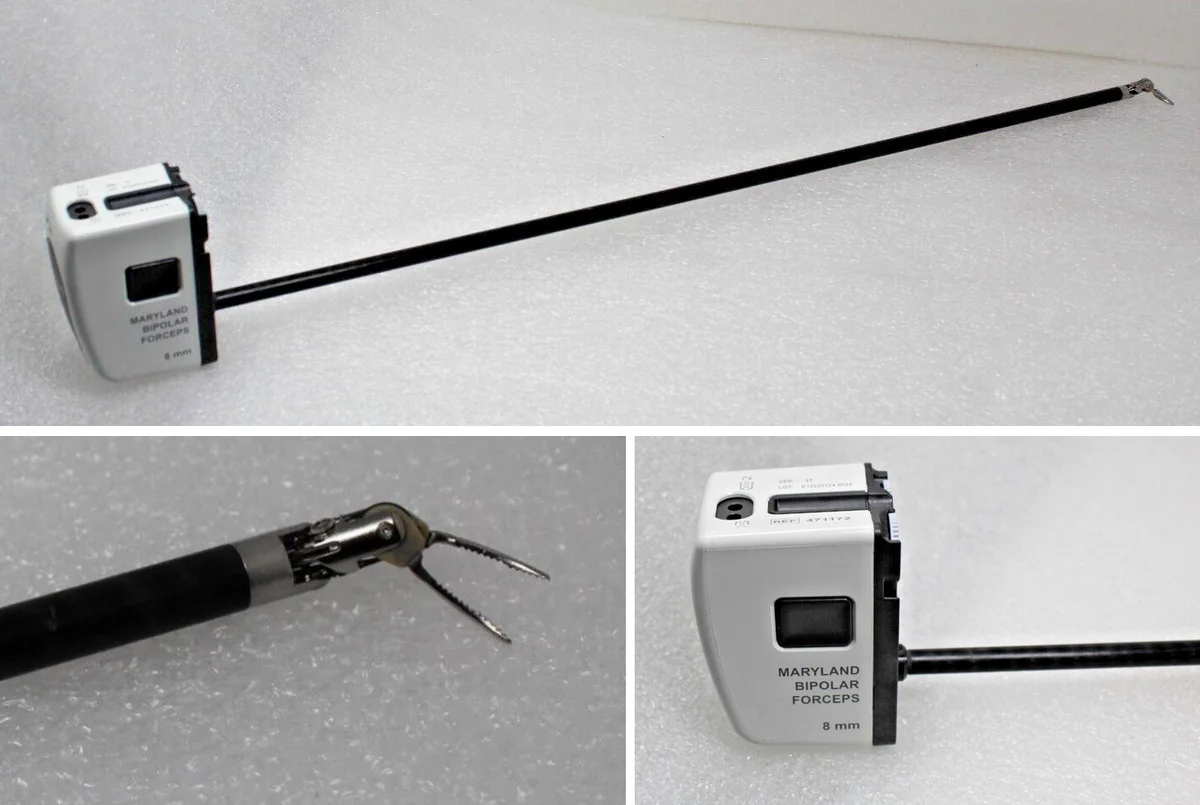
29 on this table. Tap a photo to zoom, the name for its card.
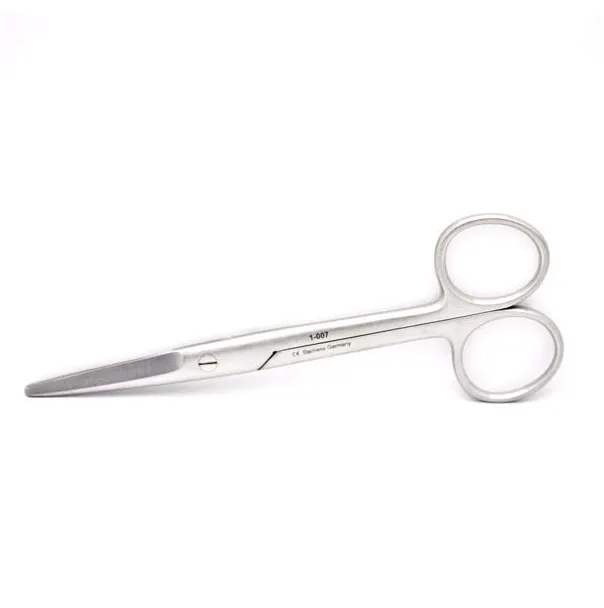
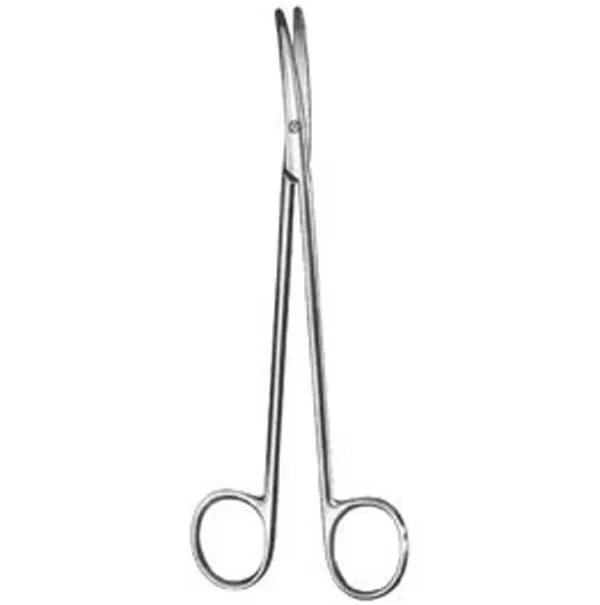
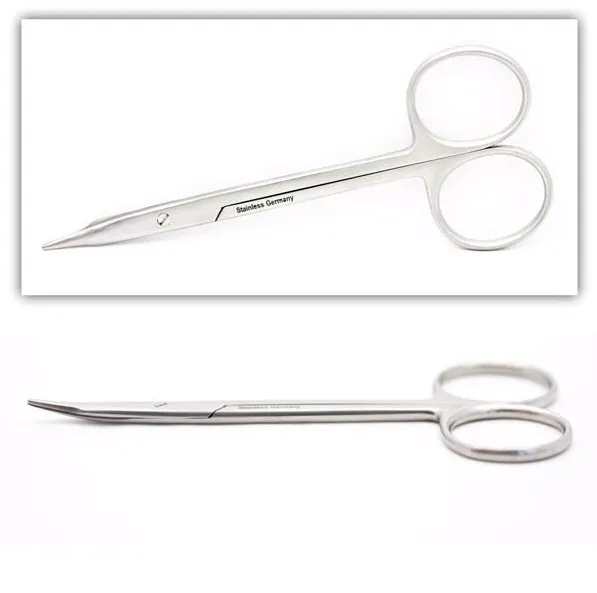
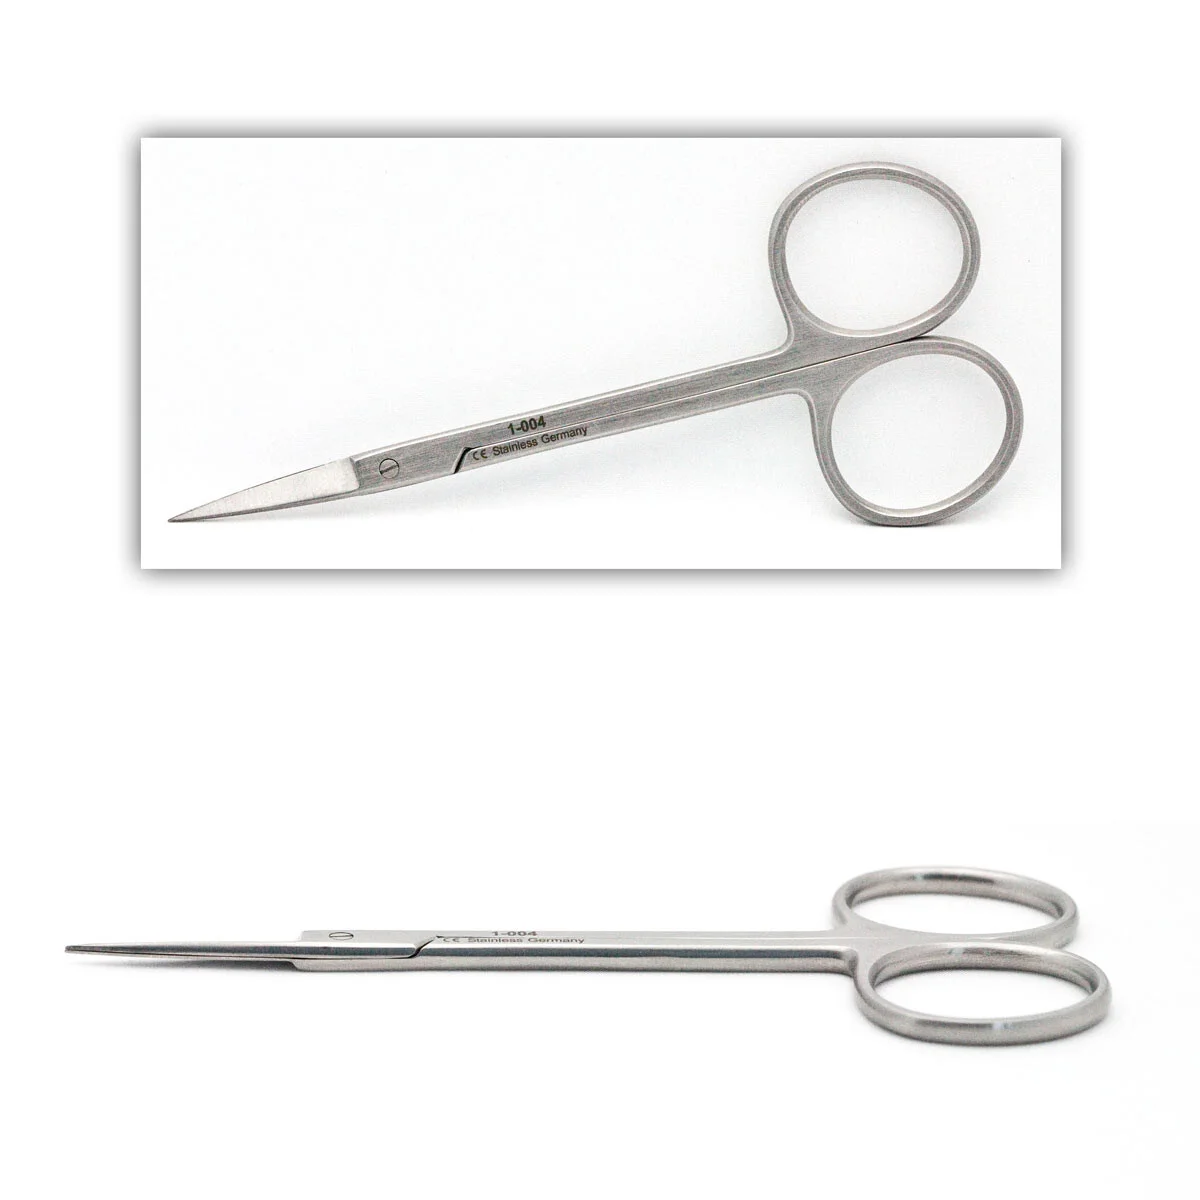
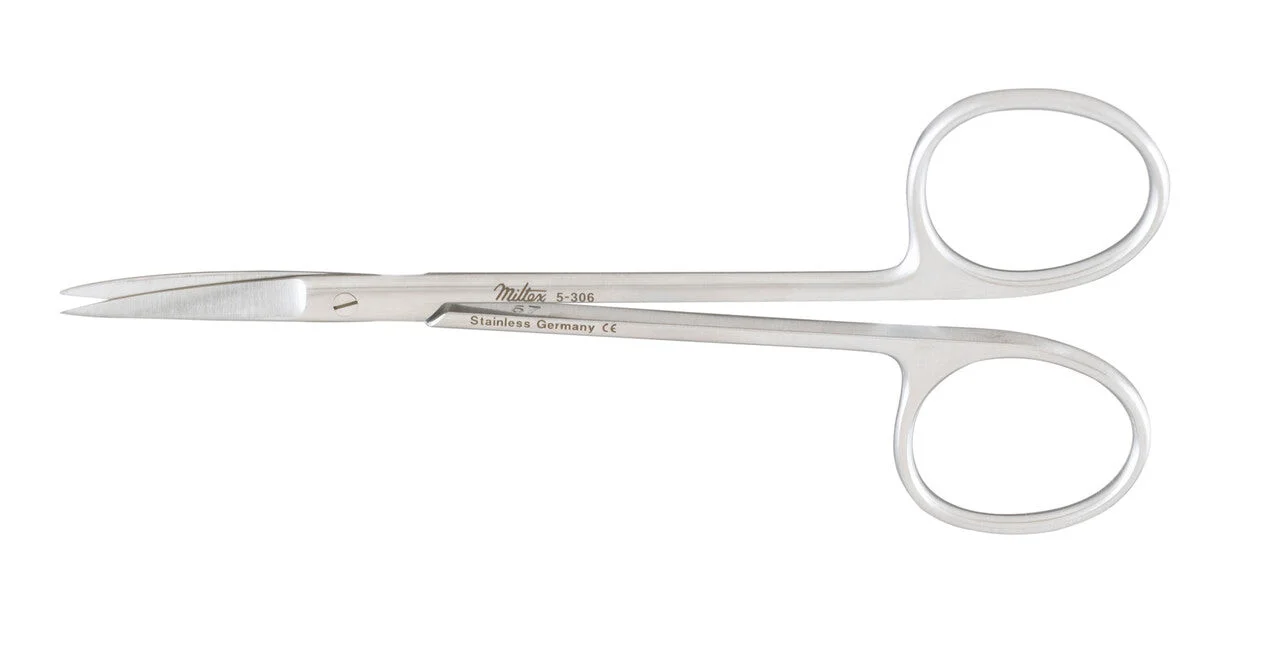
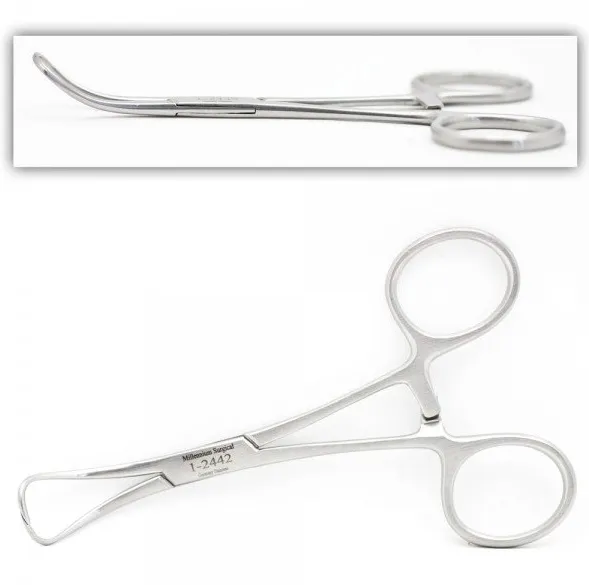
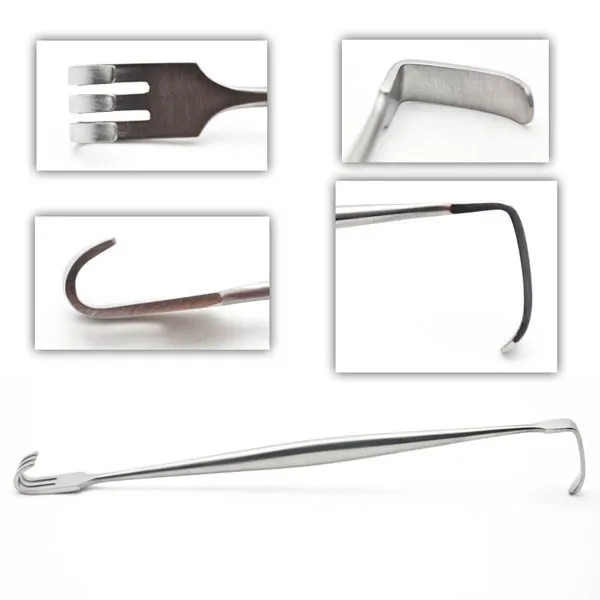
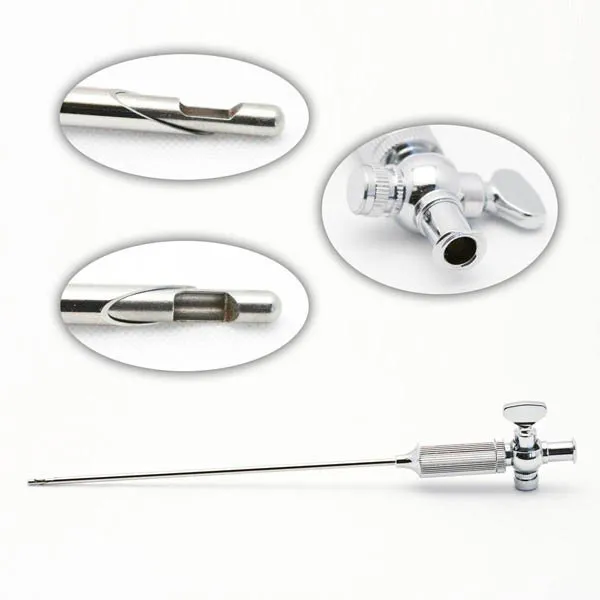
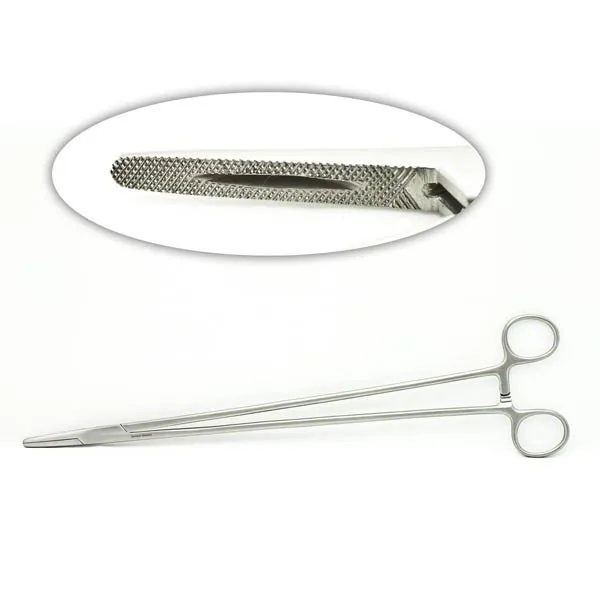
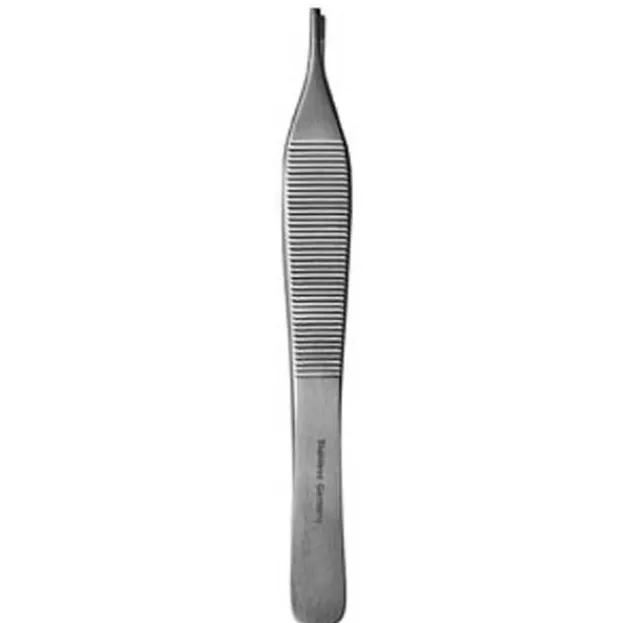
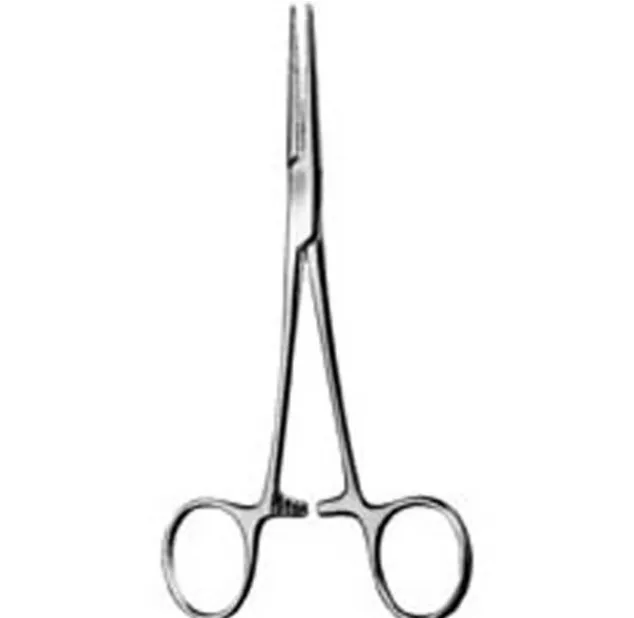
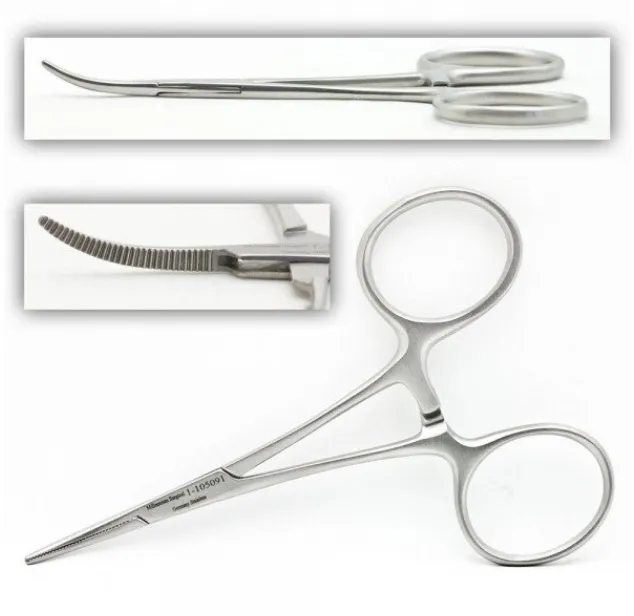
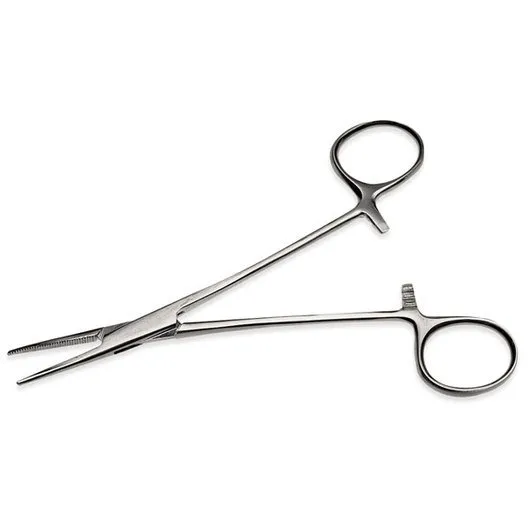
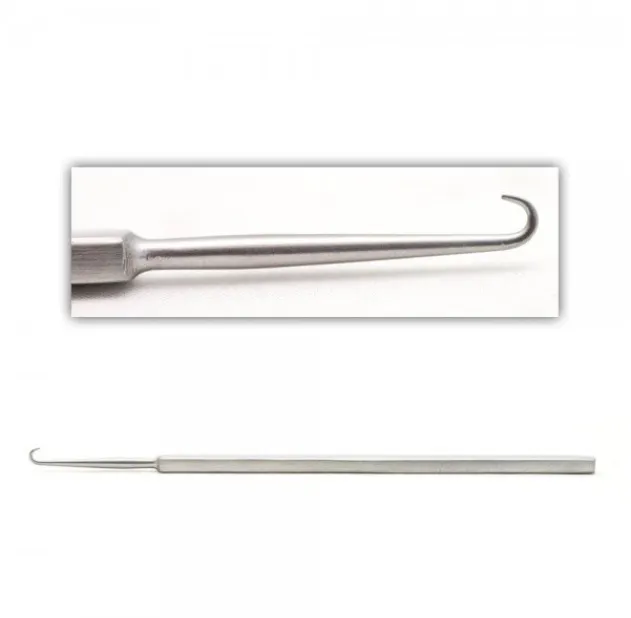
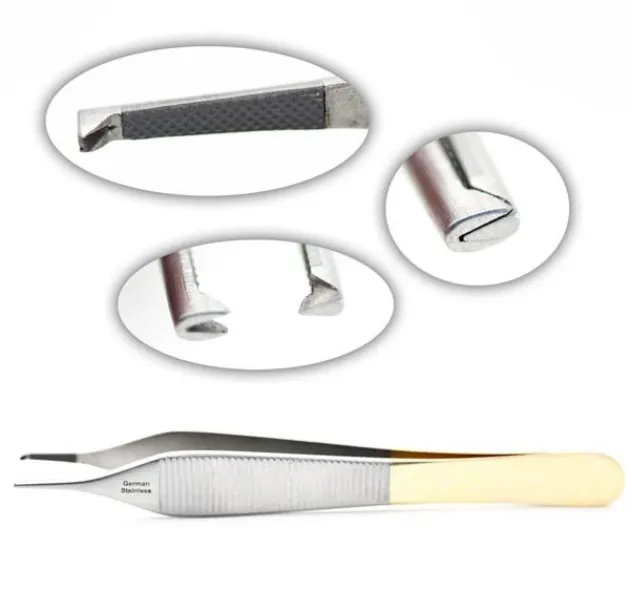
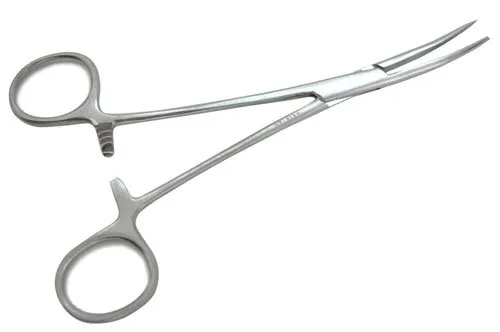
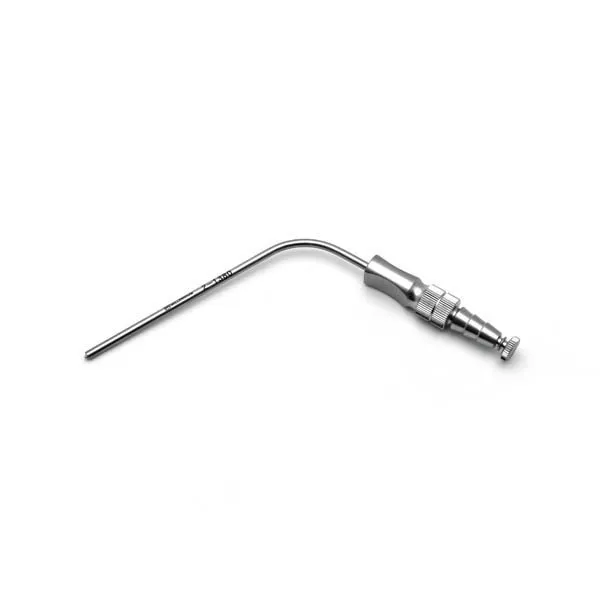
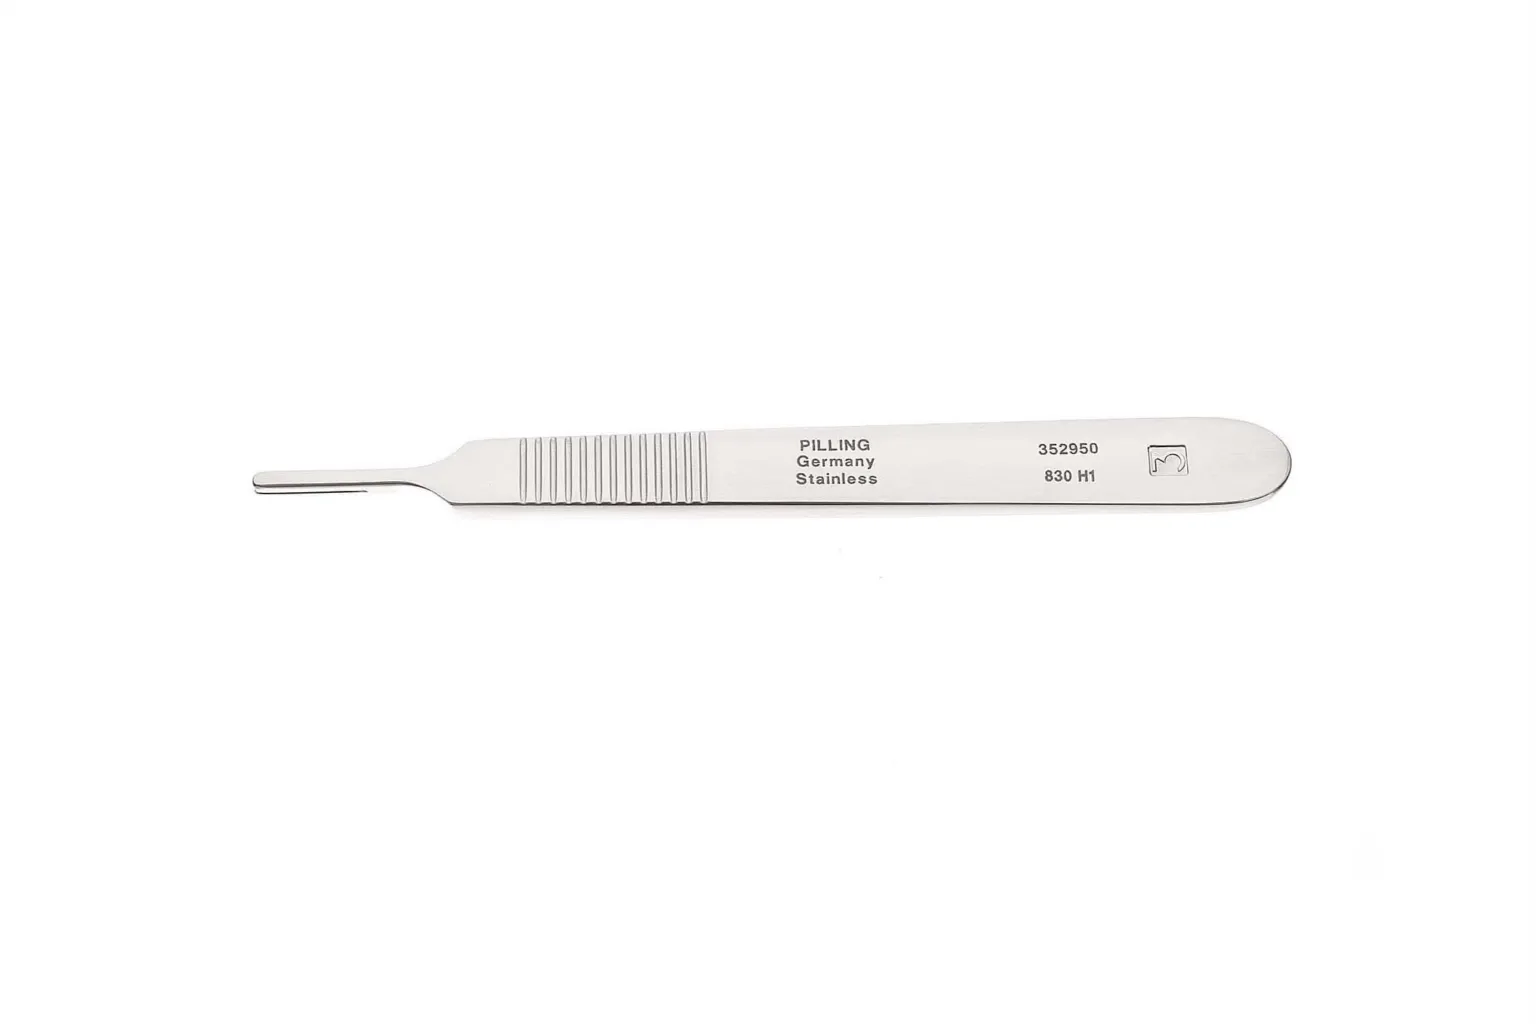
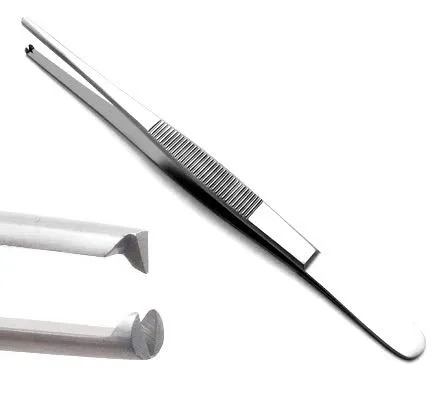
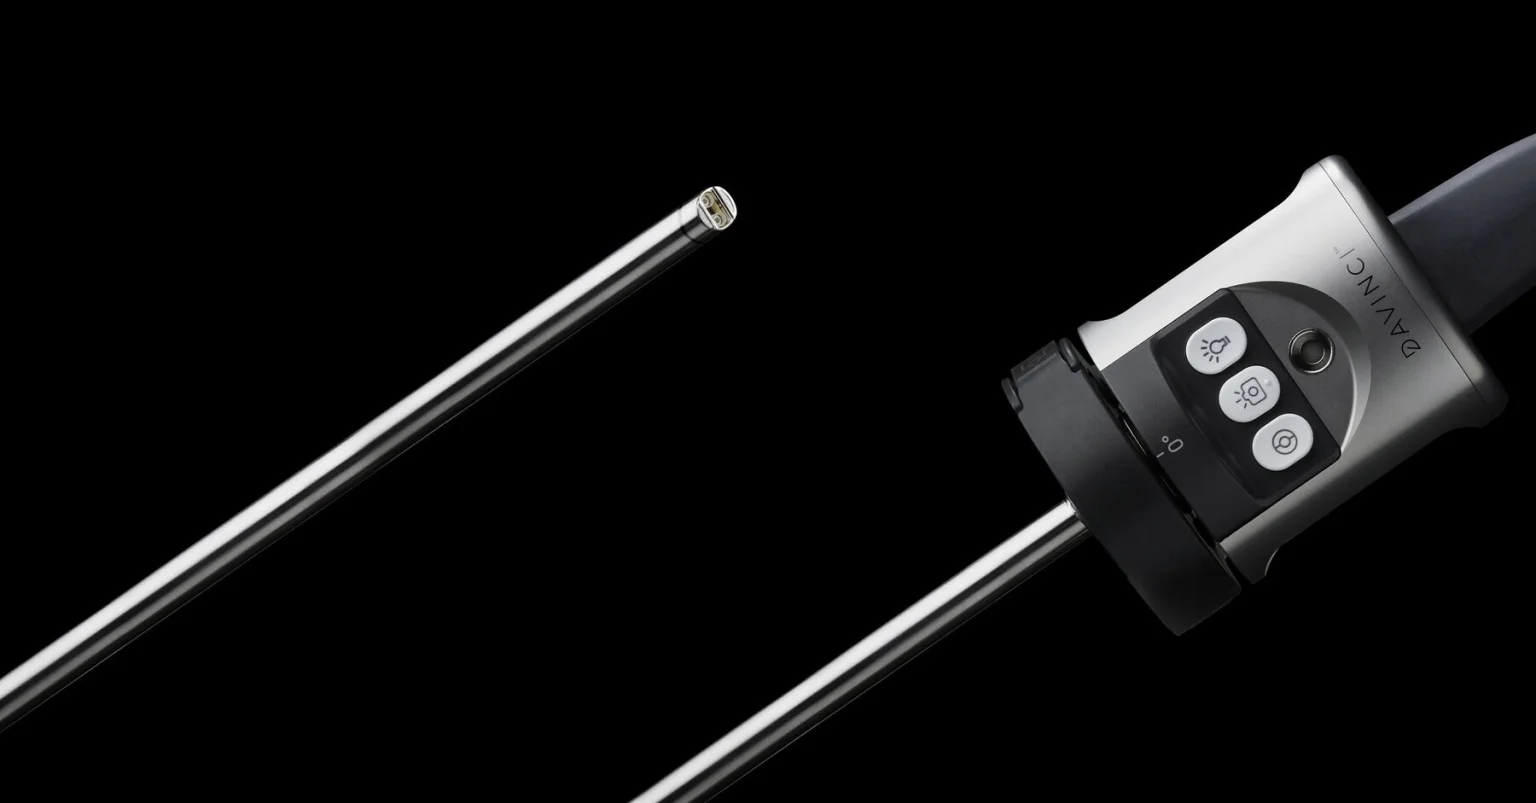
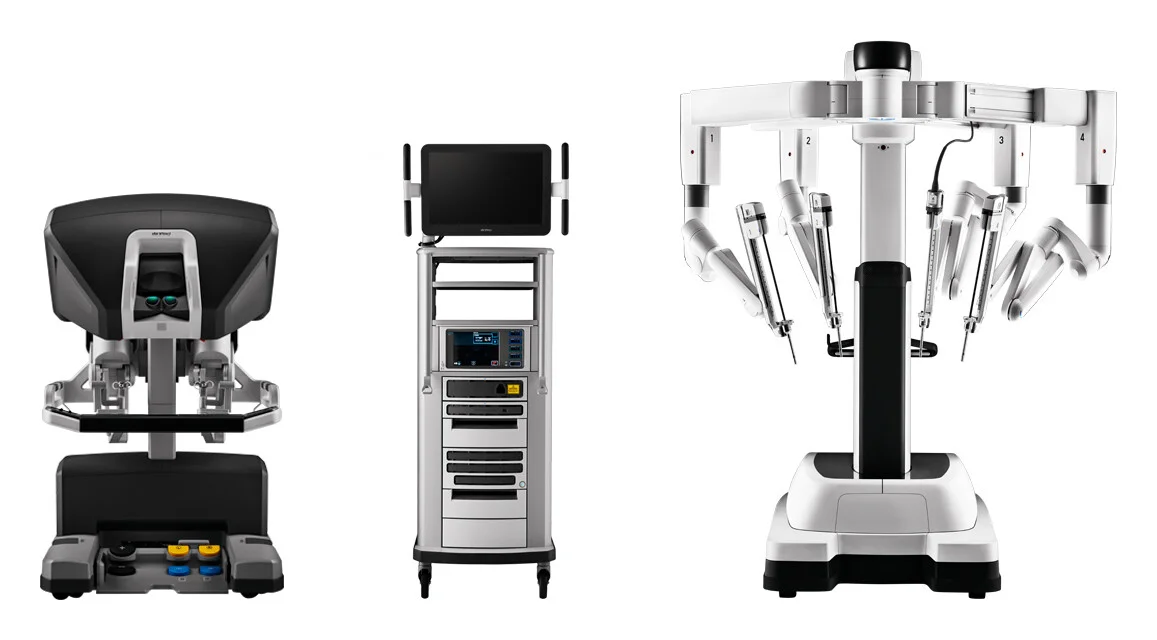
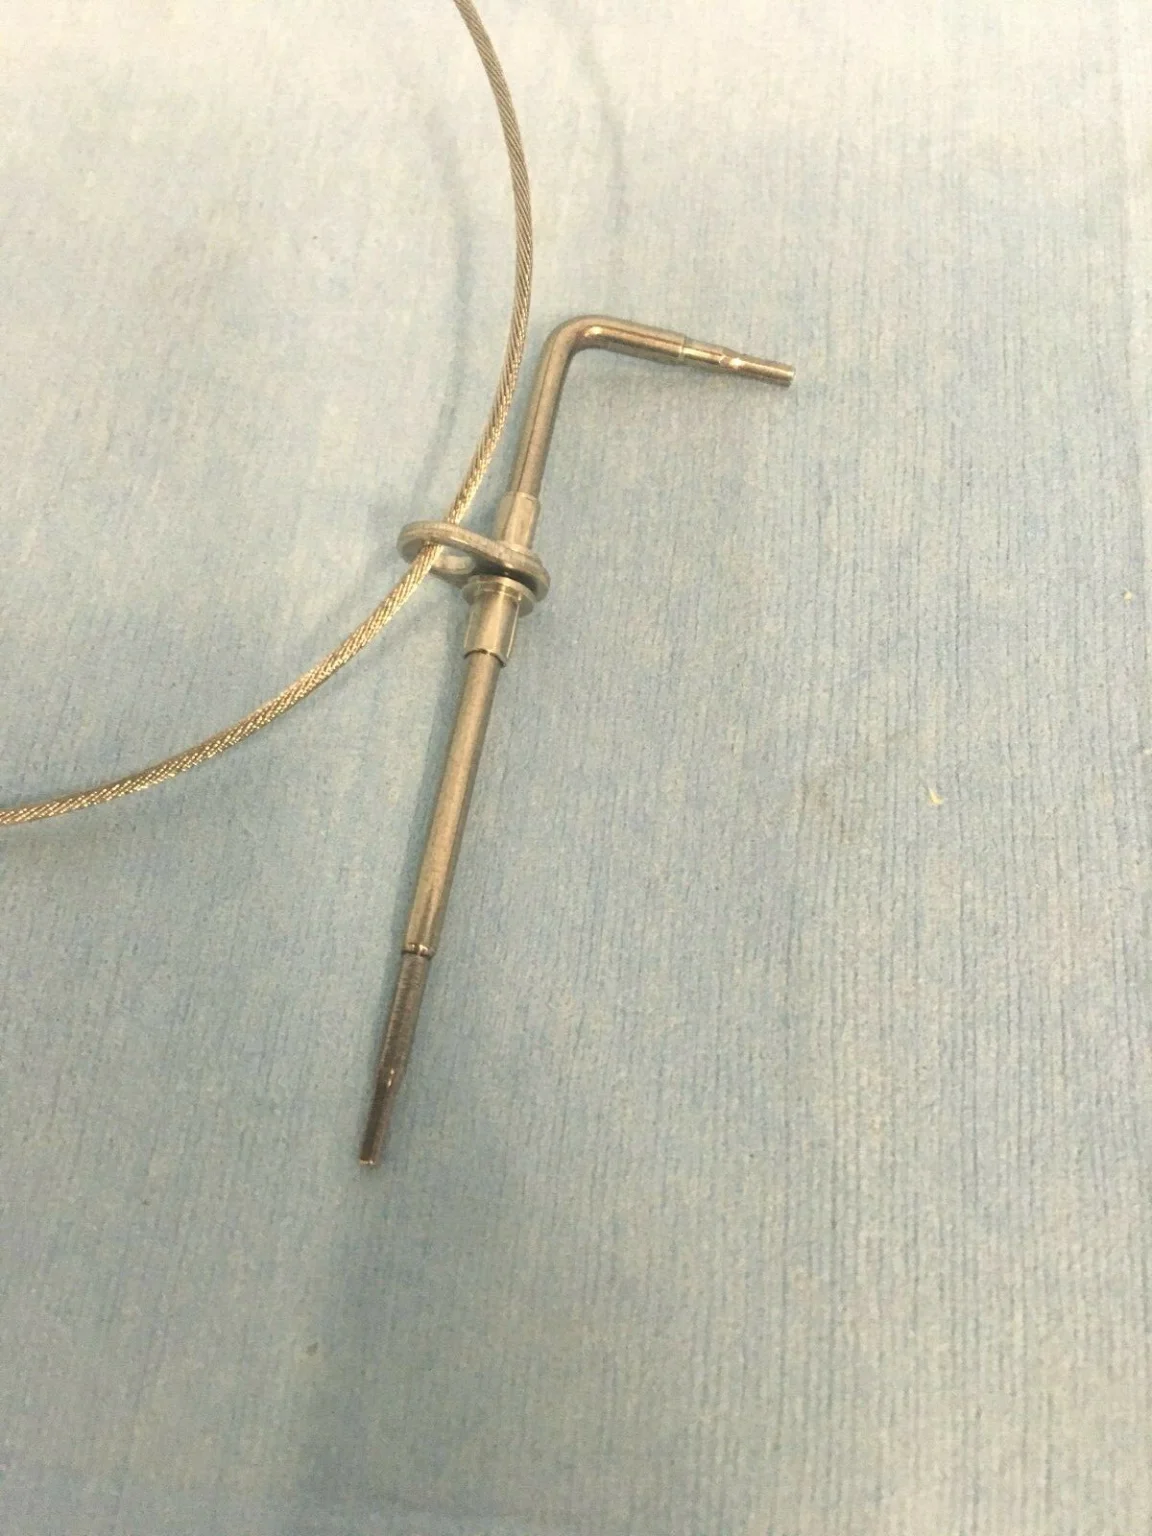
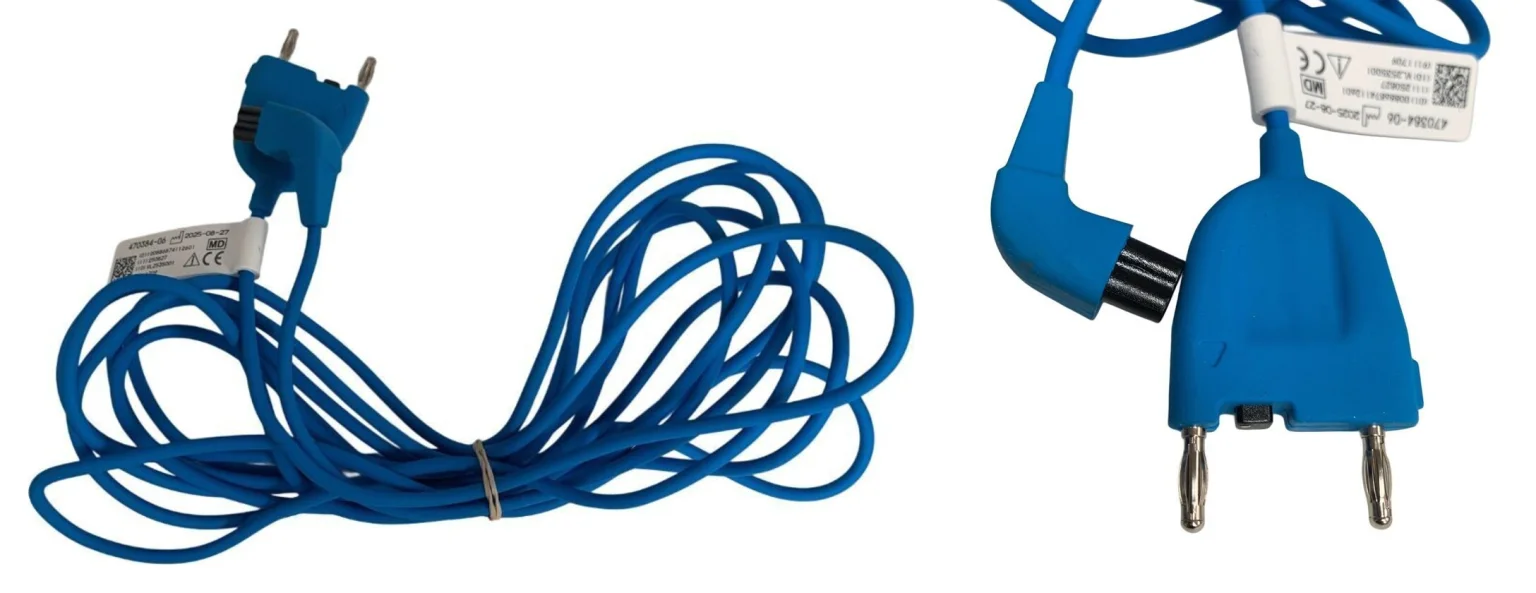
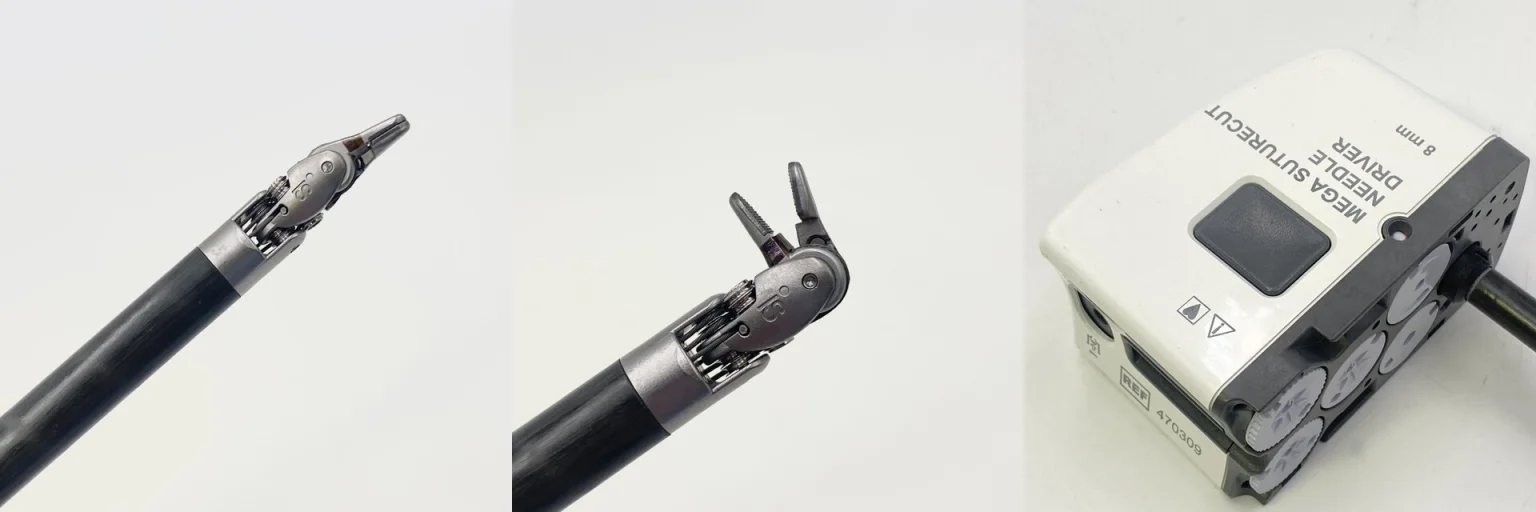
The case
Spark notes
The 30-second rundown. Scan this outside the room.
- Hernia marked before the case; surface landmarks and mesh size marked in the room.
- General anesthesia with full relaxation until undocking; supine on an anti-slip mat, arms in, OG tube.
- Prep by hernia type; four towels and a laparotomy sheet; drape the Xi.
- Veress at Palmer's point; CO2 about 12 to 14 mm Hg.
- Three 8 mm cannulas on one flank, about 15 cm from midline and 8 cm apart.
- Table set first; cart from the opposite side; laser on the middle cannula; target the defect.
- Sutures, mesh and a marked gauze passed in at the start and counted.
- Maryland bipolar left arm, monopolar scissors right arm; ProGrasp or ruler to measure.
- Flap begins about 7.5 to 8 cm from the defect; sac freed; dissect past the far edge of the mesh.
- Needle driver in: barbed suture closes the defect; umbilicus tacked down; flap holes closed.
- Polypropylene mesh rolled in through a cannula; no fixation or four corner stitches.
- 3-0 barbed suture closes the flap; count, undock, close the ports.
Walkthrough
What the surgeon does, and what to have in your hand before they ask.
Markings, Positioning, Prep and Draping
Before the patient comes in, the surgeon marks the hernia on the skin with a felt-tip pen. In the room, the surgeon also marks the xiphoid, the rib margin, the anterior superior iliac spines and the planned mesh size. Antibiotic prophylaxis is given, and the case is done under general anesthesia with full muscle relaxation that must last until the robot is undocked. The patient lies supine on an anti-slip mat with the arms brought in and padded, and the face and breathing tube are shielded (some teams mount a metal frame on the table). Anesthesia decompresses the stomach with an orogastric tube. The prep depends on the hernia: for an umbilical or epigastric hernia, from the nipples to the upper thighs and down to the table at the sides; for an incisional hernia, a generous area centered on the old scar (ask the surgeon). Drape with four folded towels and a laparotomy sheet, and cover the Xi arms and column with sterile robot drapes.
Next up: the Veress needle for Palmer's point.
Insufflation
The Veress needle goes in at Palmer's point, below the left rib margin, and the abdomen is filled with CO2 to about 12 to 14 mm Hg.
Next up: three 8 mm da Vinci cannulas.
Placing the Cannulas Along the Flank
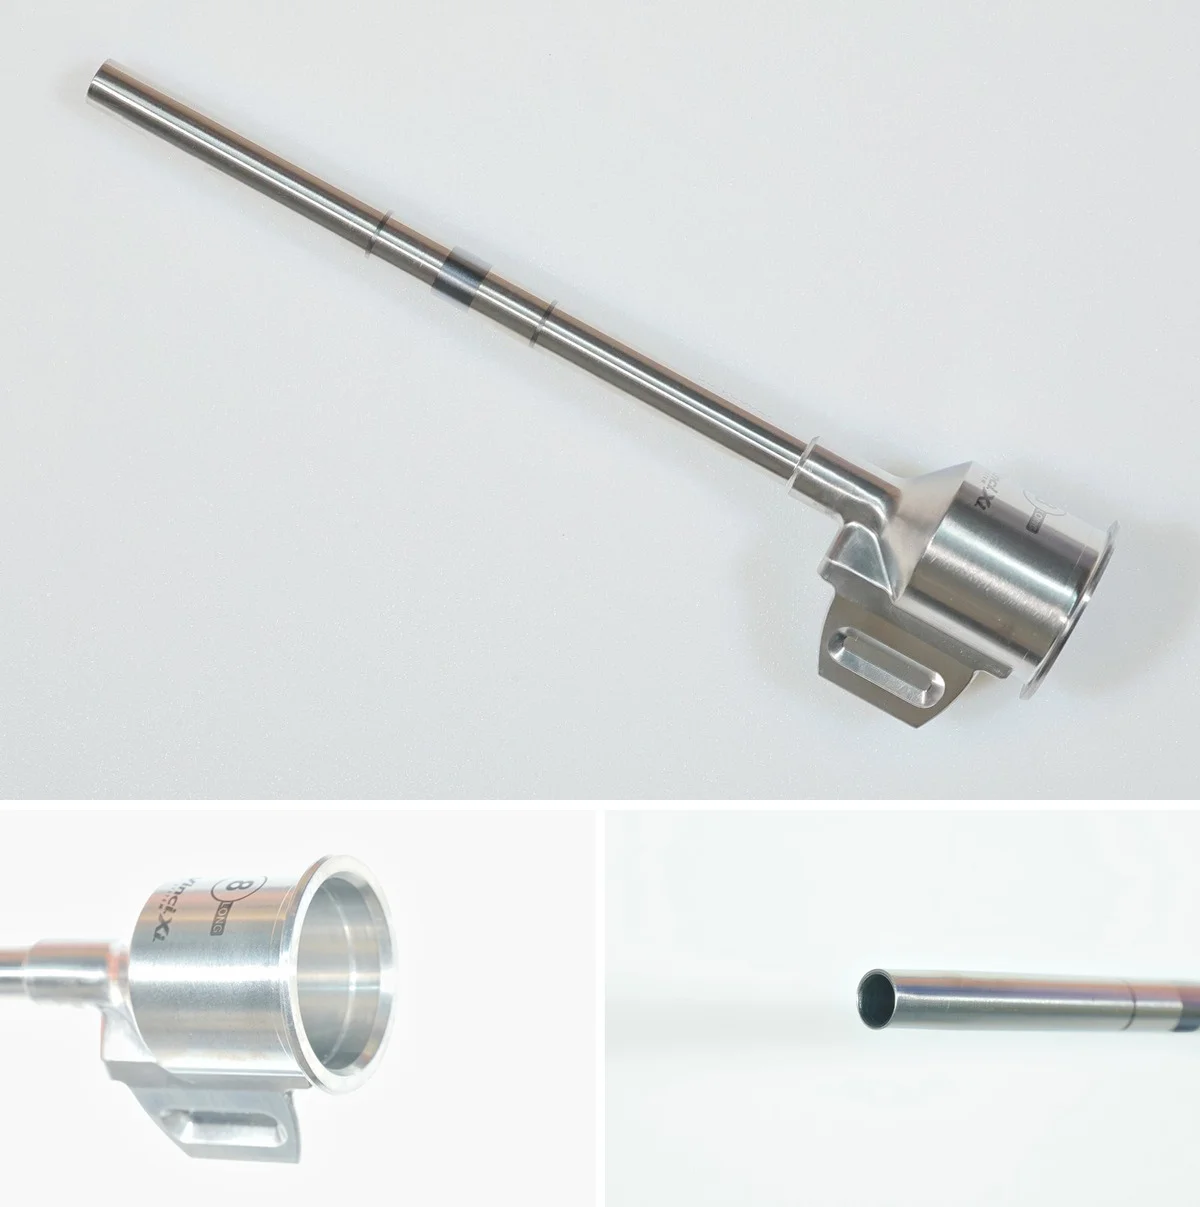
All three 8 mm robotic cannulas are lined up along one side of the abdomen, far from the hernia: about 15 cm out from the midline and about 8 cm apart (never less than 5 cm). The cannulas must also sit at least 5 to 7 cm outside the planned edge of the mesh. The top cannula goes in first, near the midaxillary line, the surgeon looks around the abdomen through it, and the other two are placed while watching from inside. Tilting the table with the port side up lets the bowel fall away and gives more room. In a small or slim patient, some surgeons place the cannulas low across the lower abdomen instead, with the table extended.
Next up: lowering the table and bringing in the patient cart.
Docking From the Side
Before docking, the patient's position must be final; once the arms are attached, the table and cart cannot be moved unless the table is linked to the robot with integrated table motion. The table is lowered as far as it goes and the cart's boom is raised so the arms clear the patient. The cart comes in from the side opposite the ports, the targeting laser is lined up on the middle cannula, and the endoscope goes into that cannula aimed at the hernia. Targeting is set on the hernia defect, and then the other two arms are docked. At the start, pass in the sutures, the tailored mesh and a radiopaque-marked gauze; record them in the count.
Next up: the Maryland bipolar forceps for the left arm and the monopolar scissors for the right.
Loading the Working Instruments
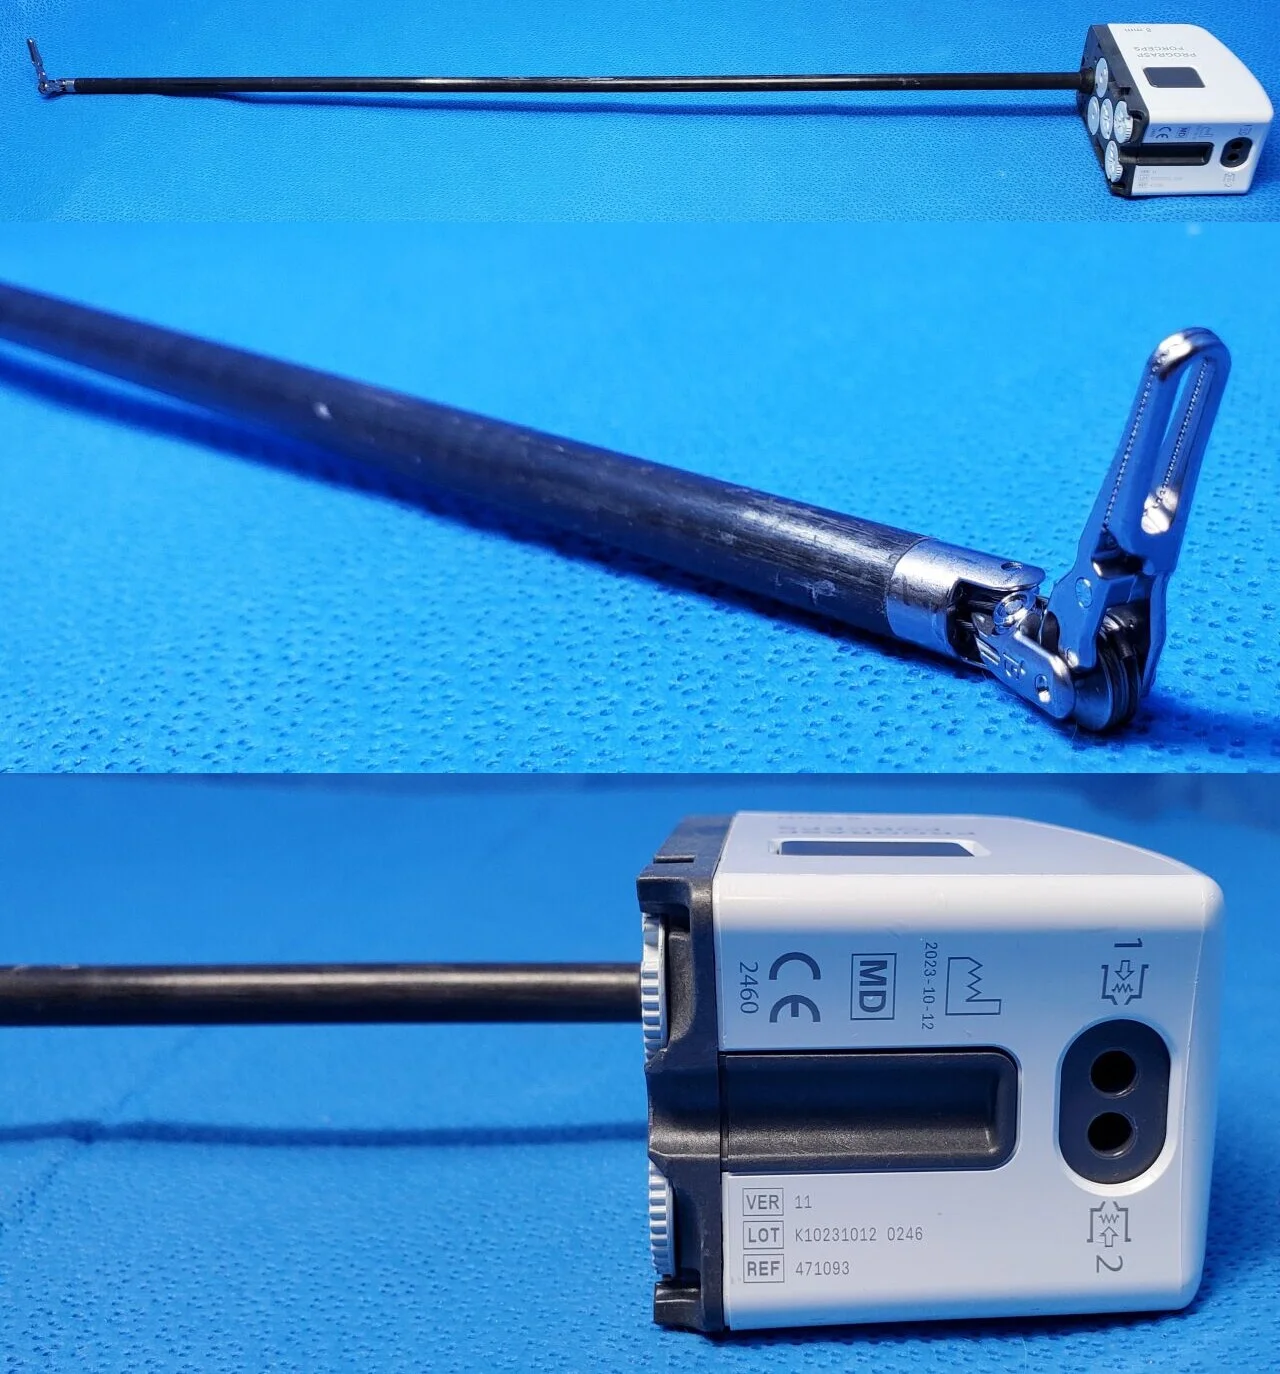
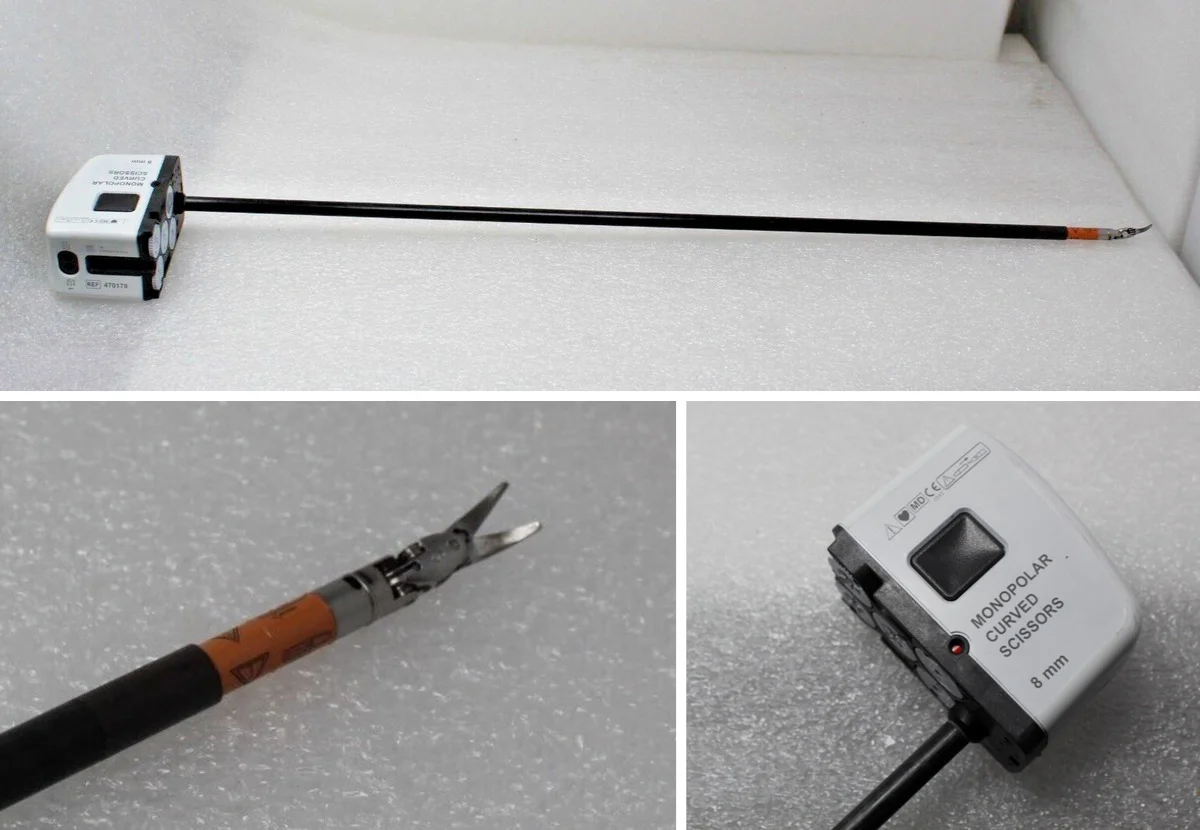
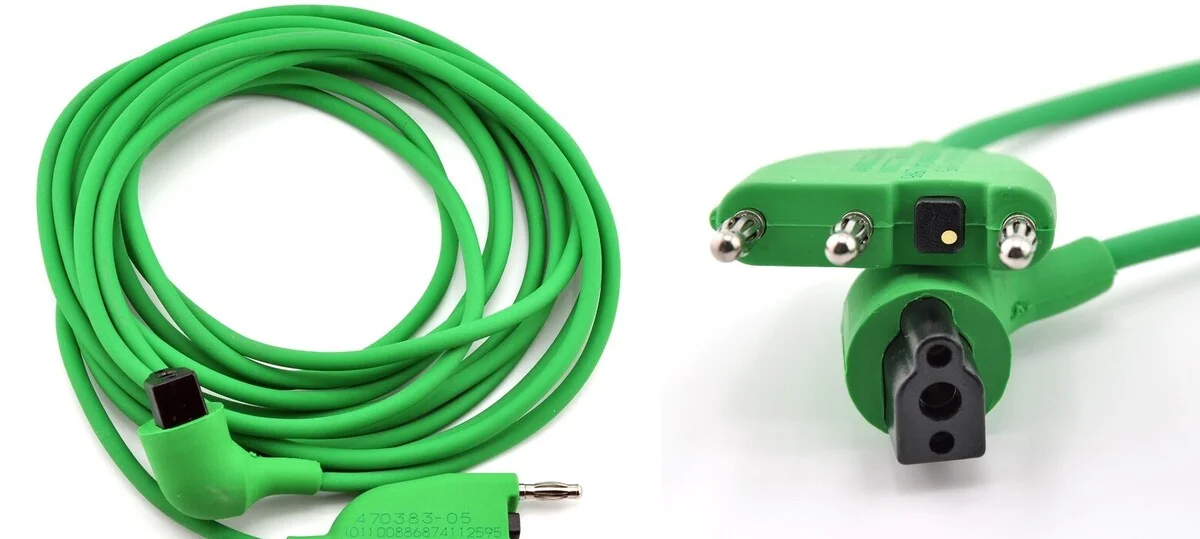
The robotic Maryland bipolar forceps goes in on the left arm and the monopolar curved scissors on the right arm. Connect the bipolar and monopolar cords. If the surgeon uses the ProGrasp forceps instead, its angled jaw is about 4 cm long and can be used like a ruler; otherwise have a sterile ruler ready.
Next up: the scissors for adhesions.
Freeing Adhesions and Reducing the Hernia
Any bowel or omentum stuck to the front of the abdominal wall is freed, as in a laparoscopic repair. The hernia contents are then brought back into the abdomen with a gentle pull from inside and pressure on the skin from outside. A virgin abdomen may have no adhesions to take down.
Next up: the Maryland forceps and scissors for the peritoneal flap.
Raising the Peritoneal Flap
The edge of the dissection is measured out from the hernia (with the ProGrasp jaw or the ruler) and marked on the peritoneum with small dots of monopolar cautery so the mesh will overlap enough. The flap is usually started about 7.5 to 8 cm from the defect. The Maryland forceps lifts the peritoneum and the scissors open it along the whole lateral edge; the surgeon then works toward the hernia between the peritoneum and the fascia, using mostly sharp and blunt dissection and very little cautery. The gas pressure helps open the plane. Above and below the umbilicus there is more fat under the peritoneum, which makes this easier. Every effort is made not to tear holes in the flap.
Next up: the same instruments to free the hernia sac.
Freeing the Sac and Crossing the Midline
At the hernia, the surgeon dissects all the way around the sac and brings it down, usually with sharp dissection. For an umbilical hernia, the ligaments that meet at the umbilicus are divided so the mesh can lie flat, and the thin skin of the umbilicus is protected from cautery burns. The linea alba is checked for small extra hernias, especially above the umbilicus. The dissection then continues past the midline to the far side, where the peritoneum gets thinner and tears more easily, and is carried a couple of centimeters beyond the planned mesh edge so the mesh opens out without a struggle.
Next up: the robotic needle driver and barbed suture.
Closing the Defect
The scissors are swapped for the needle driver. The hernia opening is closed with barbed suture: the guides use a permanent size 1 barbed suture or a 3-0 barbed suture, often sewn across (transversely) for an umbilical hernia so the belly keeps its shape. A separated rectus muscle (diastasis) can be repaired at the same time. For an umbilical hernia, the umbilicus is tacked back down: an assistant pushes the umbilicus in with a fingertip, the console surgeon catches its base with an absorbable stitch, and the team looks at the outside before it is tied. Any holes in the flap are closed with absorbable suture.
Next up: the mesh, rolled for insertion.
Placing the Mesh
The flat, large-pore mesh (usually polypropylene), already cut to size, is rolled up and passed in through a cannula, unrolled and laid in the pocket behind the flap so it covers the repair with wide overlap. If the mesh is cut to match the pocket, some surgeons do not fix it at all; others hold it with four loose absorbable corner stitches.
Next up: a 3-0 barbed absorbable suture for the flap.
Closing the Flap
The flap is laid back over the mesh and closed with a running 3-0 barbed absorbable suture, often from one end to the other; bites can catch the edge of the mesh. The cut end of the suture is tucked out of the abdominal cavity. This keeps the mesh off the bowel and lets it grow into the abdominal wall.
Next up: the count, then undocking.
Count, Undocking and Closure
The sponge, sharps and suture count is checked (including the marked gauze passed in at the start) and the operative field is looked over once more. The instruments come out, the cart is undocked, the cannulas are pulled while the surgeon checks for bleeding, and the gas is released. The small port sites are closed. Muscle relaxation can then be reversed.
Tips and Tricks
Port placement and docking set up the whole case, so get the table position right before the cart comes in. Keep a peel-packed instrument release kit and an open tray in the room in case of an emergency undock. Count the gauze, sutures and needles passed in through the cannulas. The patient may notice a bulge over the repair for a few months, especially if thin; it usually smooths out.
Add your table
Every surgeon runs it a little differently. Submissions stay private, are reviewed by our team, and accepted contributions earn a credit in the contributor list.