Da Vinci Xi Right Inguinal Hernia Repair
A right groin hernia is repaired from inside the abdomen with the da Vinci Xi robot: the peritoneum is peeled down, the hernia sac is pulled back, and a large mesh is laid over the whole myopectineal orifice before the peritoneum is closed over it.
29 instruments to master.
Master this setup: test yourself on every instrument, earn the tier, hold the record.
No site record yet · target 11:01
Study flashcards
Card by card, grade yourself · 29 cards
Practice test
Answer, see why · 25 at a time
Take the exam
31 questions · target 11:01
Surgical instruments
29 on this table. Tap a photo to zoom, the name for its card.
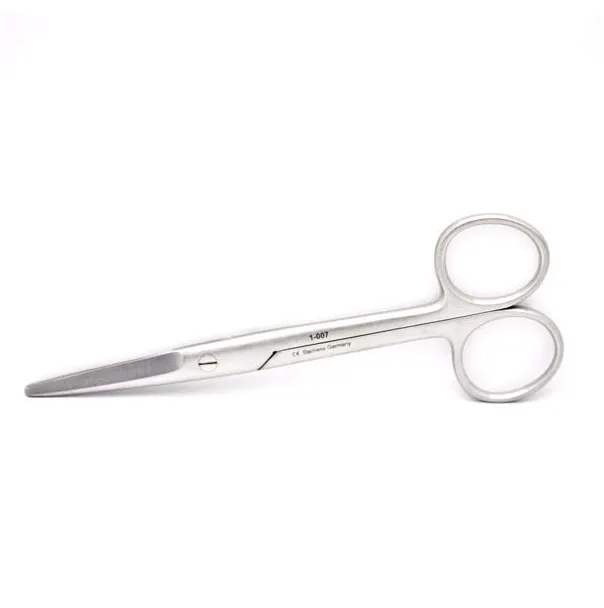
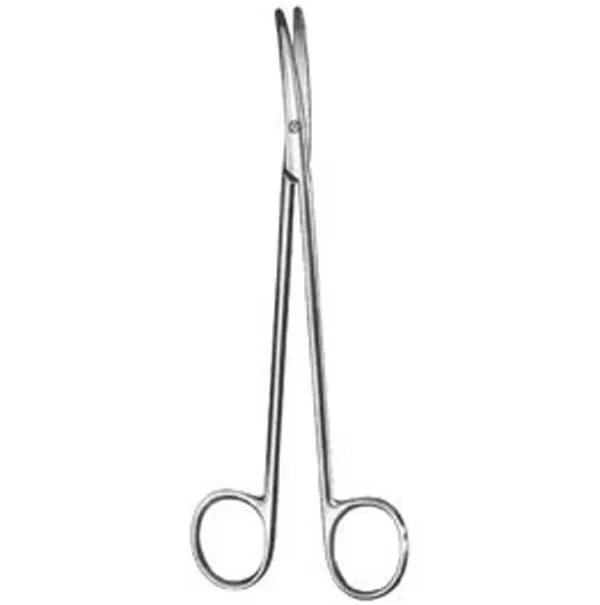
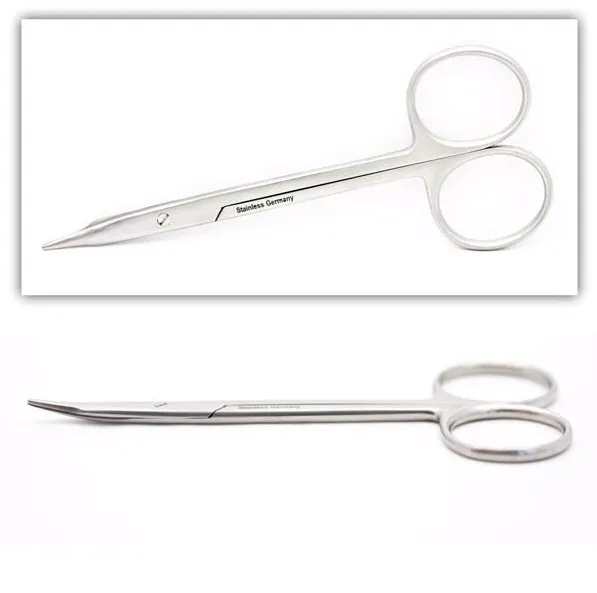
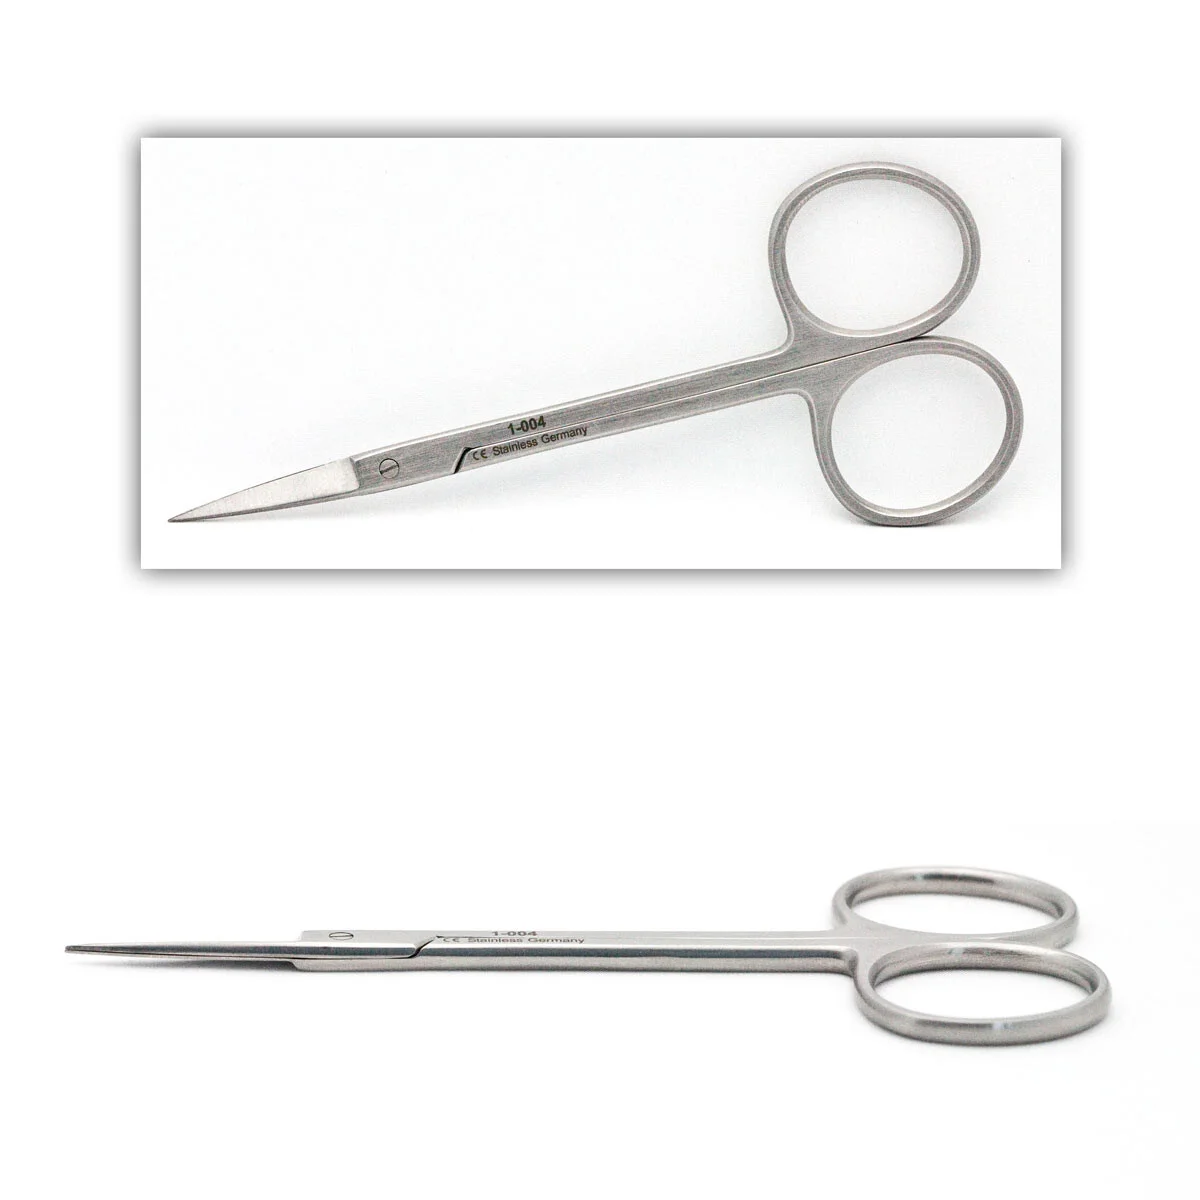
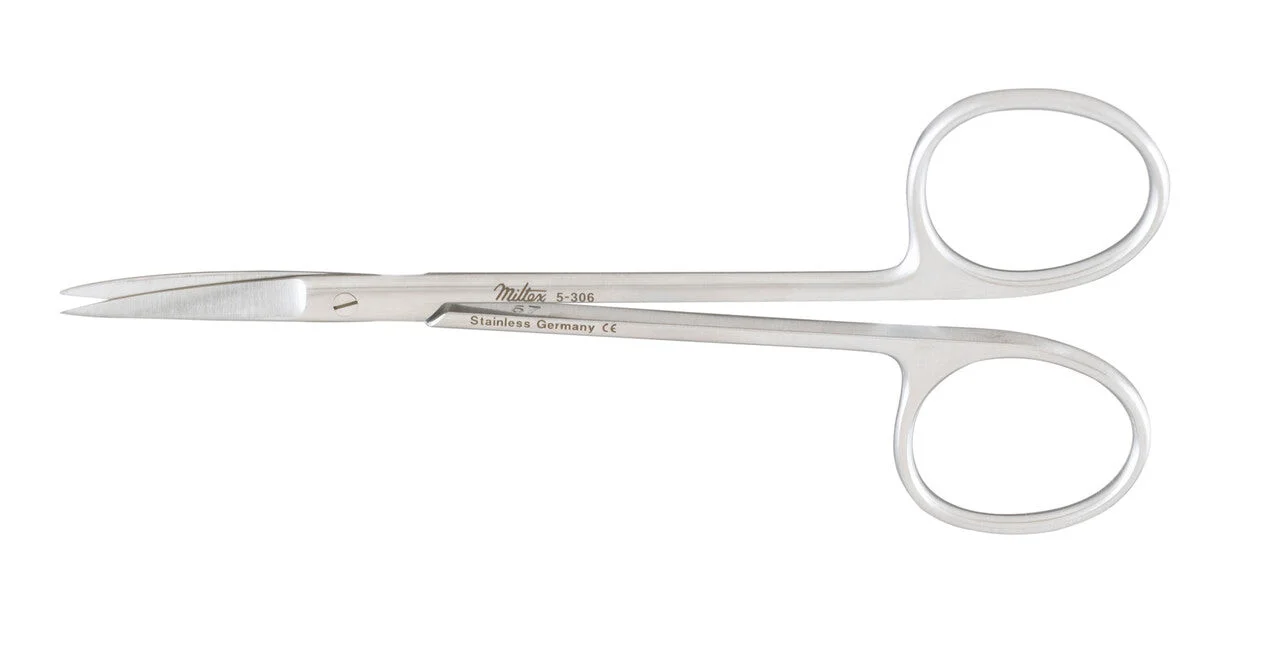
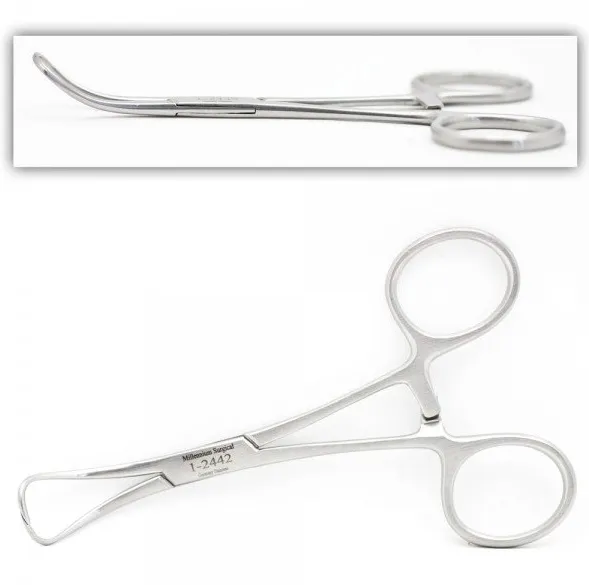
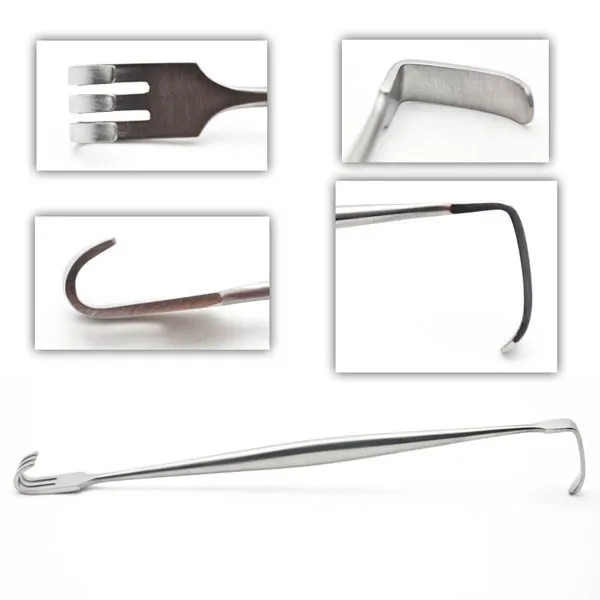
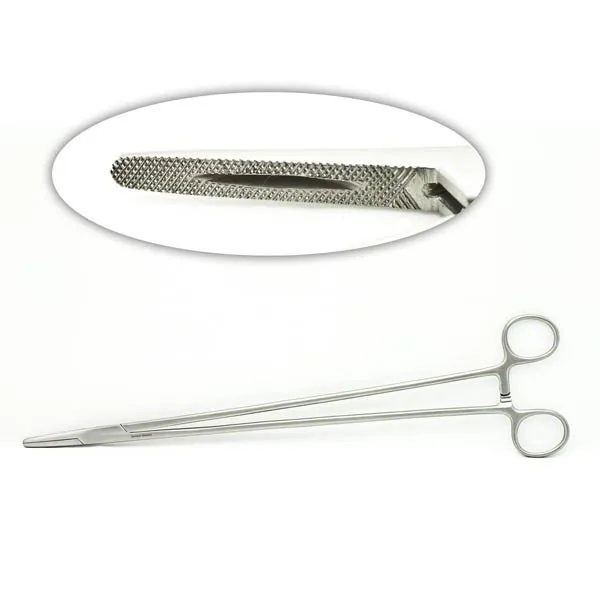
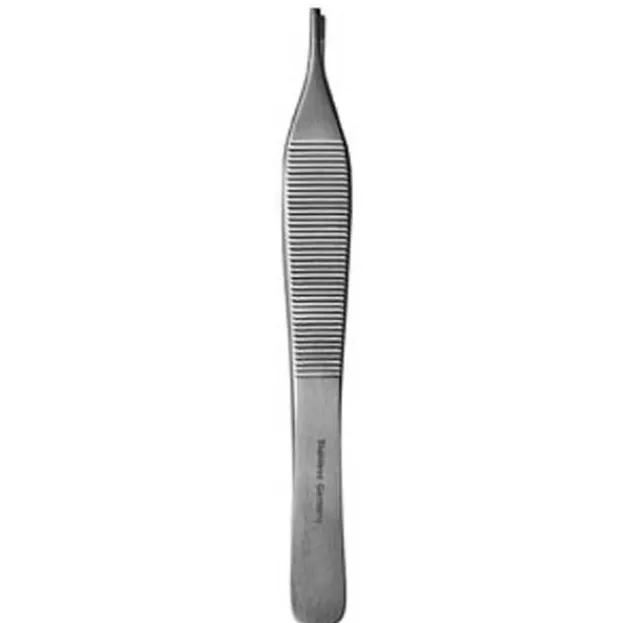
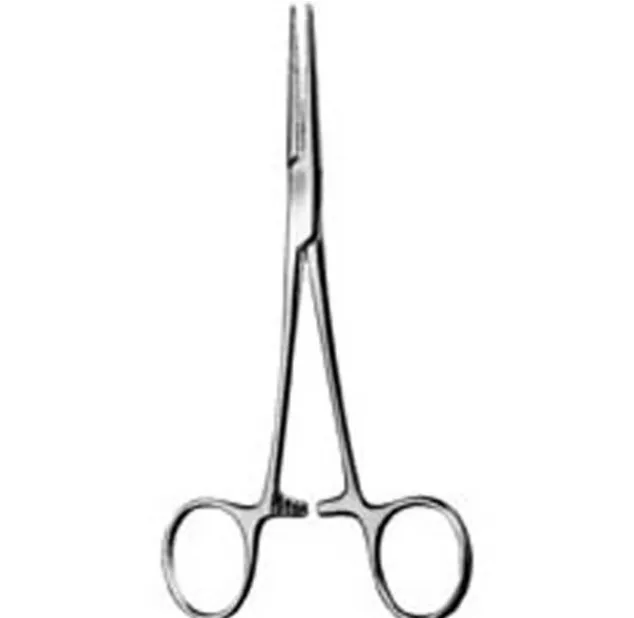
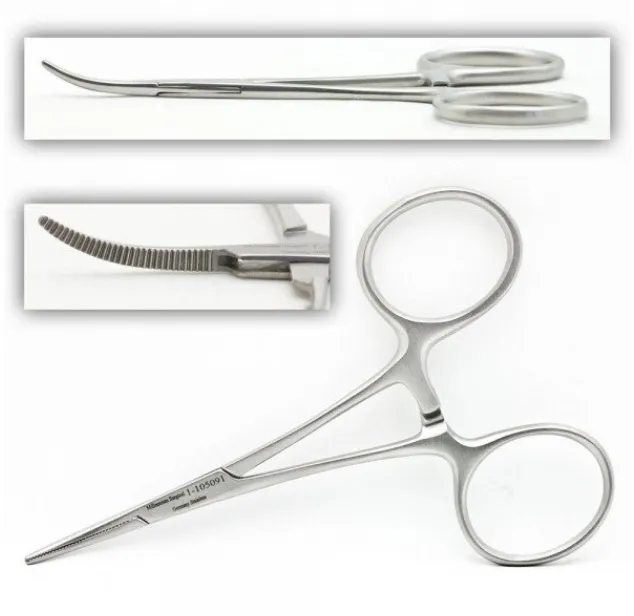
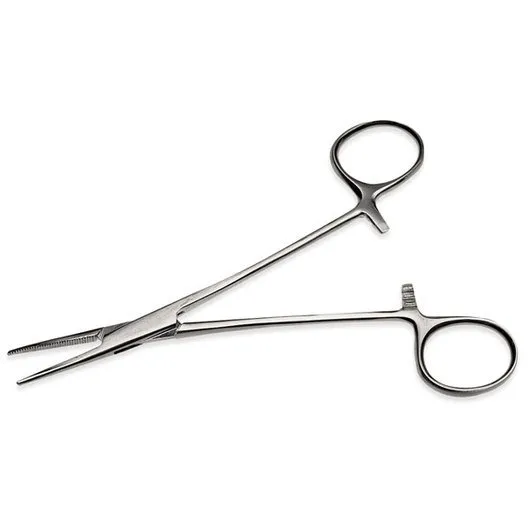
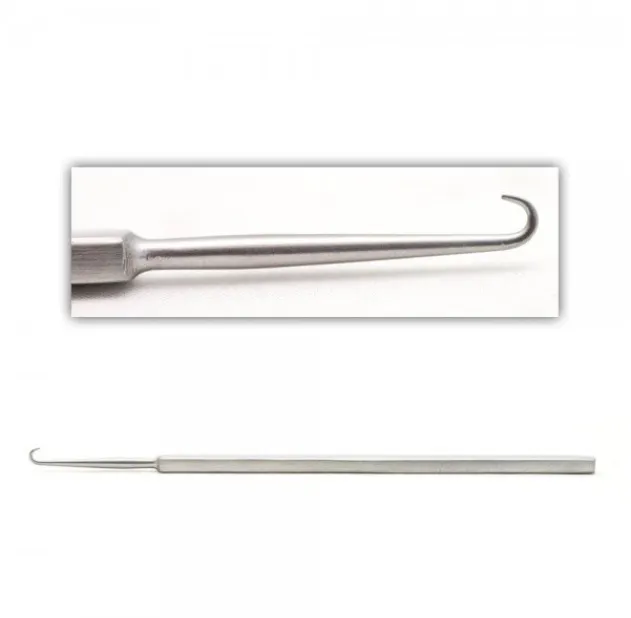
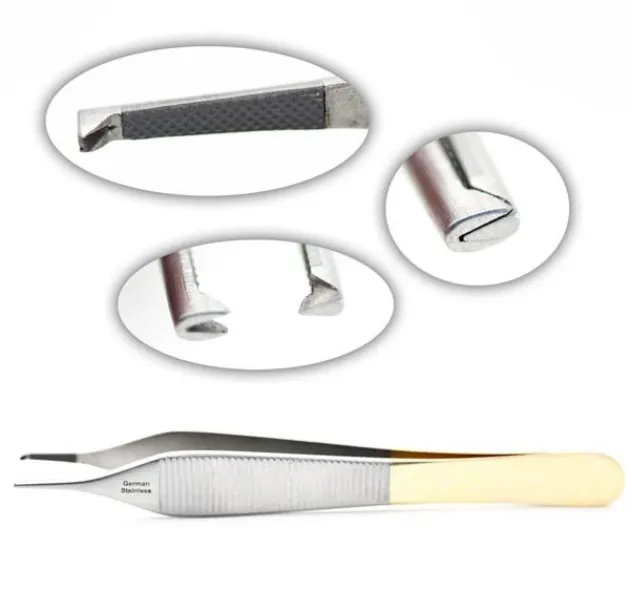
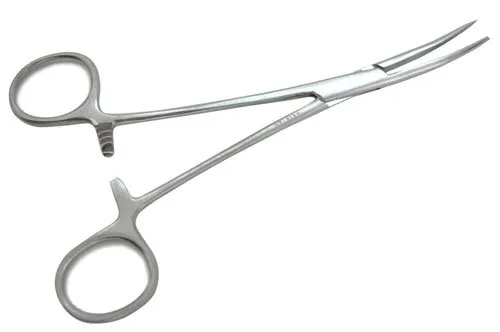
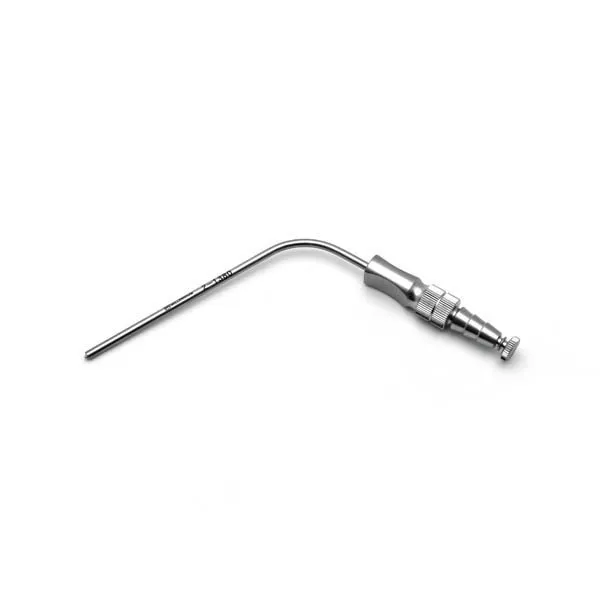
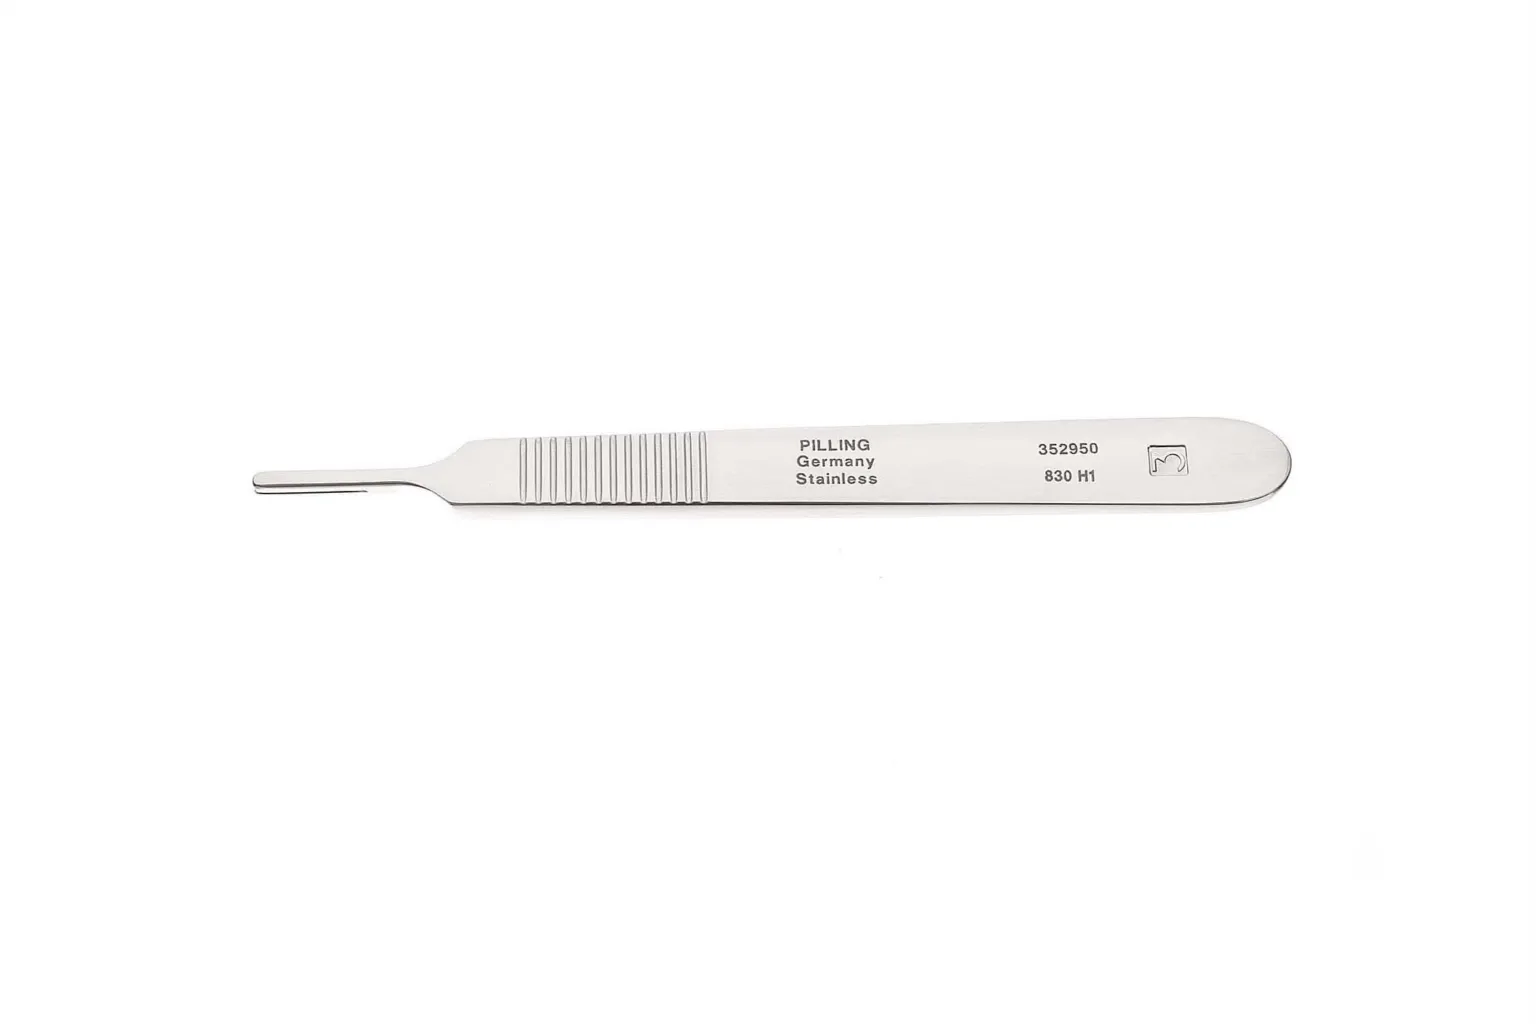
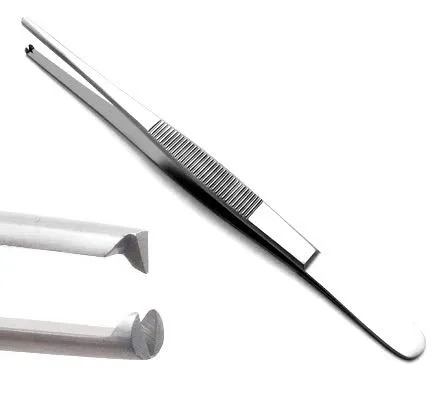
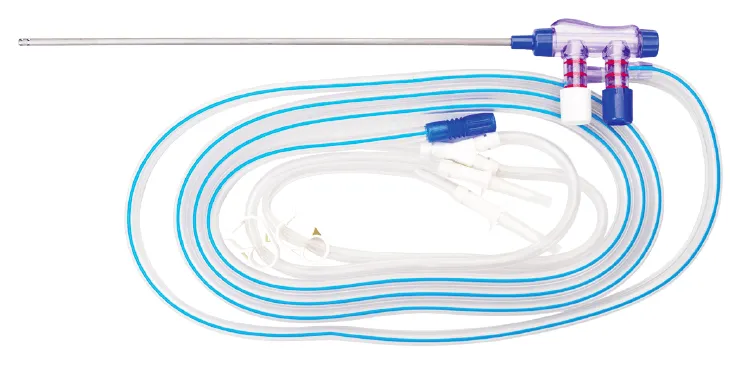
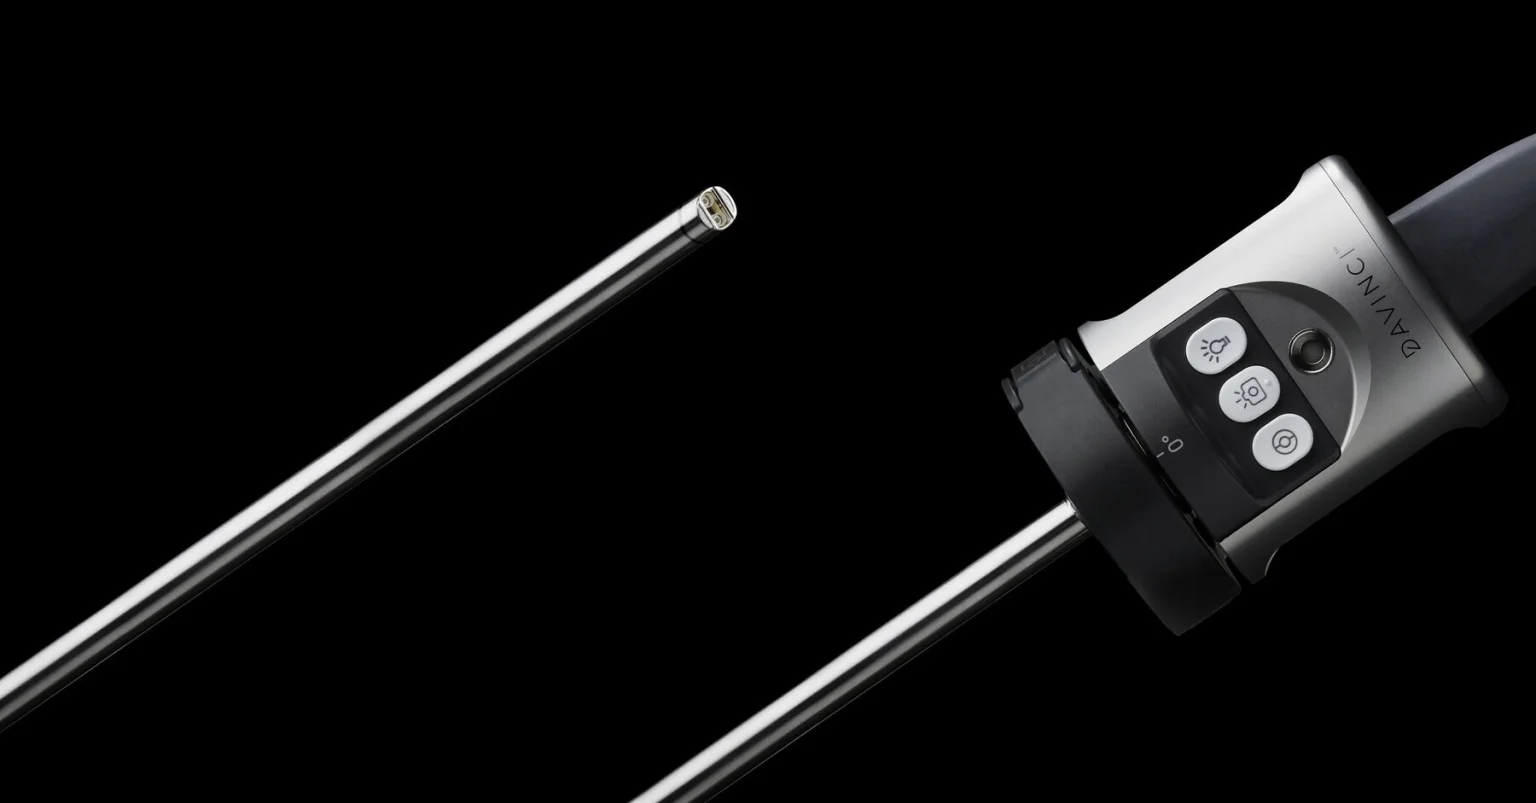
The case
Spark notes
The 30-second rundown. Scan this outside the room.
- Confirm right side, and whether the left will be explored or repaired.
- General anesthesia; supine, both arms tucked; Foley only for a full bladder.
- Prep from the right groin, nipples to mid-thigh; towels and a laparotomy sheet; drape the Xi.
- First 8 mm cannula in the left upper quadrant to insufflate.
- 8 mm midline camera port about 15 cm above the pubis; third 8 mm cannula in the right upper quadrant.
- 10 to 20 degrees Trendelenburg, then dock.
- 30-degree endoscope in the midline; bipolar grasper and monopolar scissors at the sides.
- Flap 4 to 5 cm above the right internal ring, medial umbilical ligament to ASIS.
- Clear to Cooper's ligament and below the pubis; protect the nerves; reduce the sac.
- Look at the left groin; separate flap if a bilateral repair is planned.
- Mesh about 12 x 15 cm through an 8 mm port; suture, tacks or glue per surgeon.
- Running suture closes the flap; undock, let the gas out with groin pressure, close the ports.
Walkthrough
What the surgeon does, and what to have in your hand before they ask.
Supine Positioning, Prep and Draping
The patient is given general anesthesia and antibiotics per the hospital's protocol, then lies supine with both arms tucked at the sides. A Foley catheter is placed only if needed to drain a full bladder. Pad all bony prominences and secure padded shoulder braces, because the table will be tipped head-down. The robot is programmed per the maker's instructions for this case. For a right-sided repair the prep starts at the right groin and runs from just below the nipples to the mid-thigh on the right, well across the midline to the left, and down to the table on the right; a transabdominal repair needs a wide abdominal prep. Drape with folded towels and a laparotomy sheet, and cover the Xi arms and column with the sterile robot drapes.
Next up: the first 8 mm da Vinci cannula with its obturator.
Insufflation and Port Placement
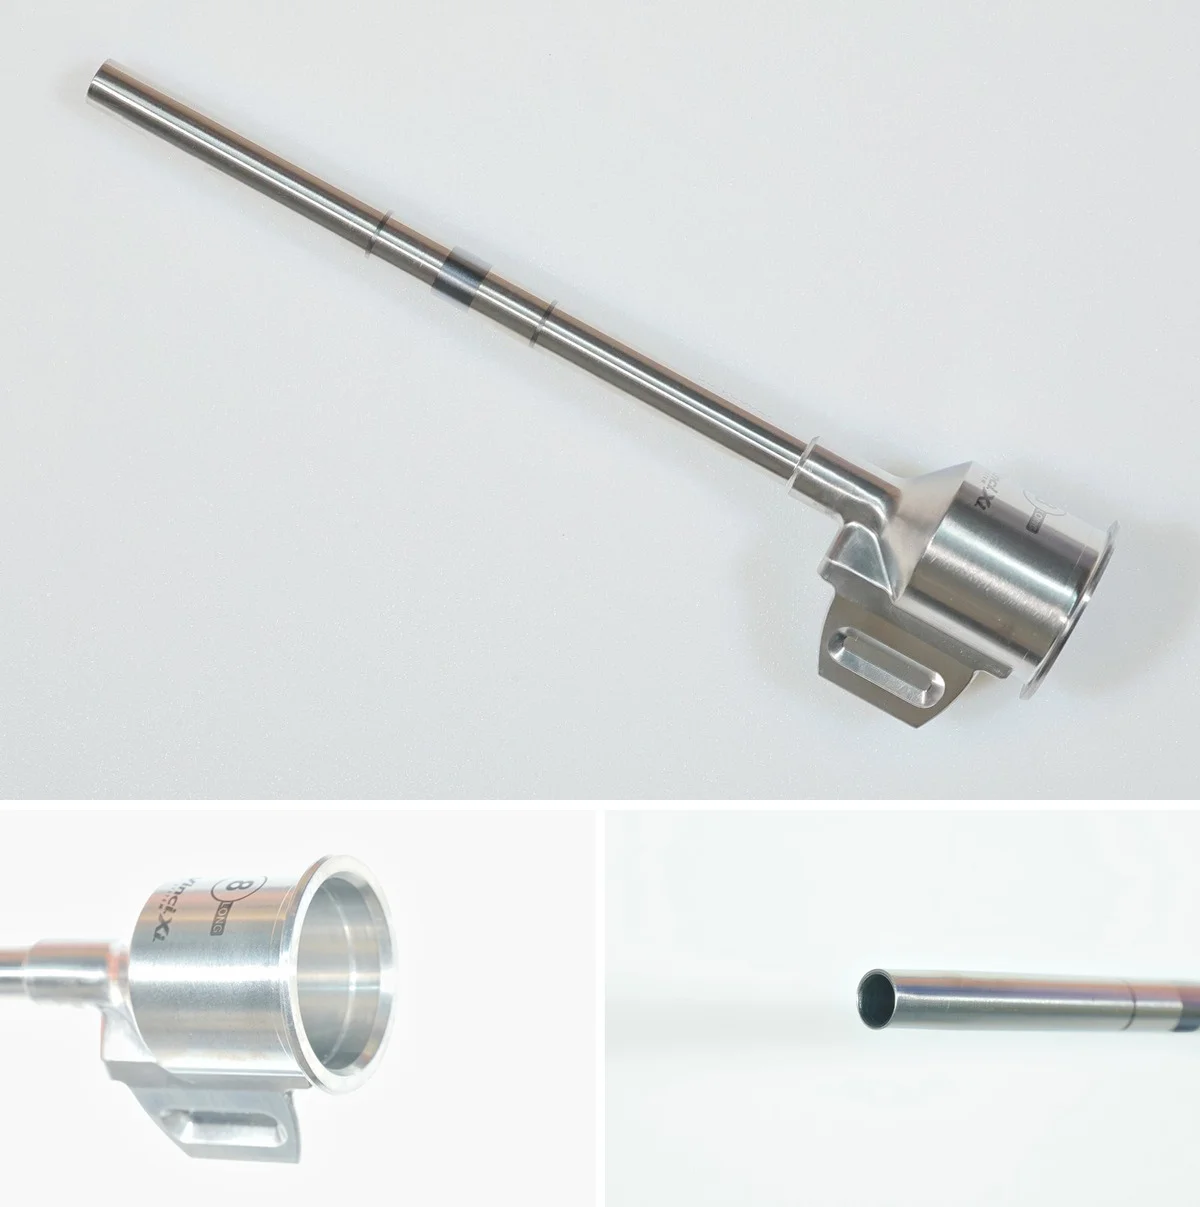
An 8 mm cannula goes into the left upper quadrant first, and the abdomen is filled with CO2 through it. The second 8 mm cannula is placed in the midline below the umbilicus, about 15 cm above the pubic bone; this is the camera port. The third goes into the right upper quadrant. All three are the robot's own 8 mm cannulas, so no 10 or 12 mm port is needed for a standard repair.
Next up: tilting the table and docking the patient cart.
Trendelenburg and Docking
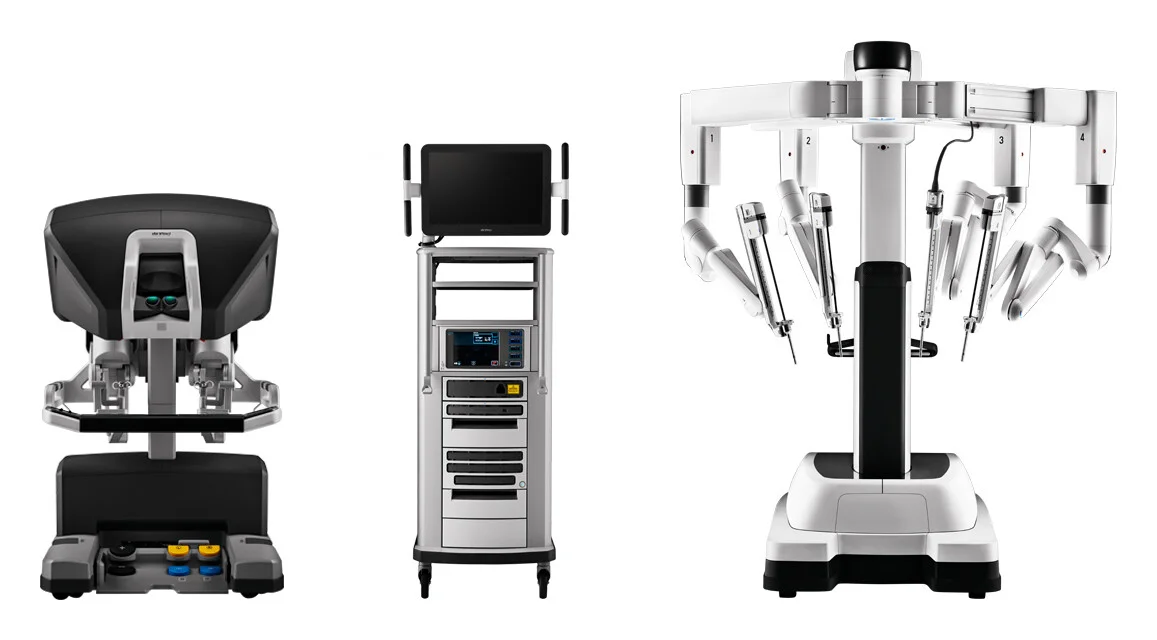
Anesthesia tips the table 10 to 20 degrees head-down so the bowel slides up out of the pelvis. The draped patient cart is brought in and docked, and its arms are attached to the three cannulas.
Next up: the 30-degree endoscope for the midline port.
Loading the Camera and Instruments
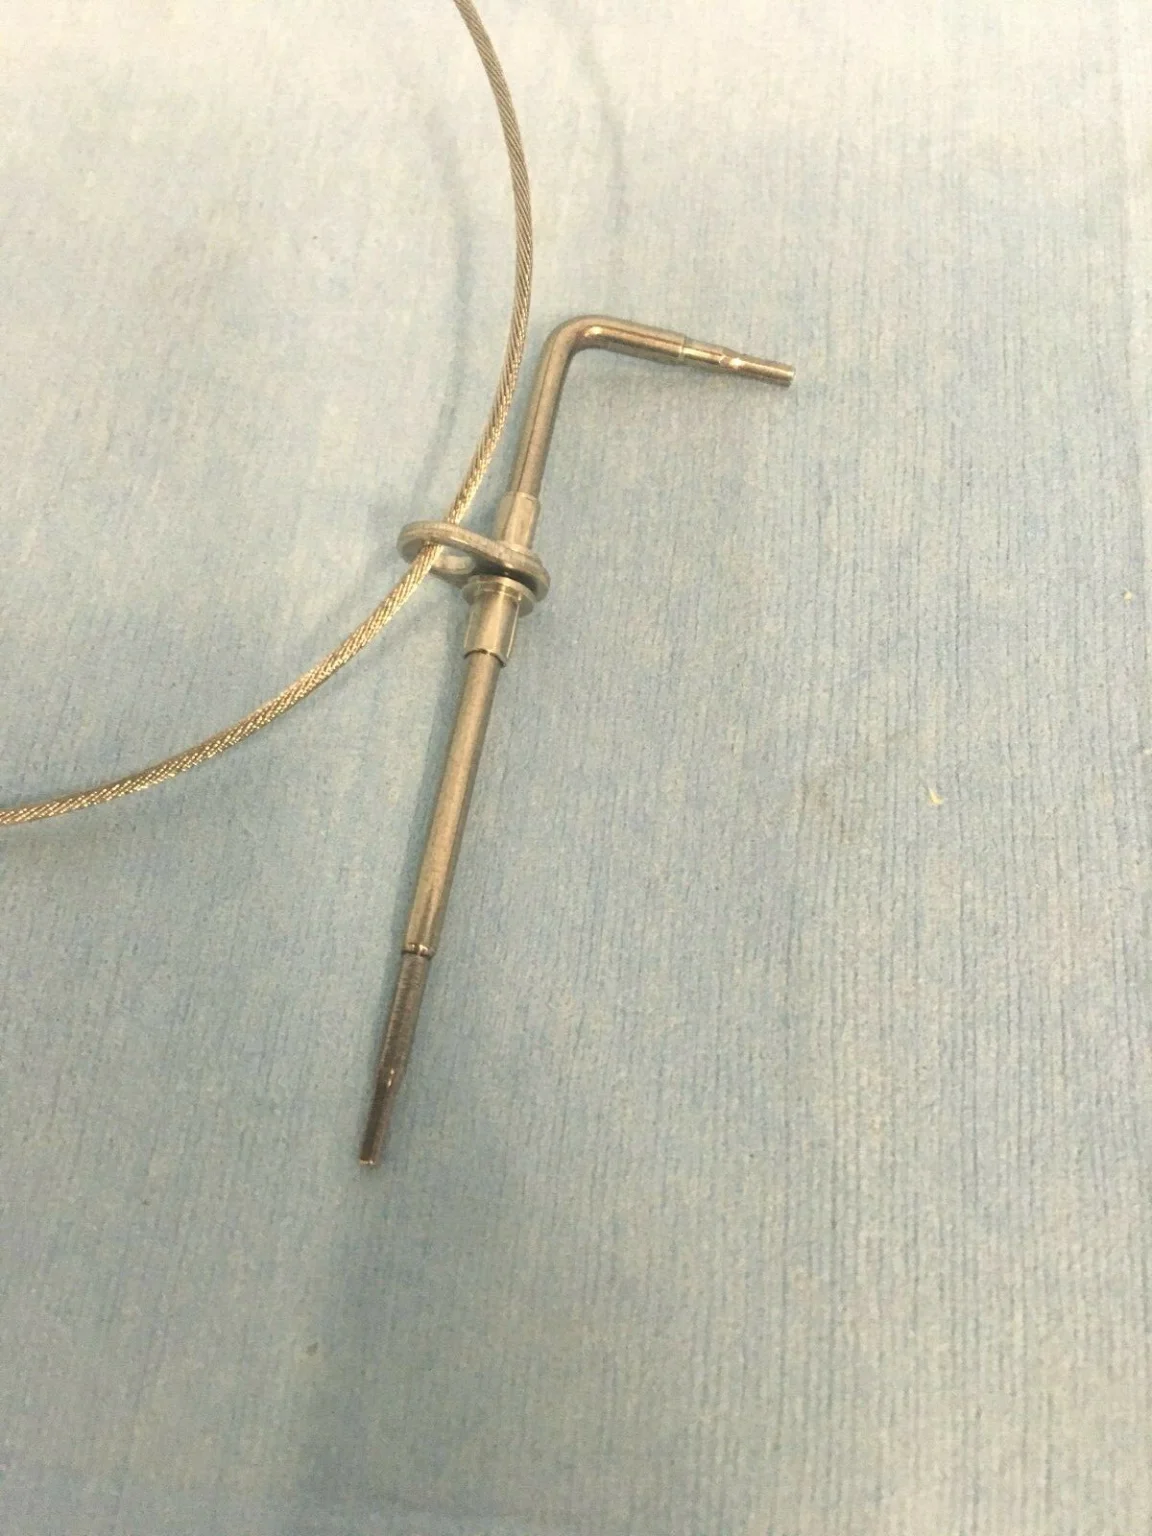
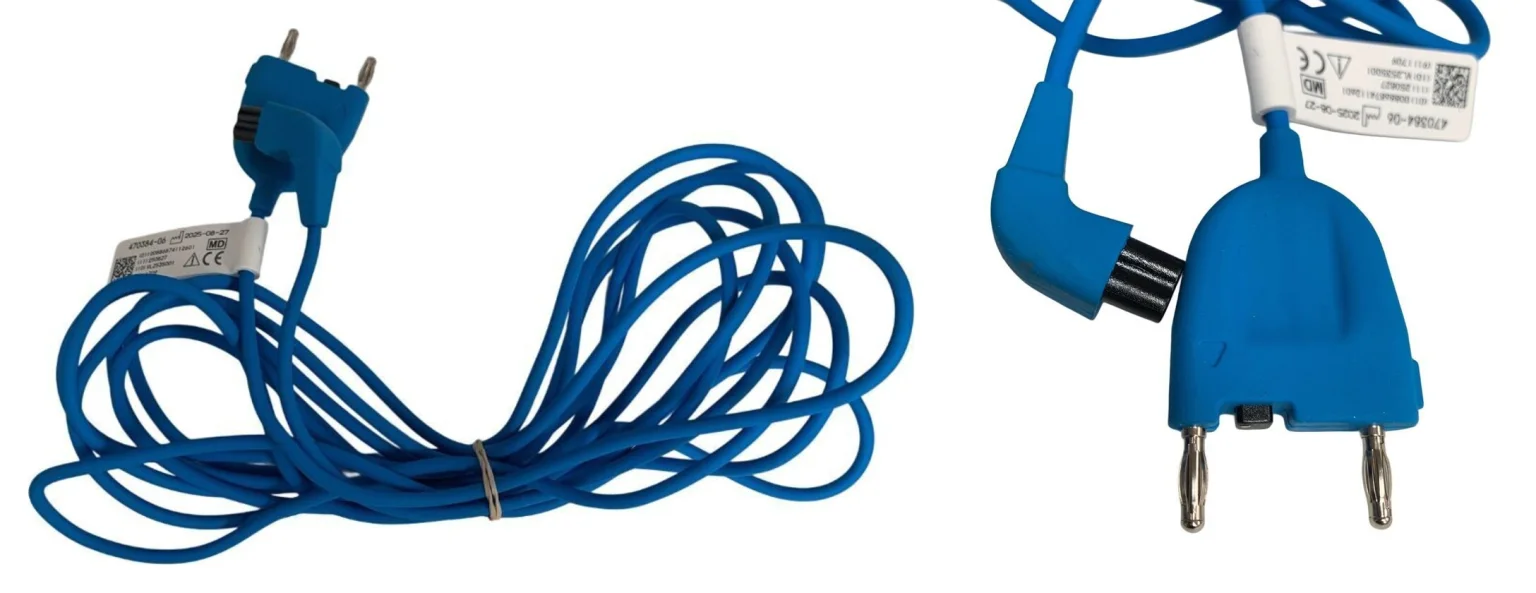
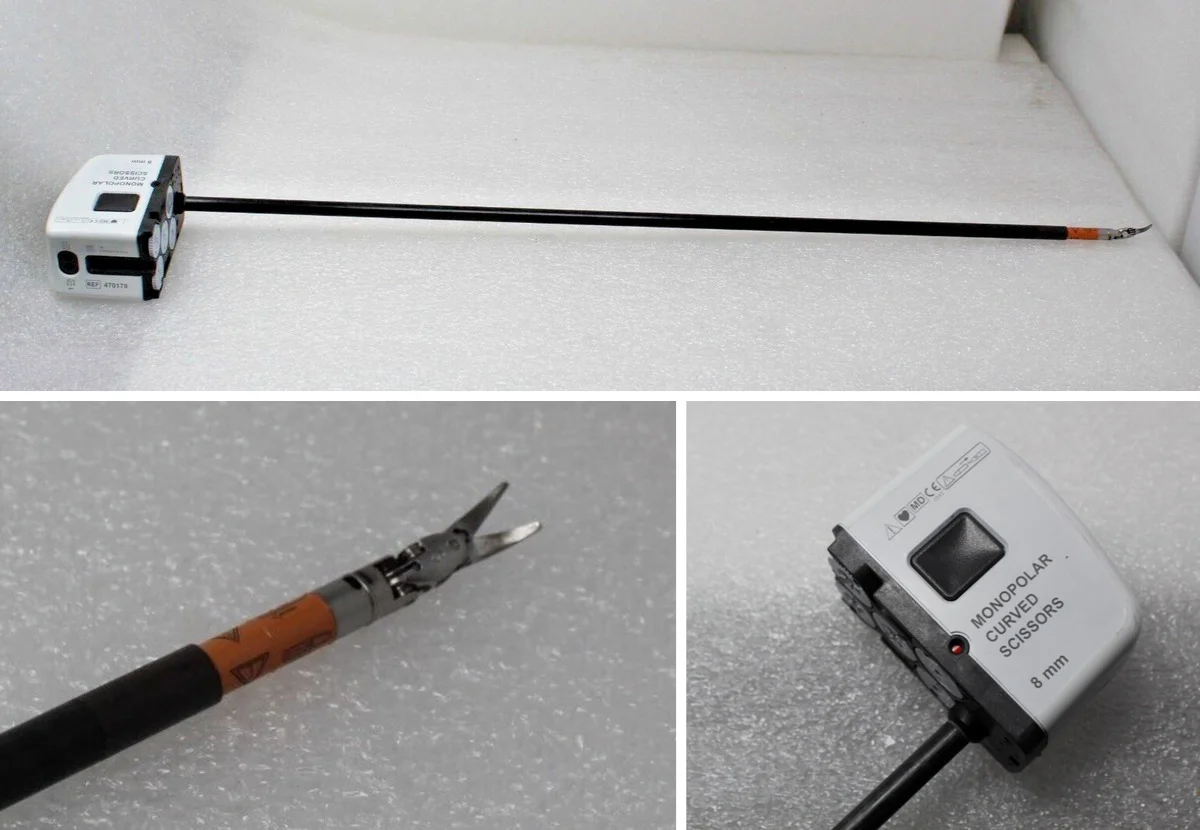
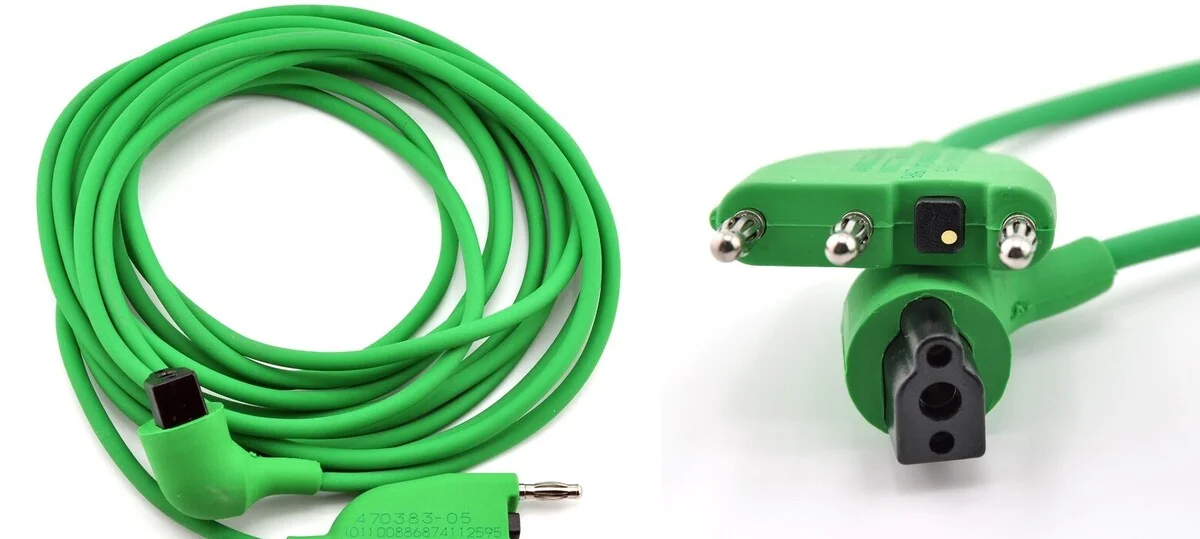
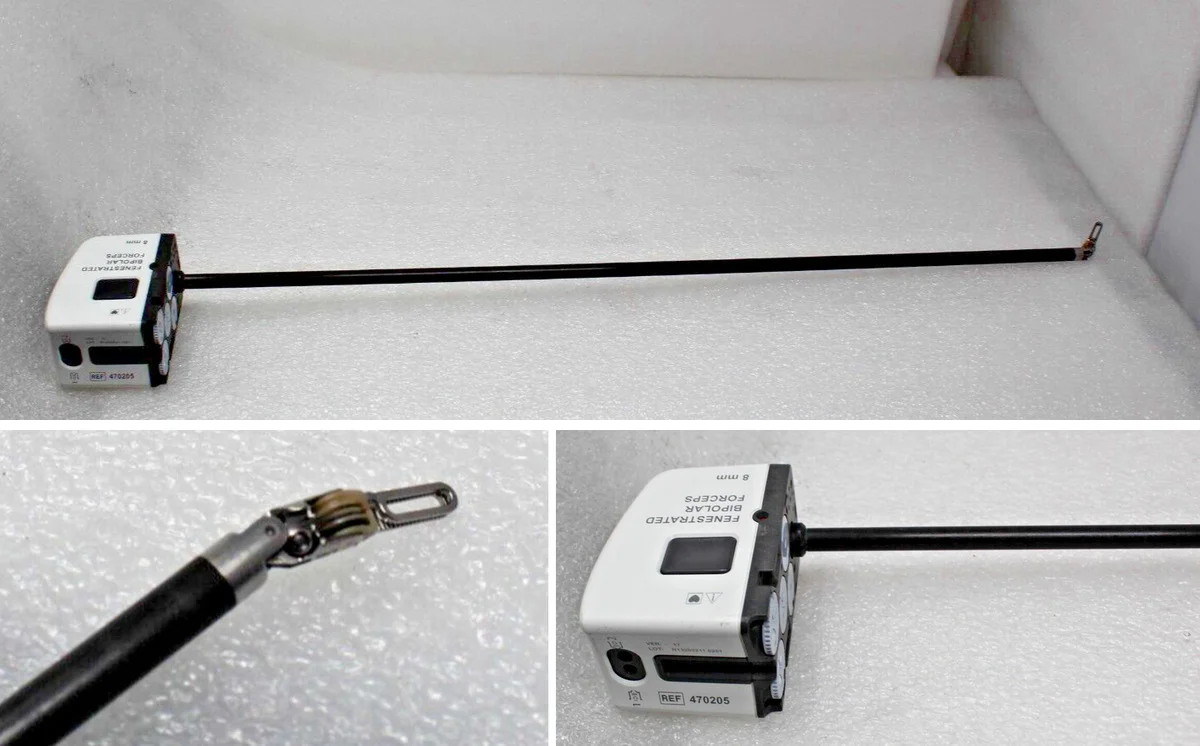
The 30-degree da Vinci endoscope goes through the midline port. A robotic grasper (such as the fenestrated bipolar forceps) and the monopolar curved scissors go through the two side ports. Plug the bipolar cord into the grasper and the monopolar cord into the scissors. The surgeon then moves to the console and runs the camera and both arms, so a bedside assistant may not be needed. Keep a laparoscopic suction ready on the field.
Next up: the scissors and grasper for the peritoneal flap.
Landmarks and the Peritoneal Flap
Any adhesions are freed first. The surgeon identifies the lateral umbilical ligament (it carries the inferior epigastric vessels) and the iliopubic tract running from the pubis to the anterior superior iliac spine, which separate a direct hernia from an indirect one. The area below the iliopubic tract and inside the femoral vein is checked for a femoral hernia. A peritoneal flap is cut about 4 to 5 cm above the right internal ring, from the medial umbilical ligament out toward the anterior superior iliac spine, then peeled downward toward the pubis and iliac vessels. It is freed from the cord, the hernia sac and any cord lipoma as it comes down.
Next up: the same grasper and scissors to open the space and reduce the sac.
Clearing the Space and Reducing the Sac
A pocket is opened between the peritoneum and the transversalis fascia, exposing the psoas muscle and the whole myopectineal orifice. The space is cleared inward past the pubis to Cooper's ligament and about 2 cm below the pubic symphysis, outward to the anterior superior iliac spine, about 2 cm above the conjoint tendon and down into the space between the bladder and pubis. The dissection stays on top of the transversalis fascia out to the side to protect the iliohypogastric nerve, and the genitofemoral nerve on the psoas is left alone. Around Cooper's ligament the surgeon watches for vessels crossing between the epigastric and obturator systems. The sac is separated from the internal ring with blunt and sharp dissection and very little cautery. A direct sac is pulled back with gentle traction. The peritoneum is freed past the point where the vas deferens and the testicular vessels split apart. In a woman, the round ligament may be divided at the internal ring.
Next up: a camera check of the left groin.
Checking the Left Groin
Through the same ports the surgeon can look at the left myopectineal orifice. If a second hernia is found and the patient consented to a bilateral repair, the left side gets its own separate flap and the same steps. Confirm before the case whether a left-sided repair is planned, so a second mesh is available.
Next up: the mesh, sized and rolled so it fits through an 8 mm cannula.
Placing and Fixing the Mesh
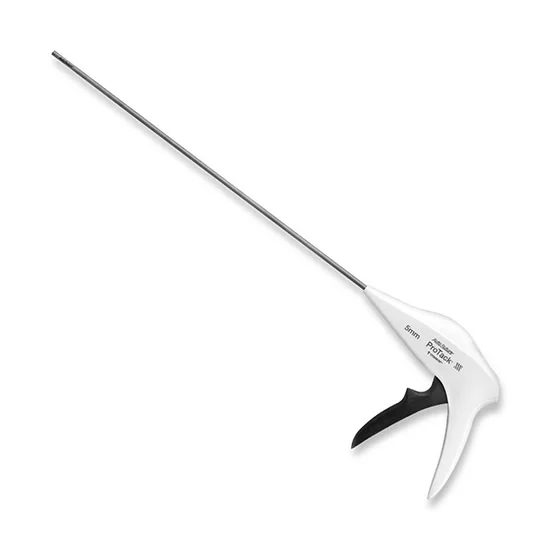
When the sac is reduced and bleeding is controlled, the mesh goes in. It is usually about 12 x 15 cm, self-gripping or standard polypropylene, and it must be a type that can pass through the 8 mm robotic cannula. The surgeon spreads it over the whole myopectineal orifice so the direct, indirect and femoral spaces are all covered. Many robotic surgeons sew the mesh in place with the robotic needle driver instead of using tacks, to save cost. Others fix it with absorbable or permanent tacks placed into firm structures (the pubis, Cooper's ligament, the aponeurotic arch and the lateral abdominal wall), or with cyanoacrylate glue or fibrin sealant, and self-gripping mesh may need no fixation. Have the laparoscopic tacker opened only if the surgeon asks for it.
Next up: a running suture on the robotic needle driver for the flap.
Closing the Peritoneal Flap
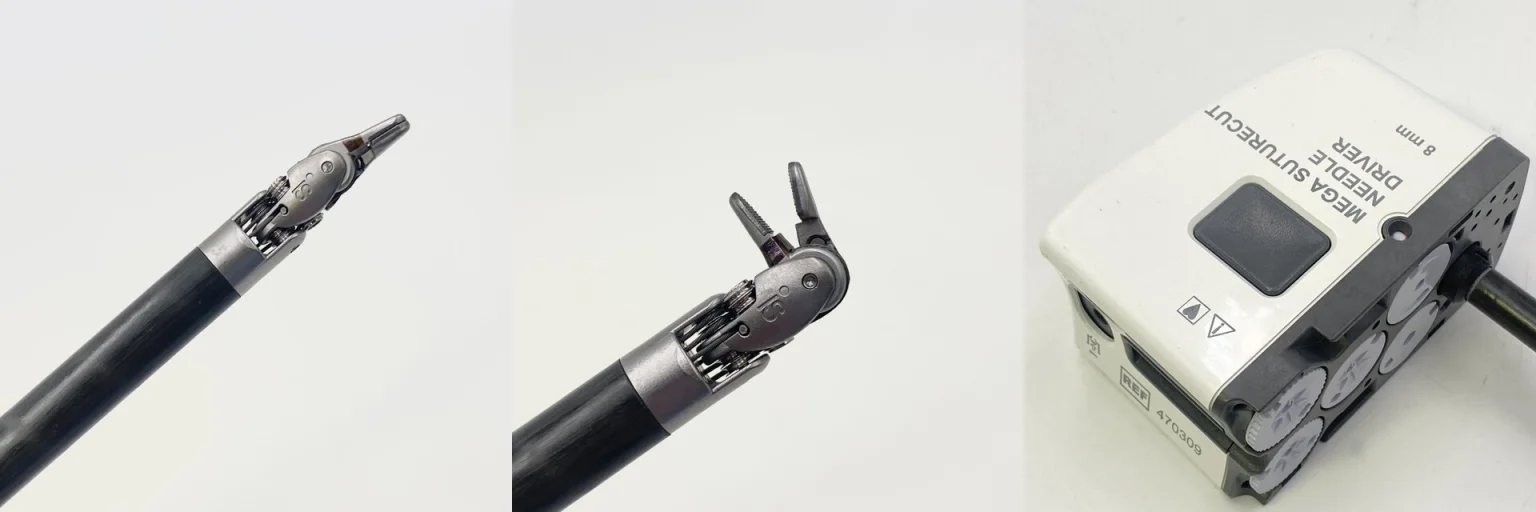
The flap is laid back over the mesh and closed with a running suture on the needle driver, which covers the mesh and helps keep the bowel from sticking to it.
Next up: undocking, then the suture for the port sites.
Undocking, Letting the Gas Out and Closing
The instruments come out, the arms are released from the cannulas and the cart is moved away. The cannulas are removed while the surgeon looks for bleeding, and the abdomen is emptied of gas while gentle pressure is put on the right groin to push out trapped gas and reduce swelling. All port sites are closed. Most patients go home the same day.
Tips and Tricks
Ask early which side is being repaired and whether the left will be explored or fixed, and have mesh that passes an 8 mm cannula. Hold the tacker, glue and extra mesh unopened until the surgeon decides on fixation. Keep a basic/minor tray, a conversion plan and the instrument release kit in the room, and review emergency undocking roles in the time-out.
Add your table
Every surgeon runs it a little differently. Submissions stay private, are reviewed by our team, and accepted contributions earn a credit in the contributor list.