Open Sigmoid Colectomy
The sigmoid colon is removed through an abdominal incision and the descending colon is joined to the rectum, usually with a circular stapler passed through the anus.
59 instruments to master.
Master this setup: test yourself on every instrument, earn the tier, hold the record.
No site record yet · target 21:42
Study flashcards
Card by card, grade yourself · 59 cards
Practice test
Answer, see why · 25 at a time
Take the exam
61 questions · target 21:42
Surgical instruments
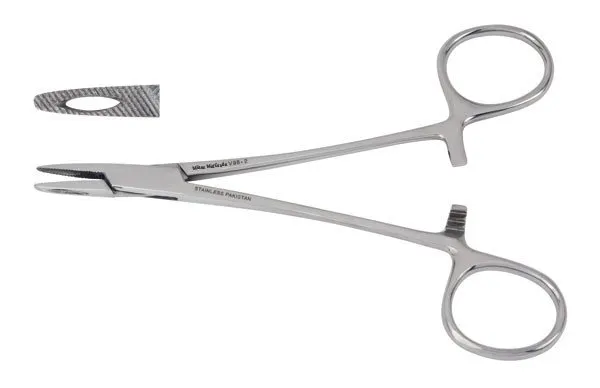
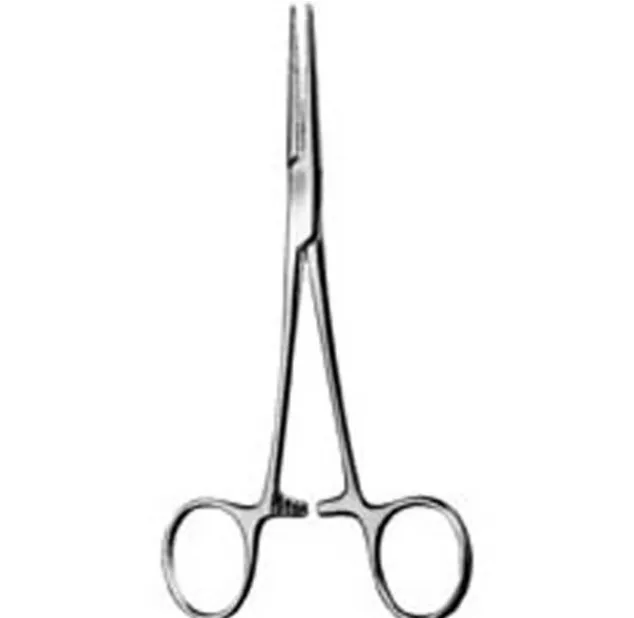
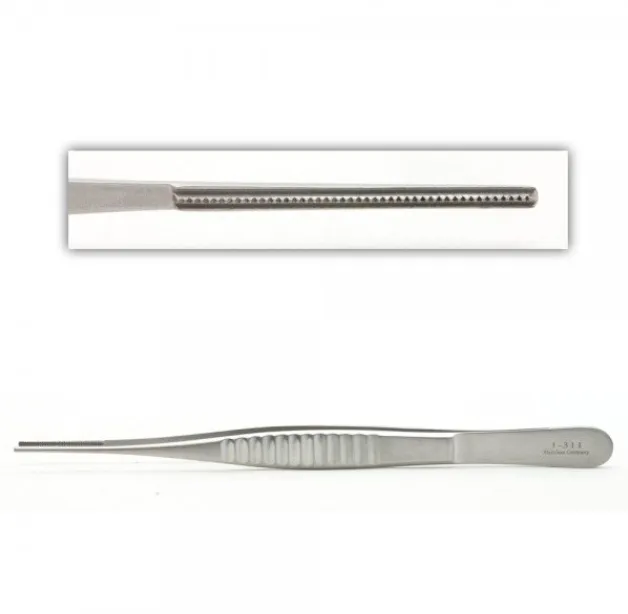
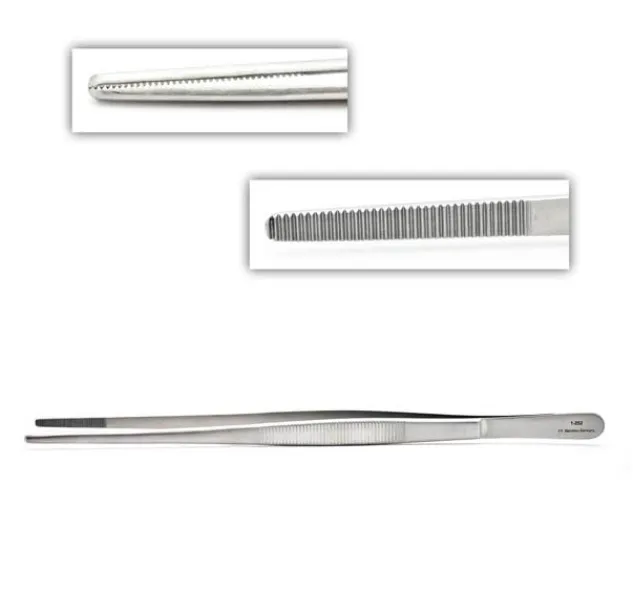
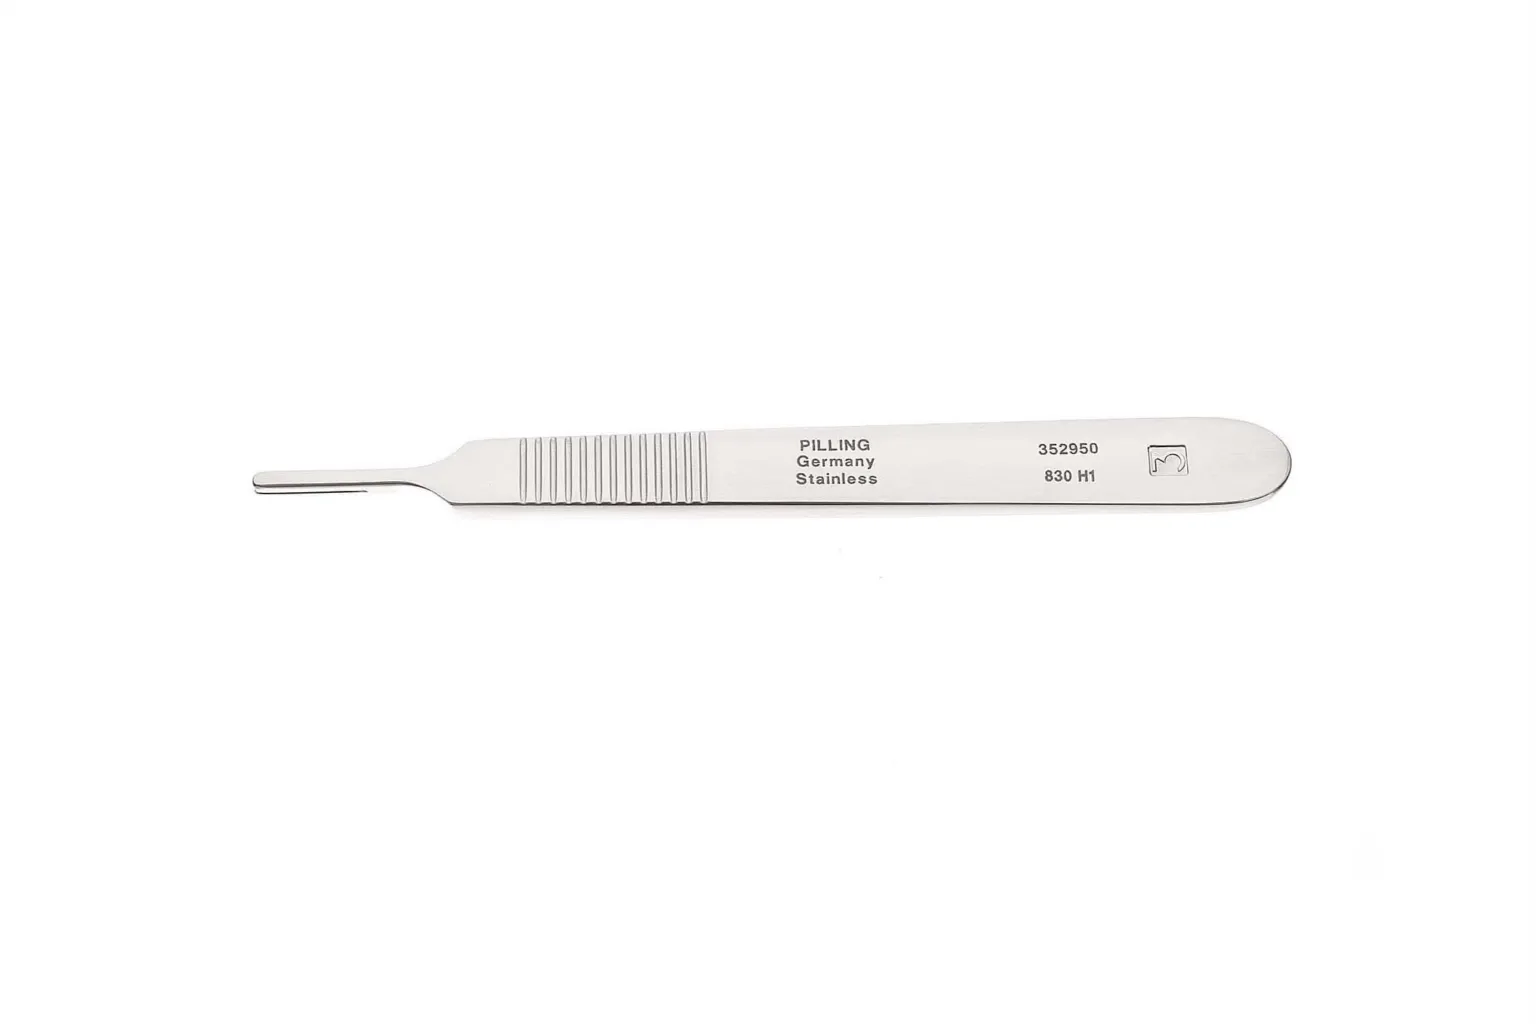
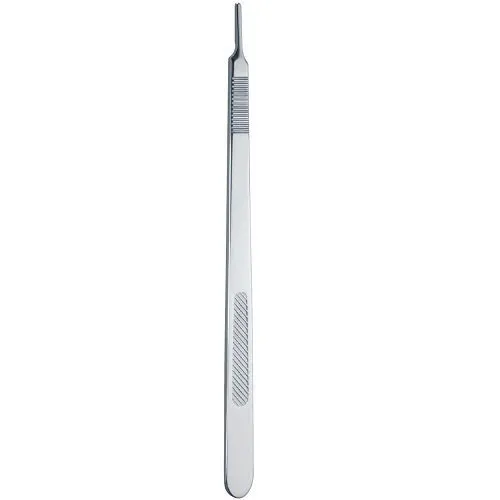
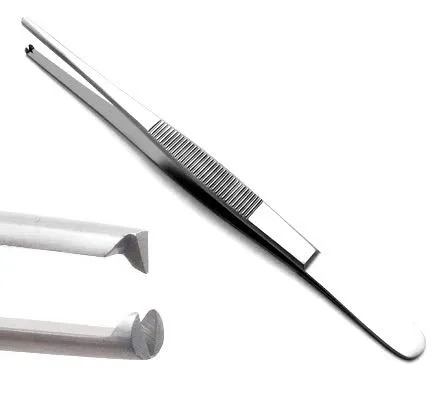
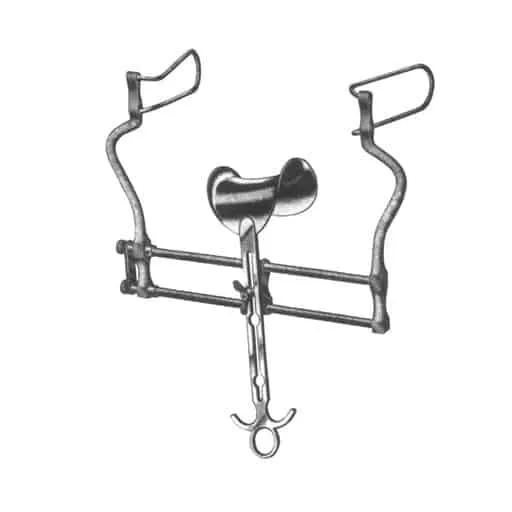
59 on this table. Tap a photo to zoom, the name for its card.
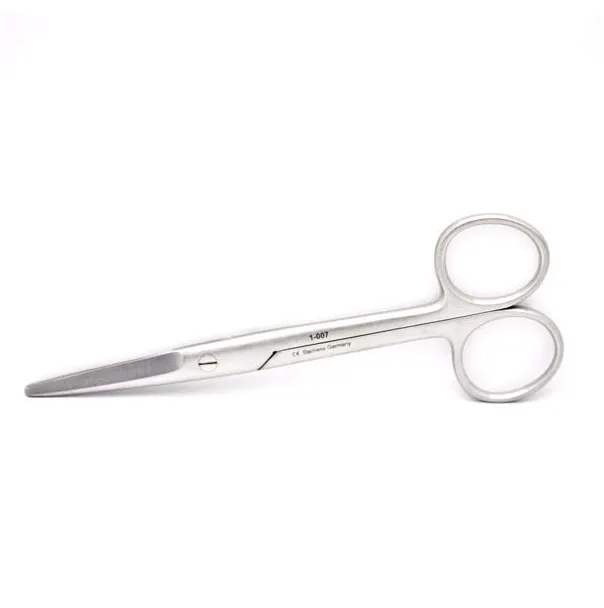
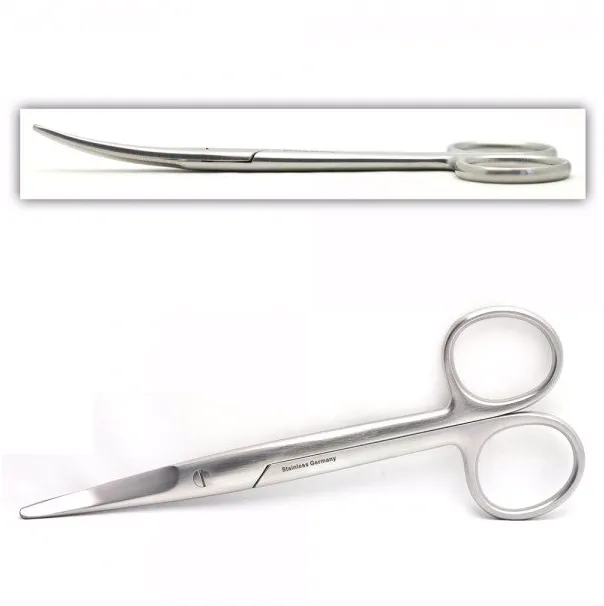
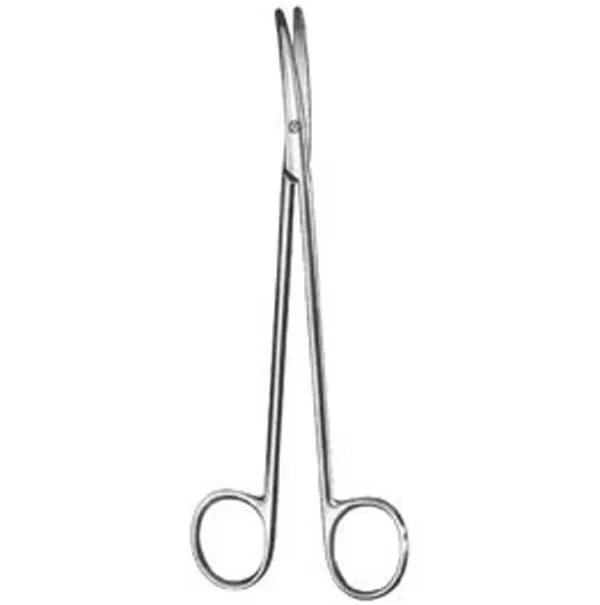
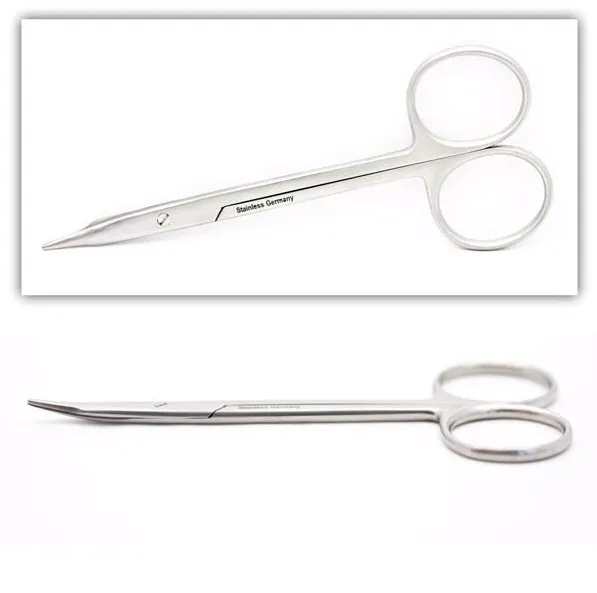
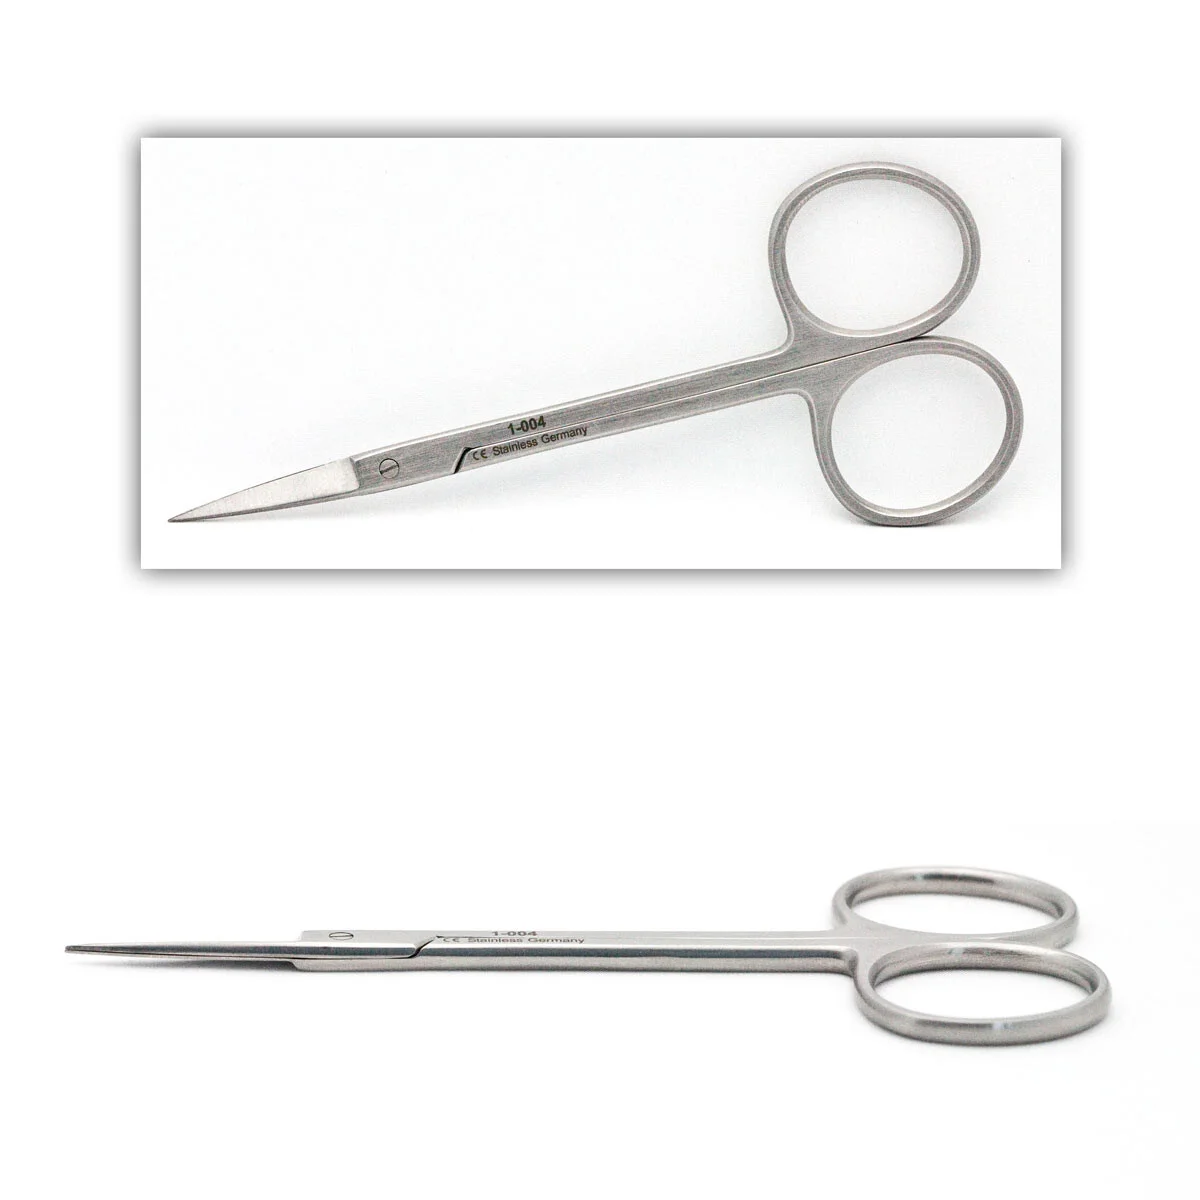
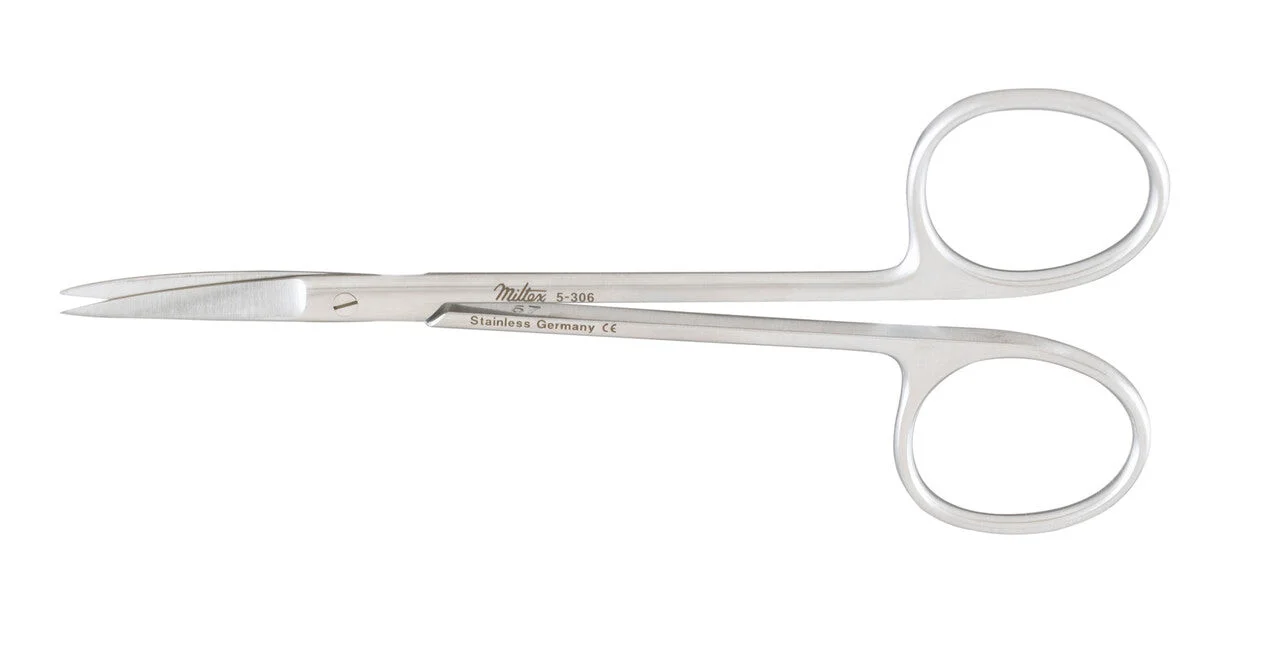
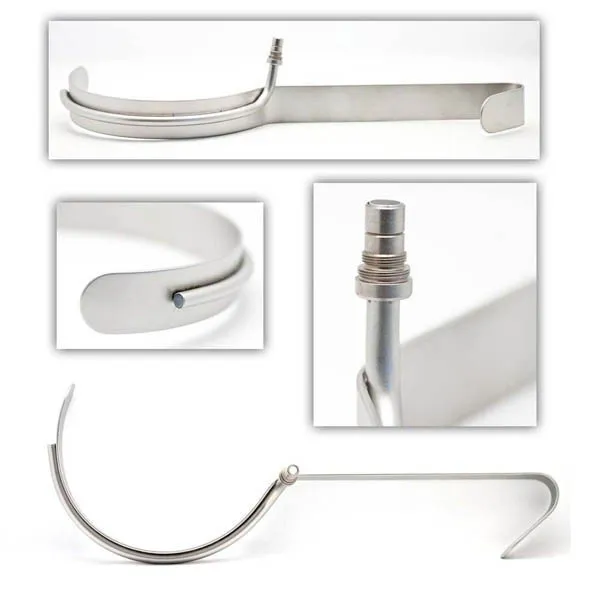
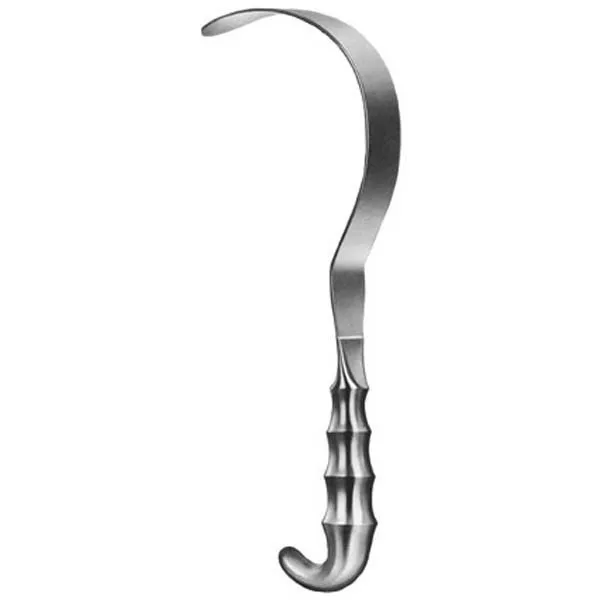
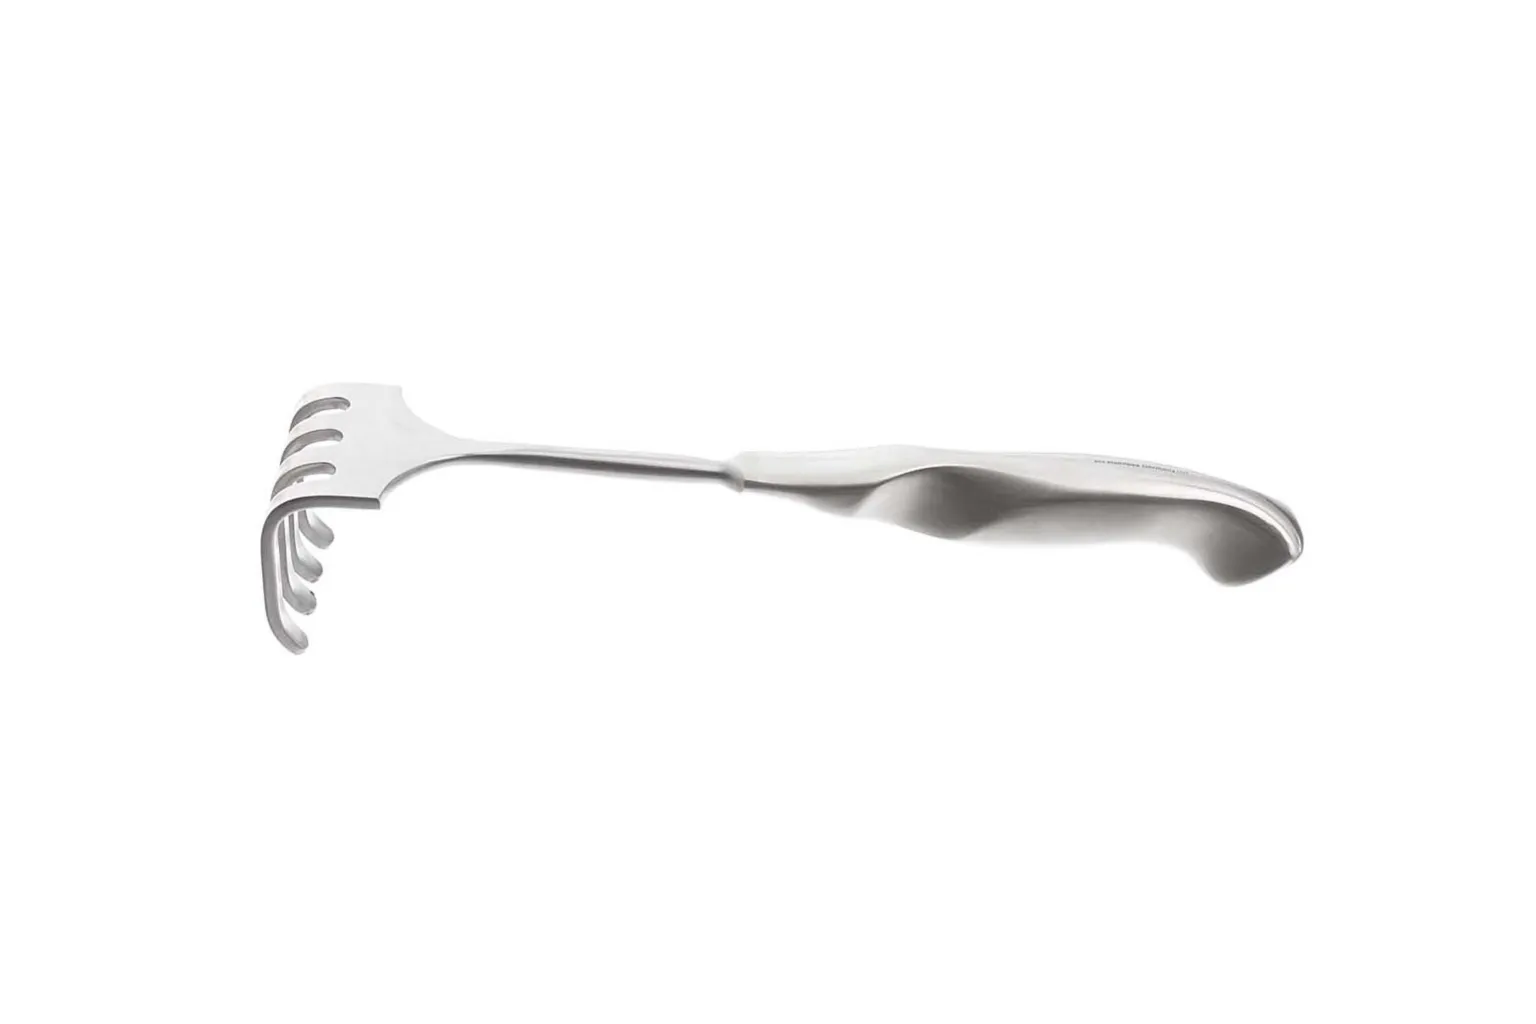
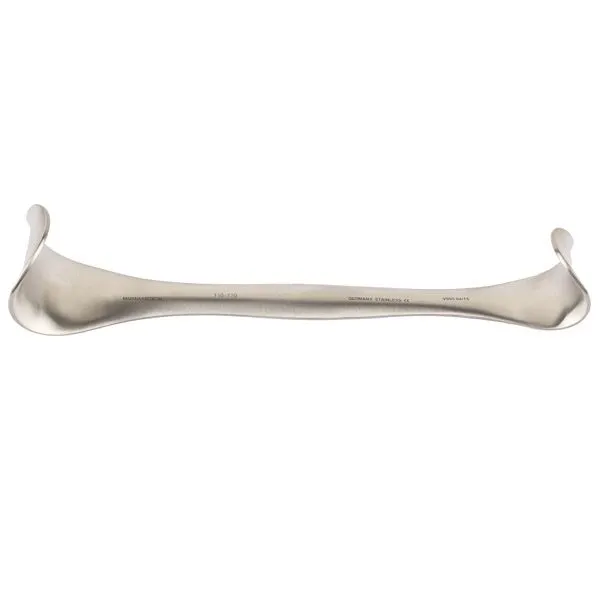
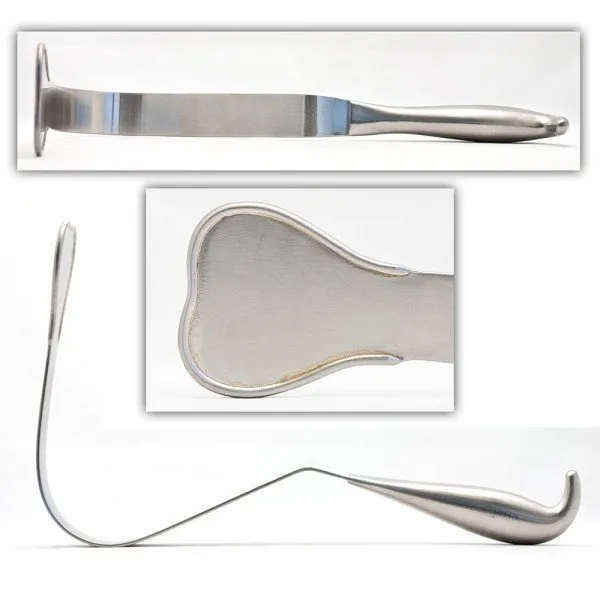
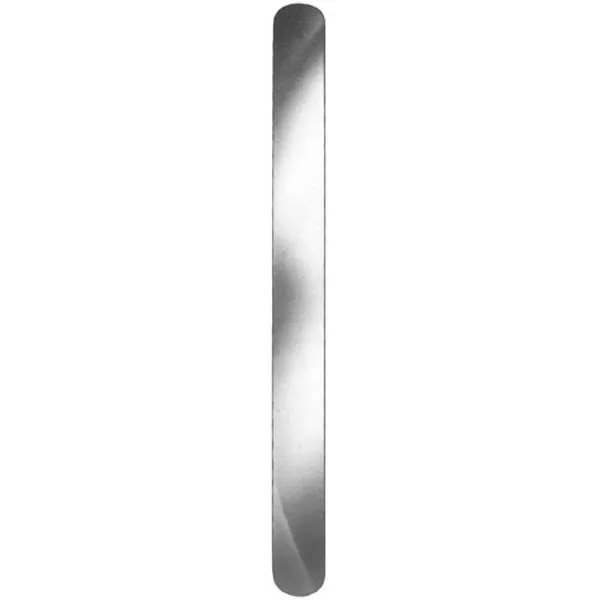
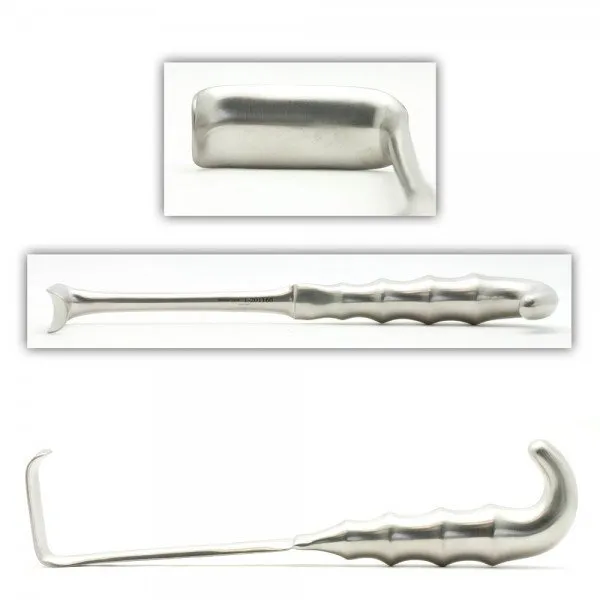
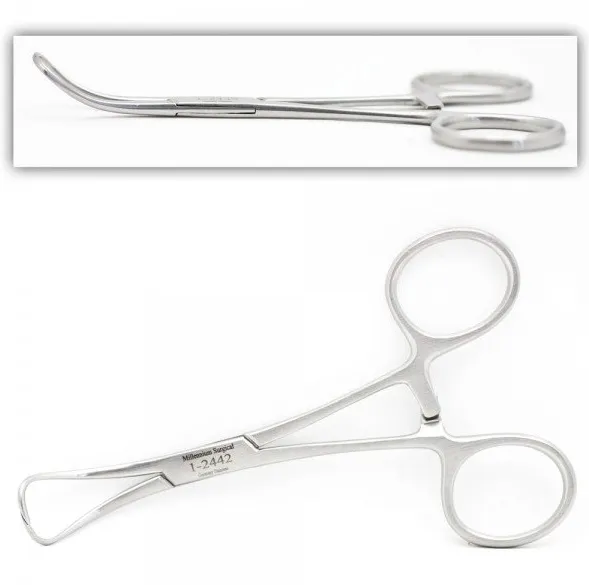
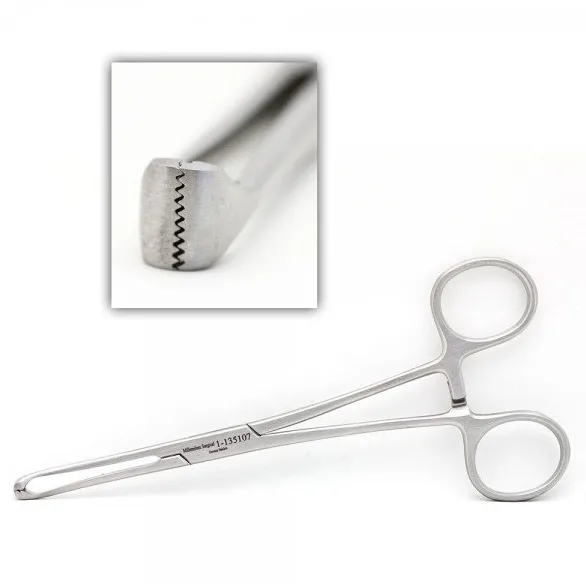
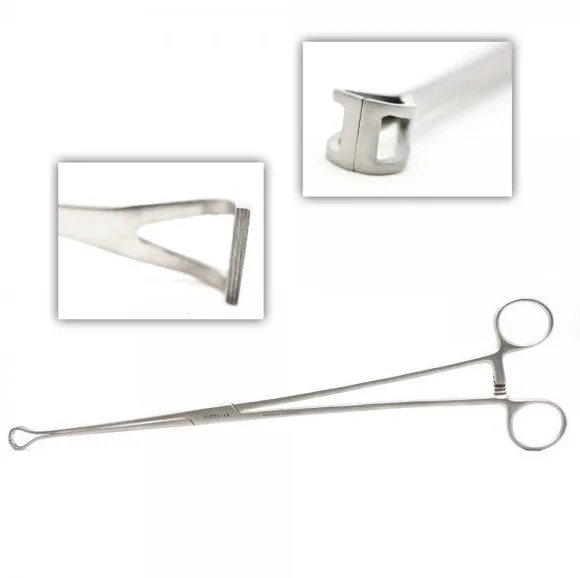
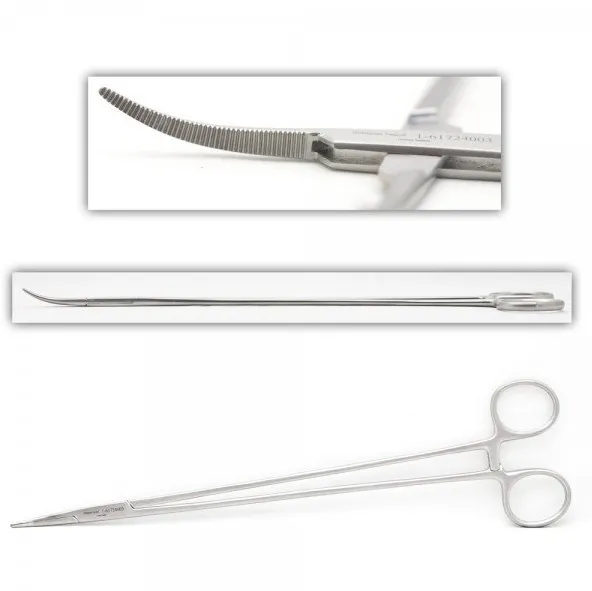
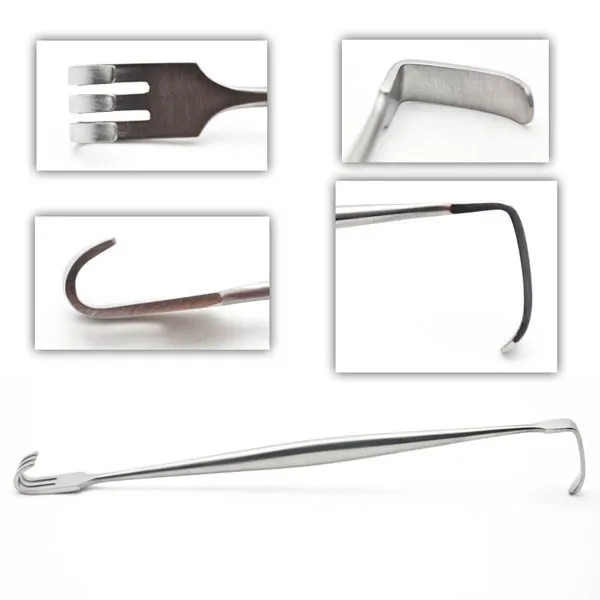
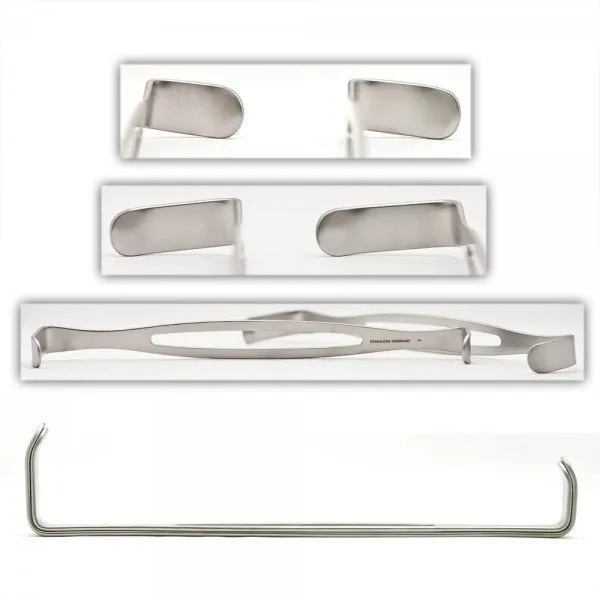
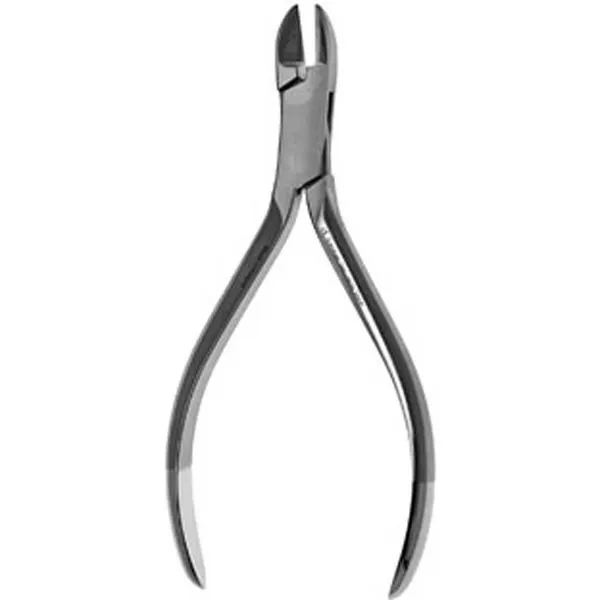
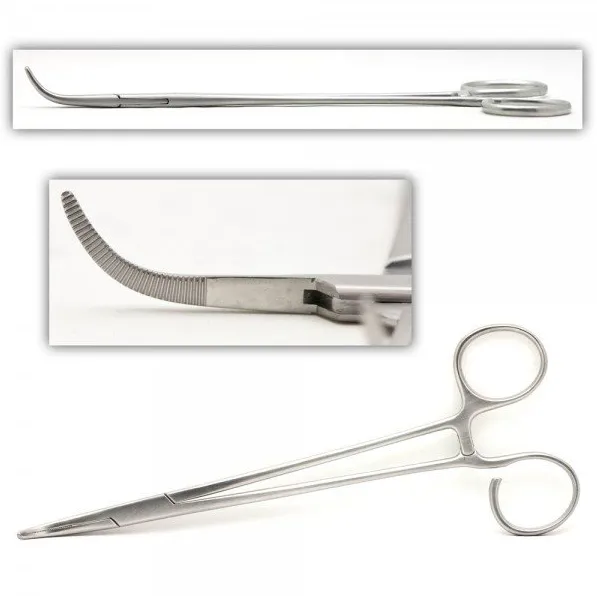
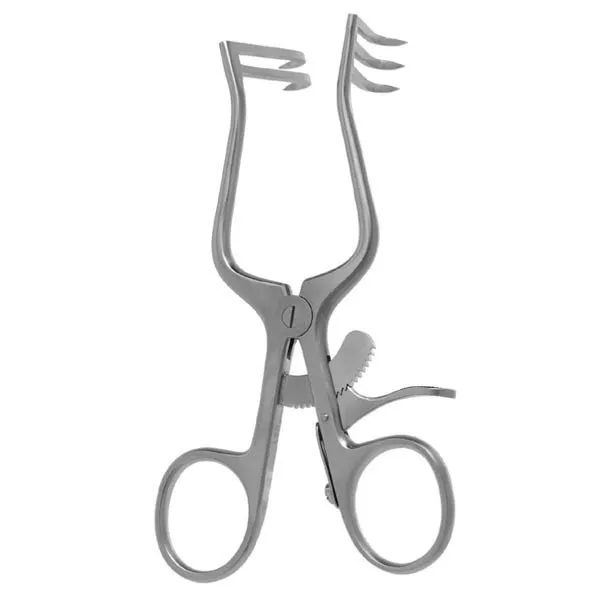
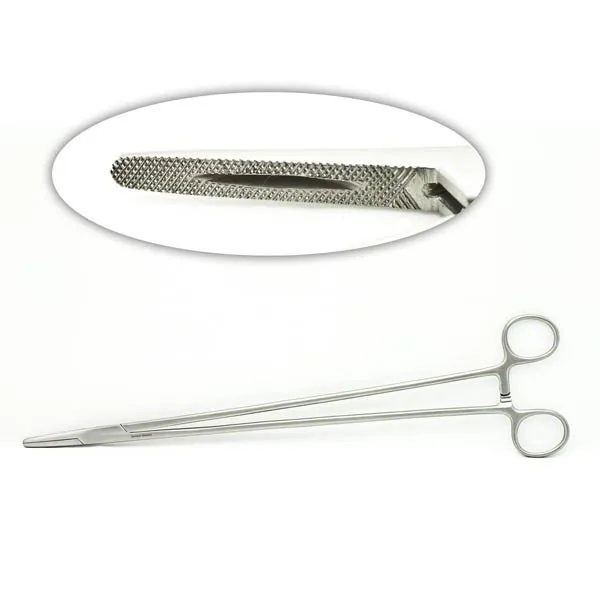
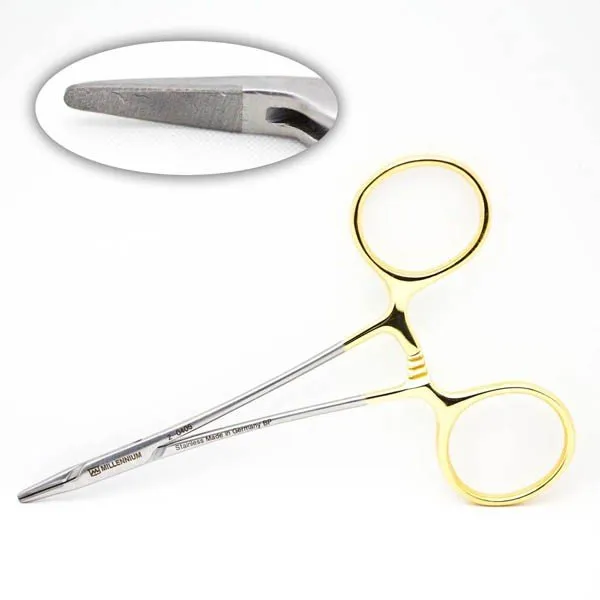
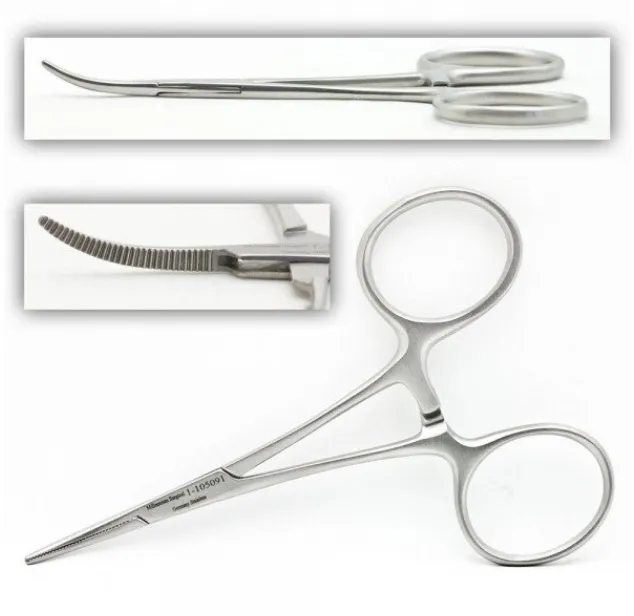
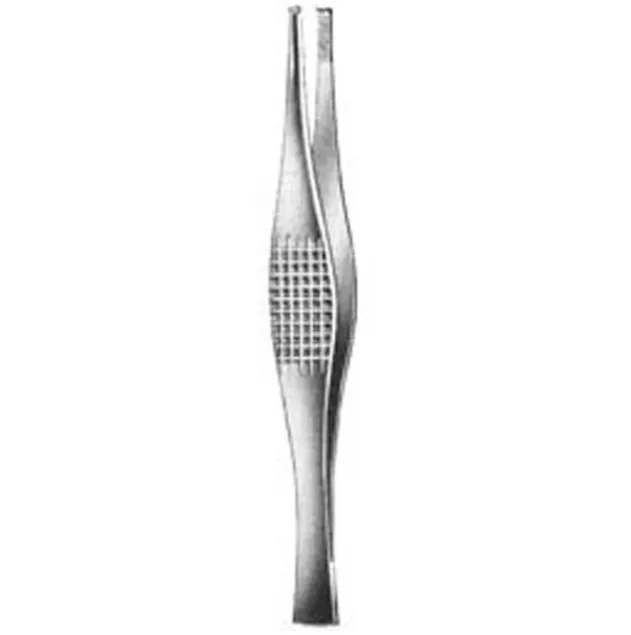
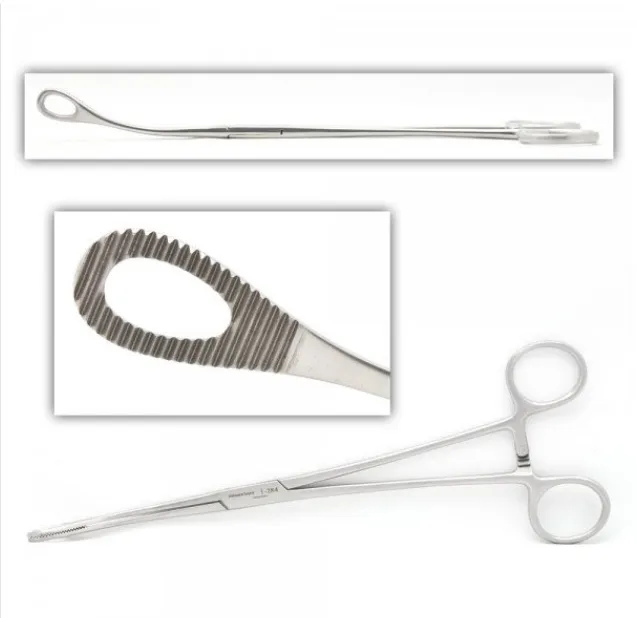
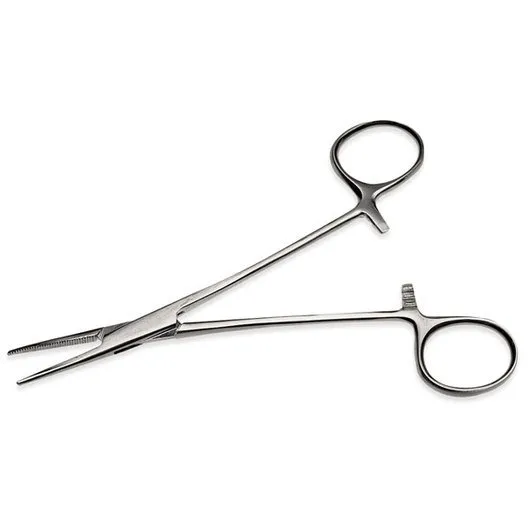
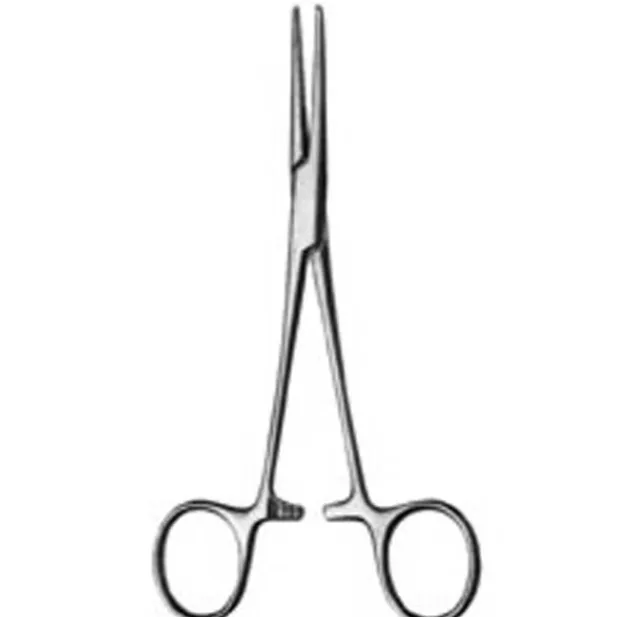
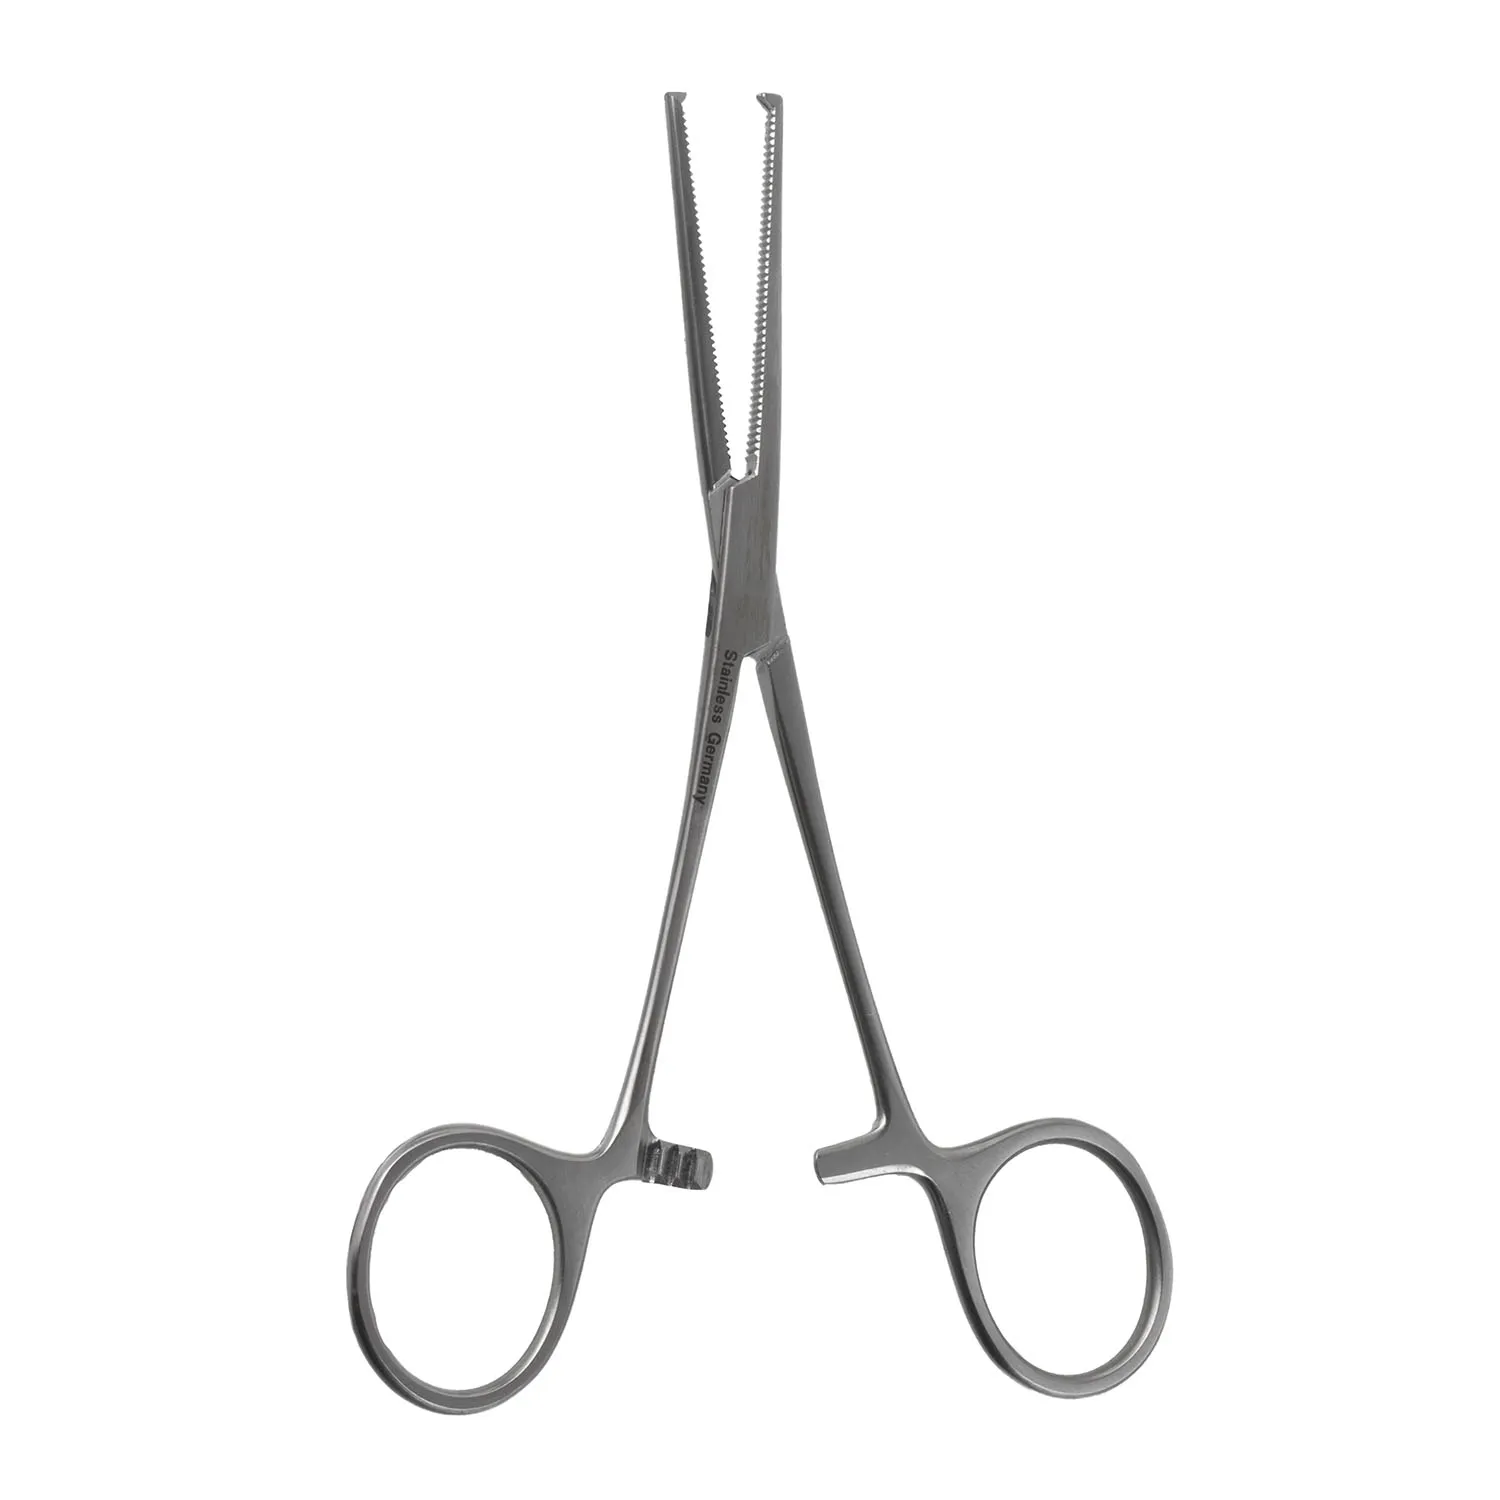
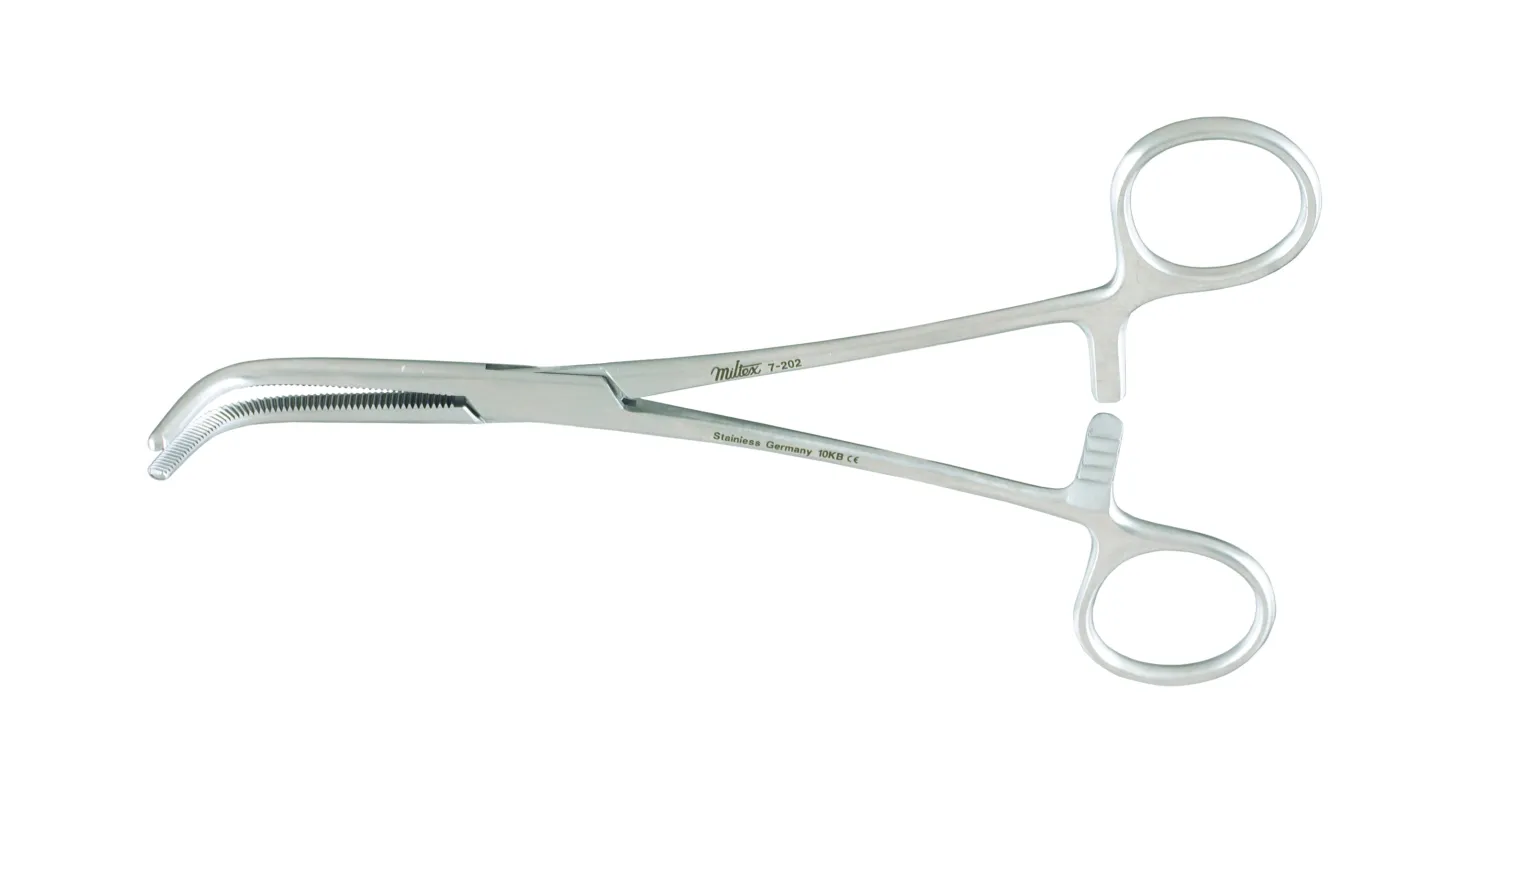
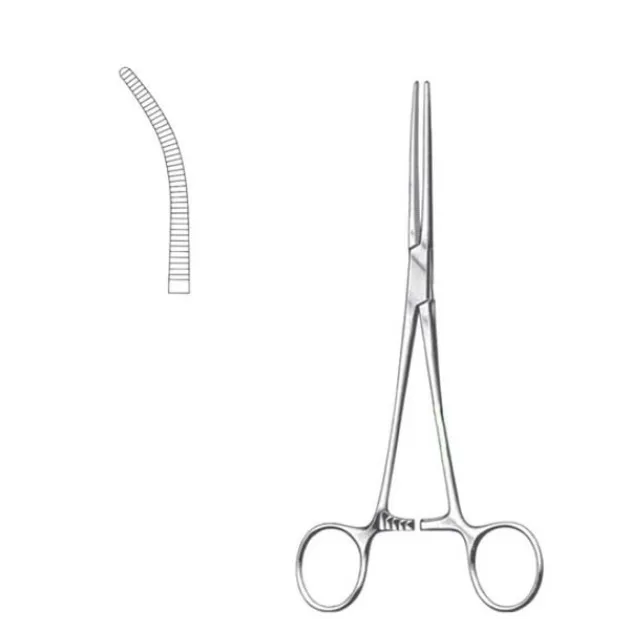
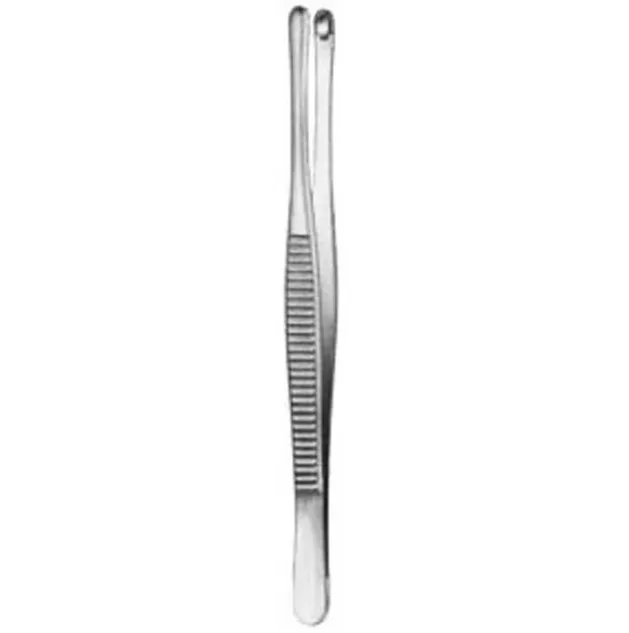
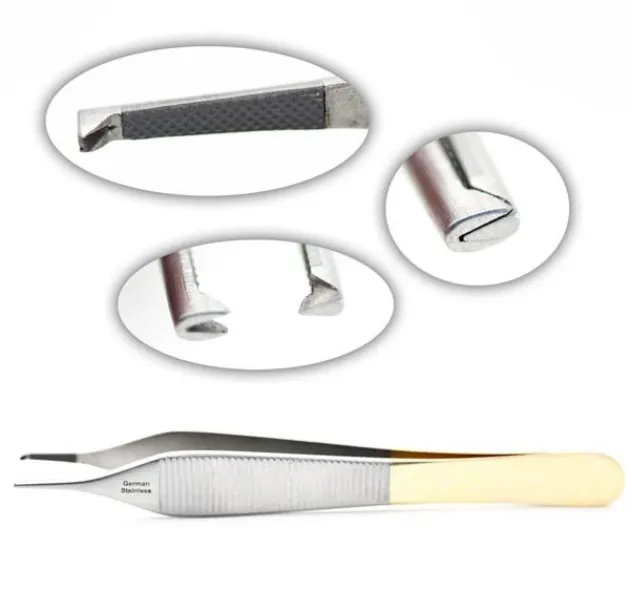
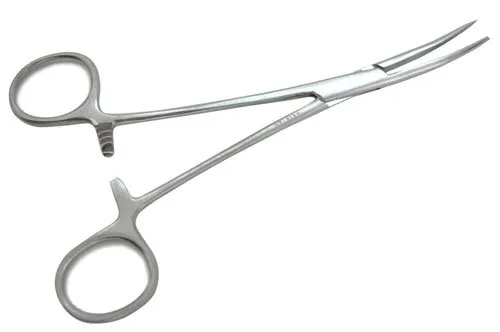
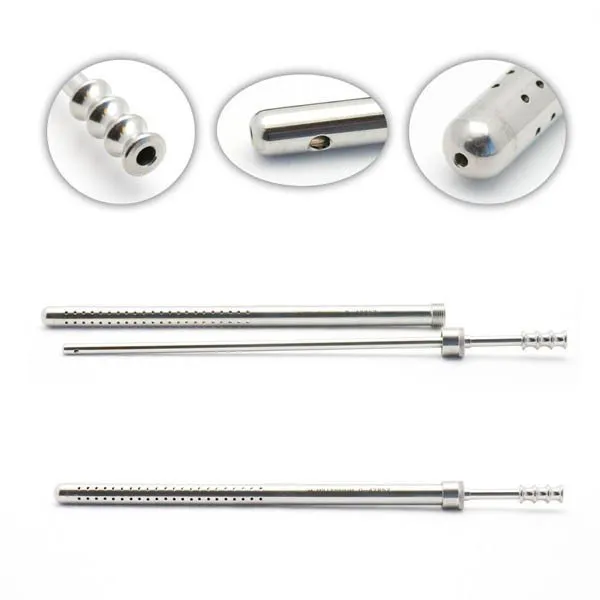
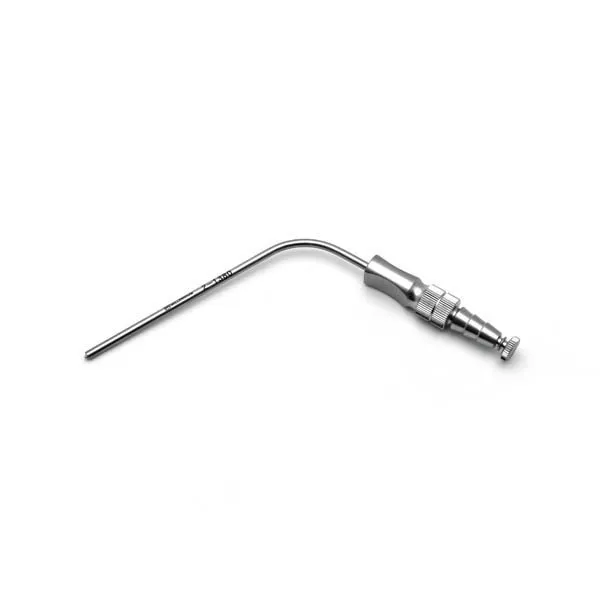
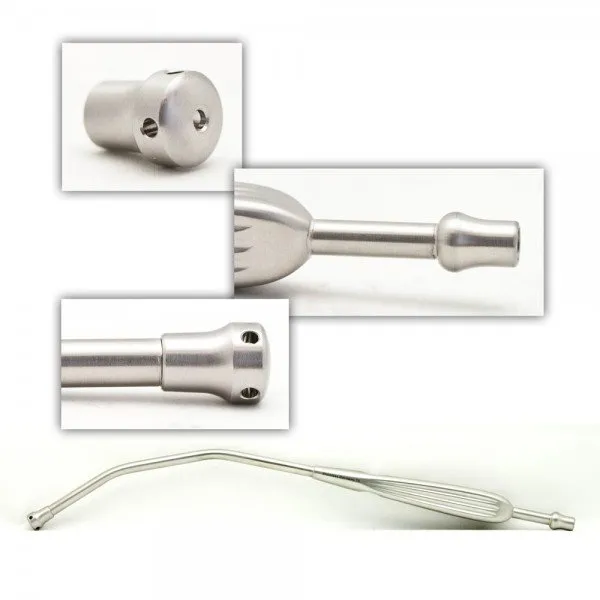
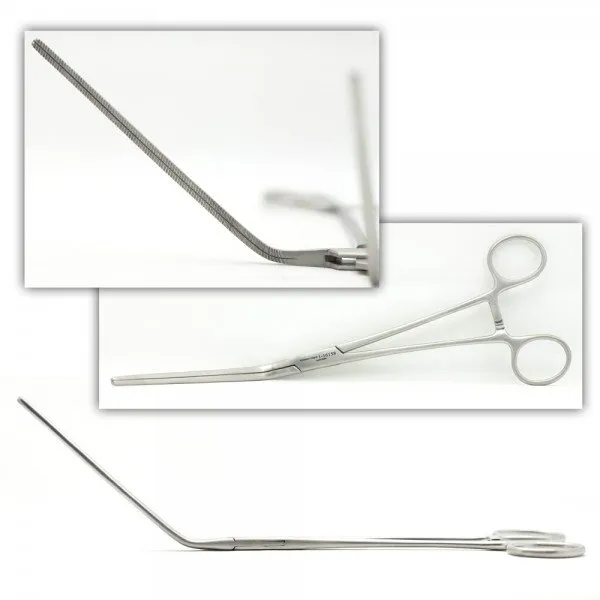
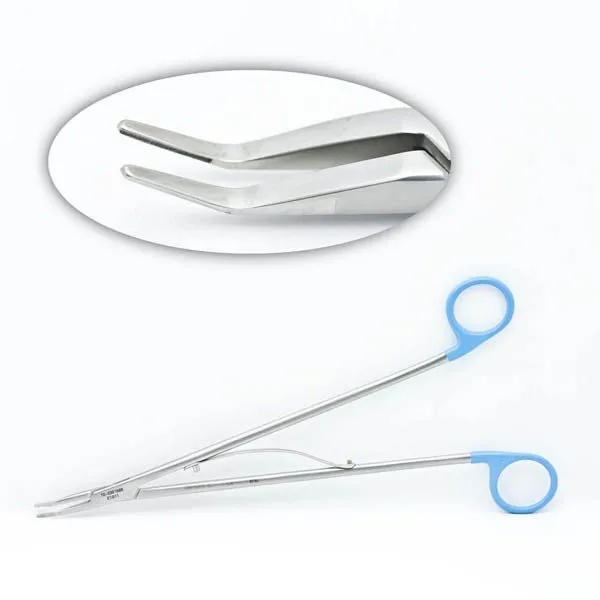
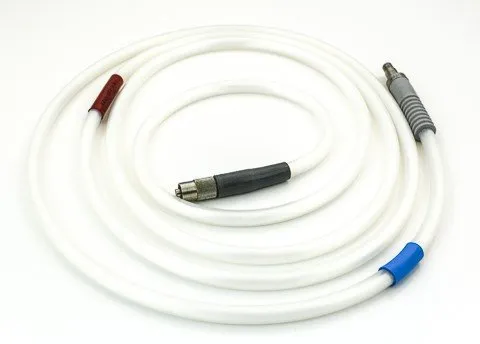
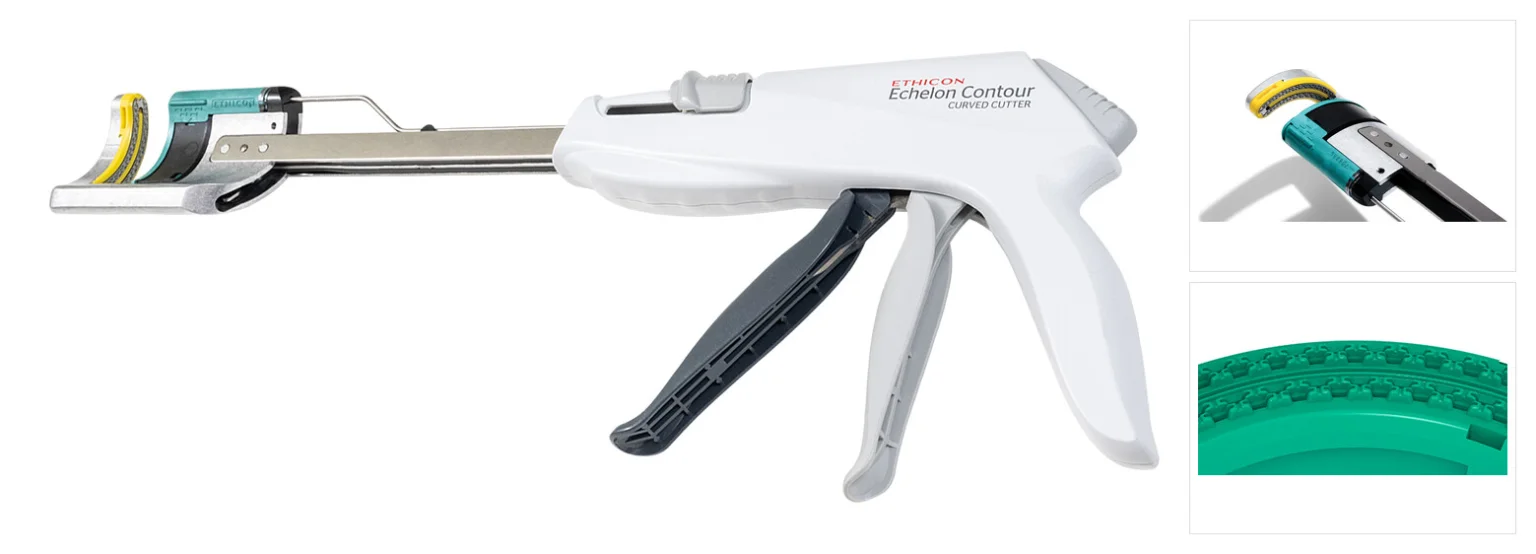
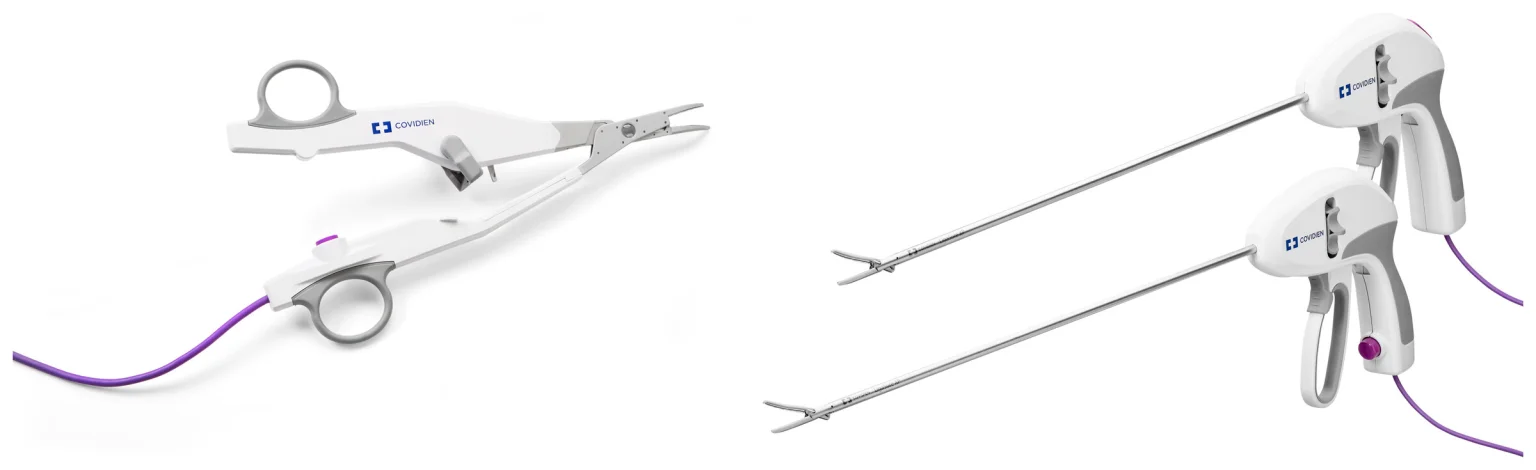
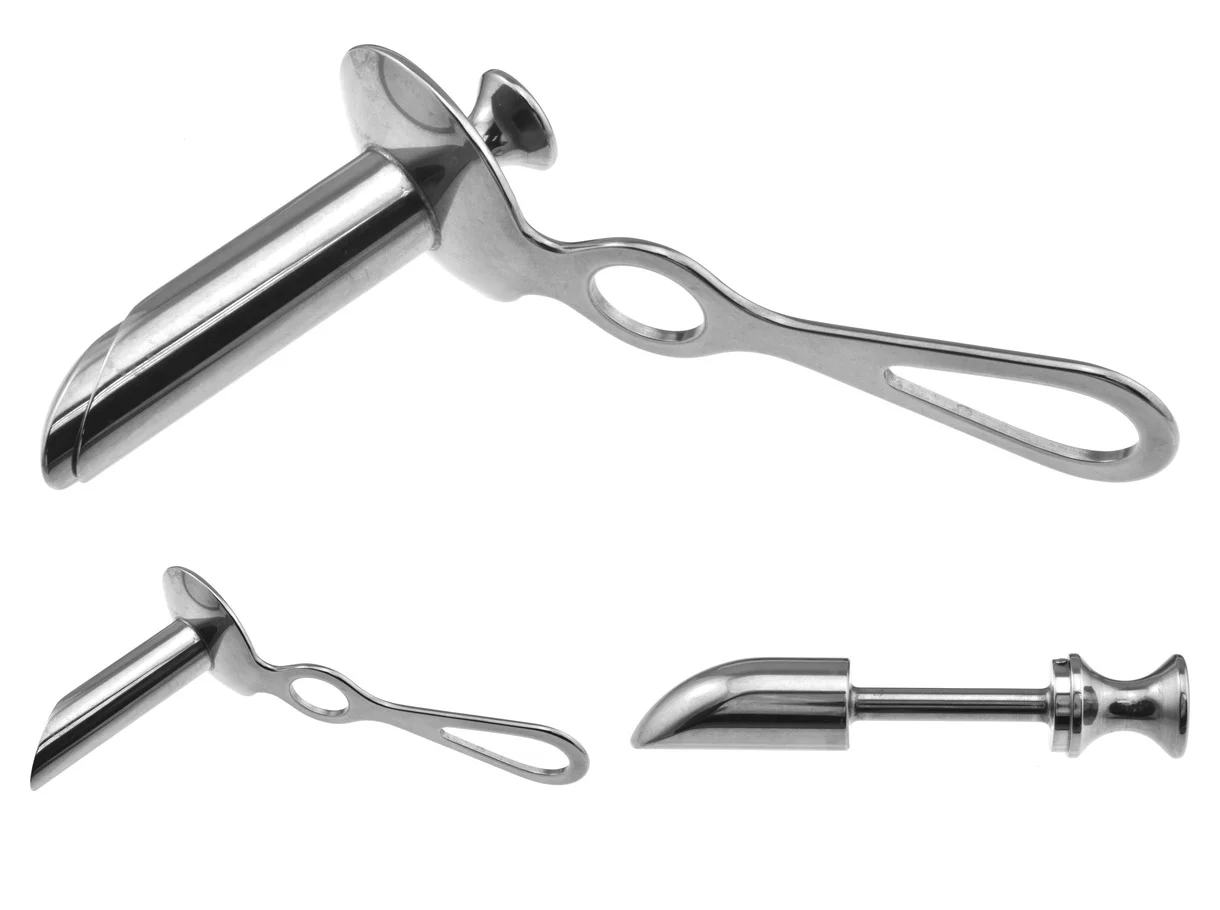
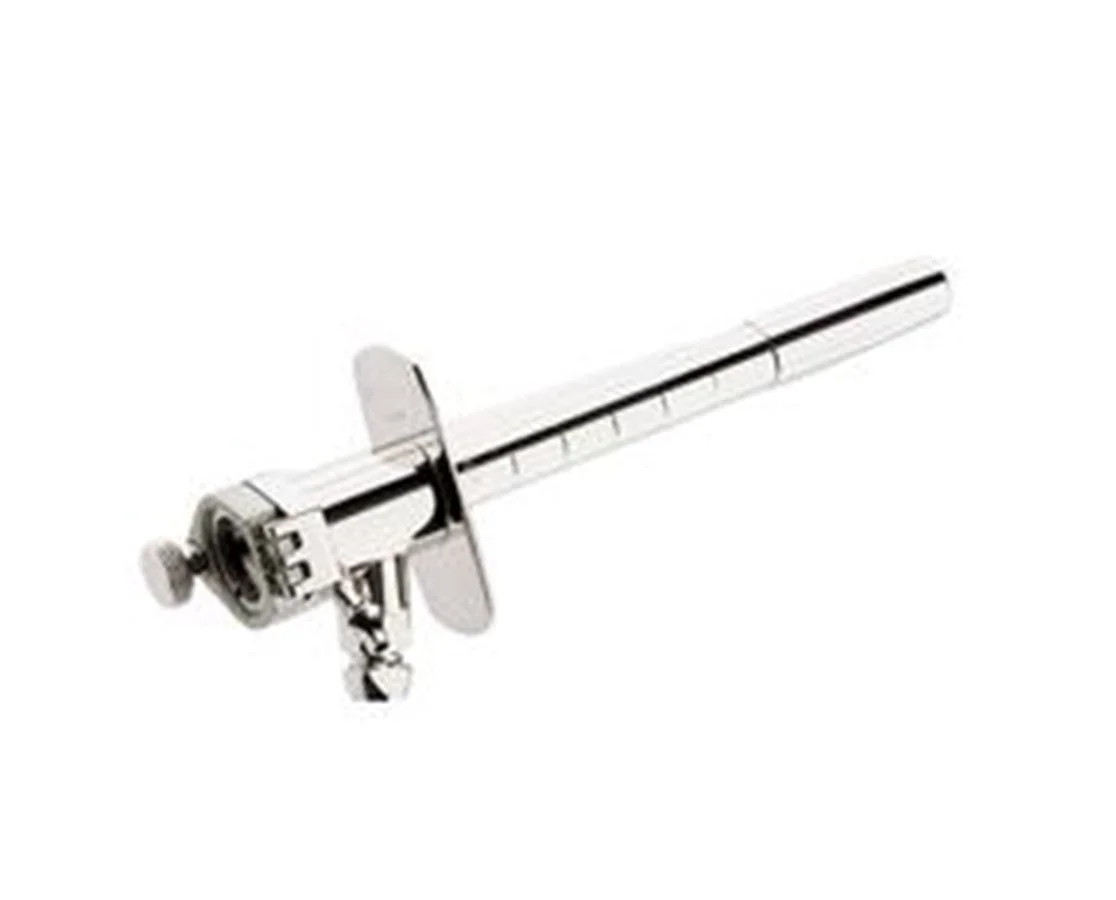
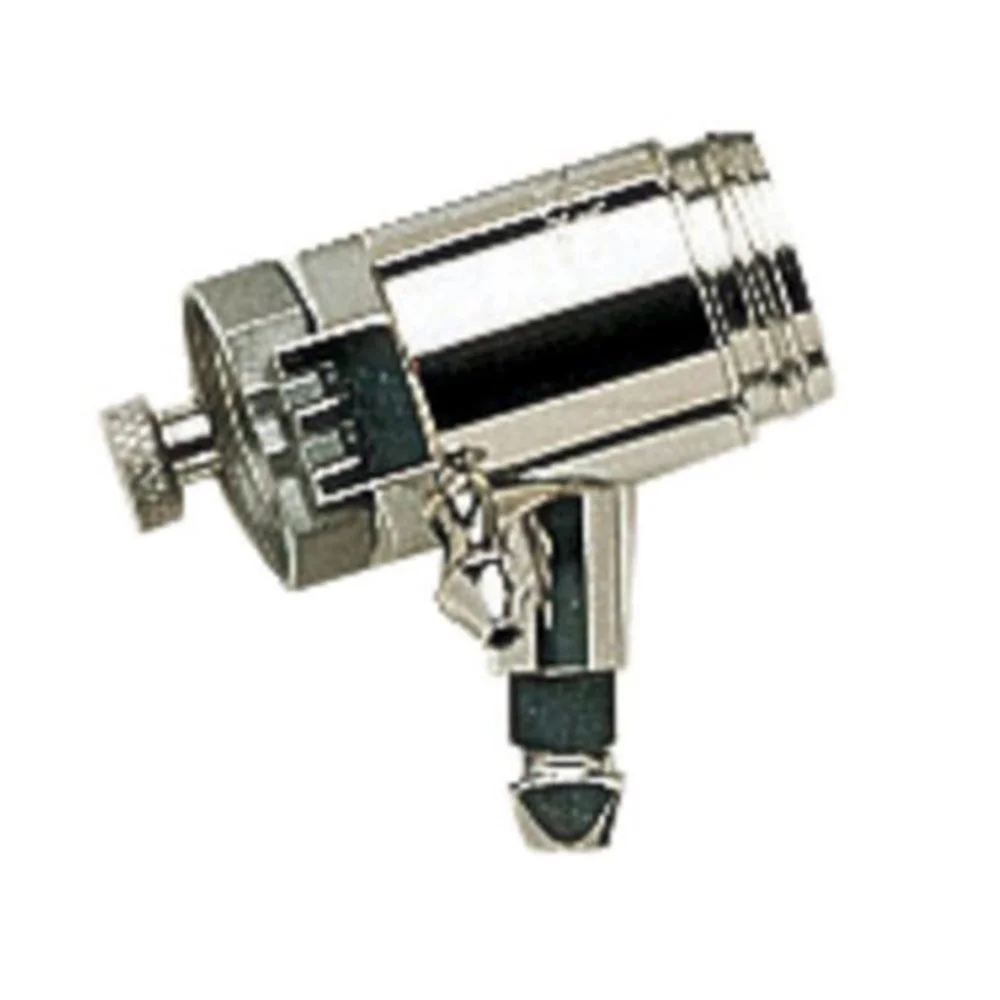
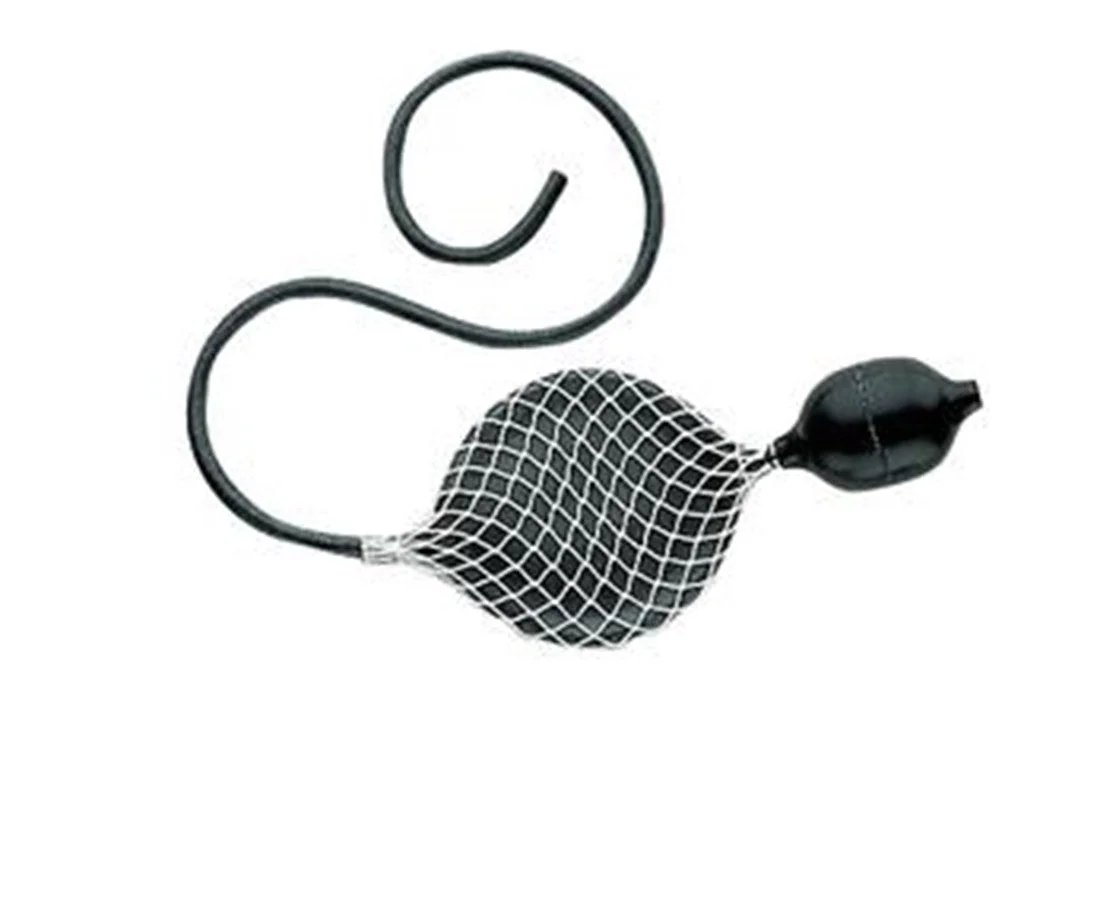
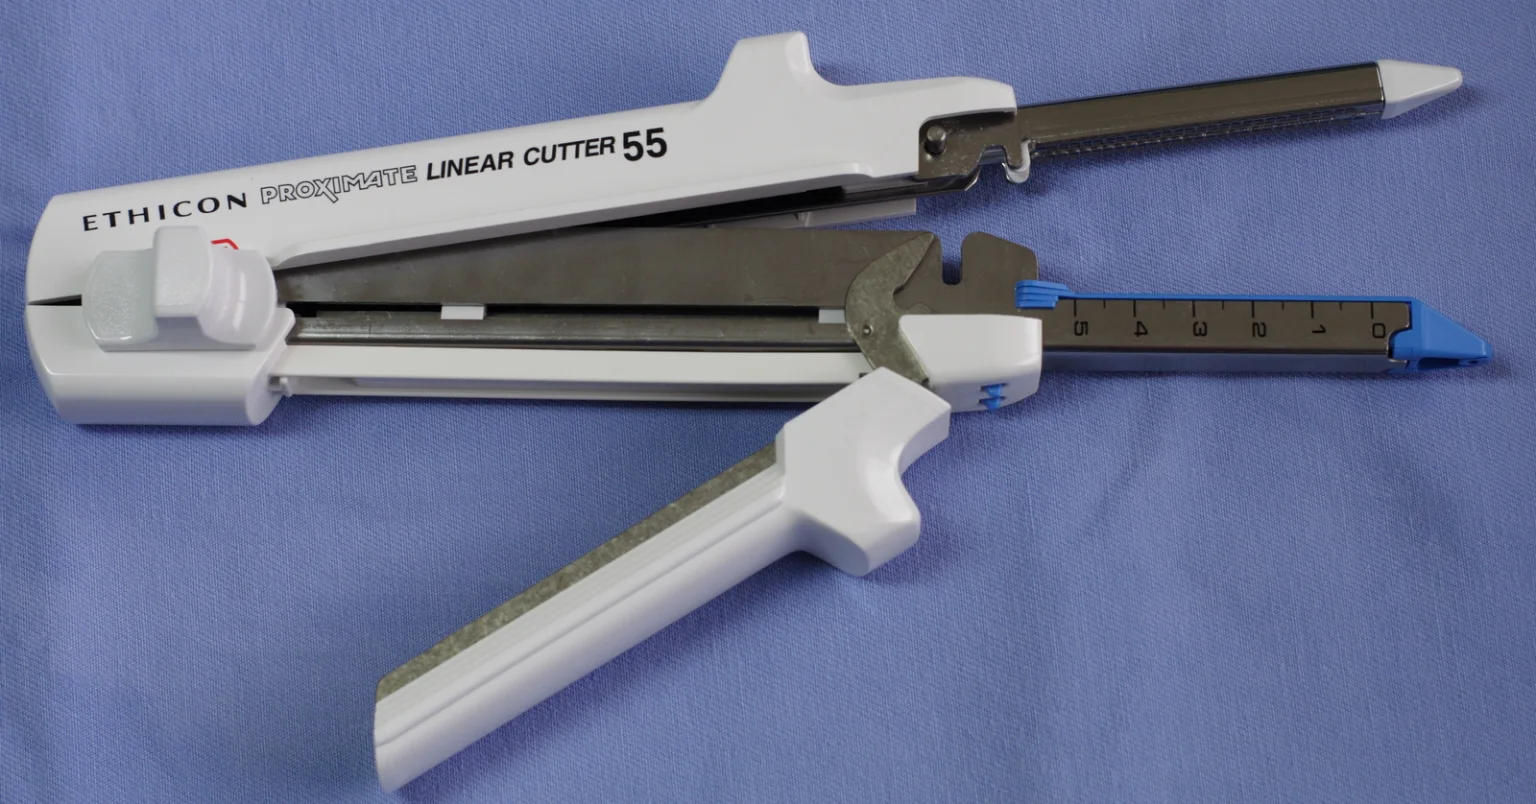
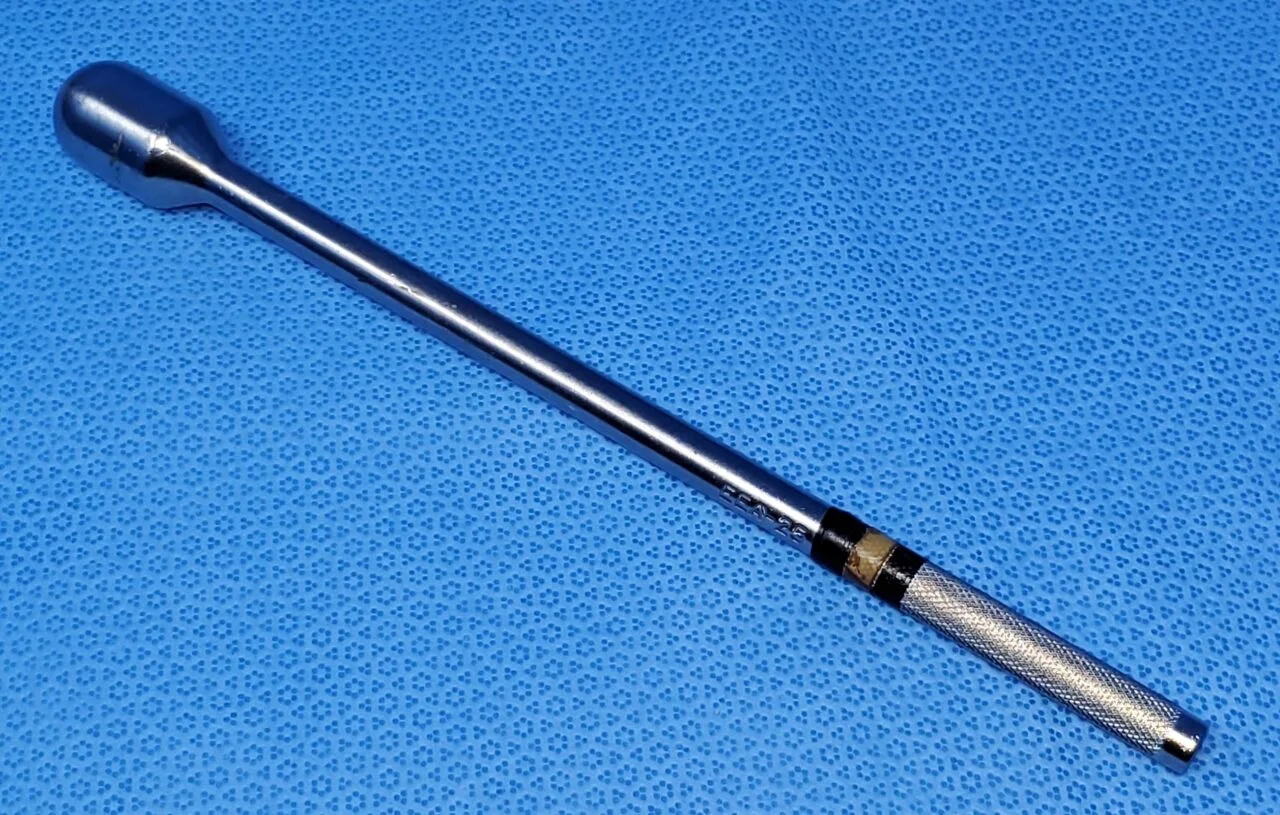
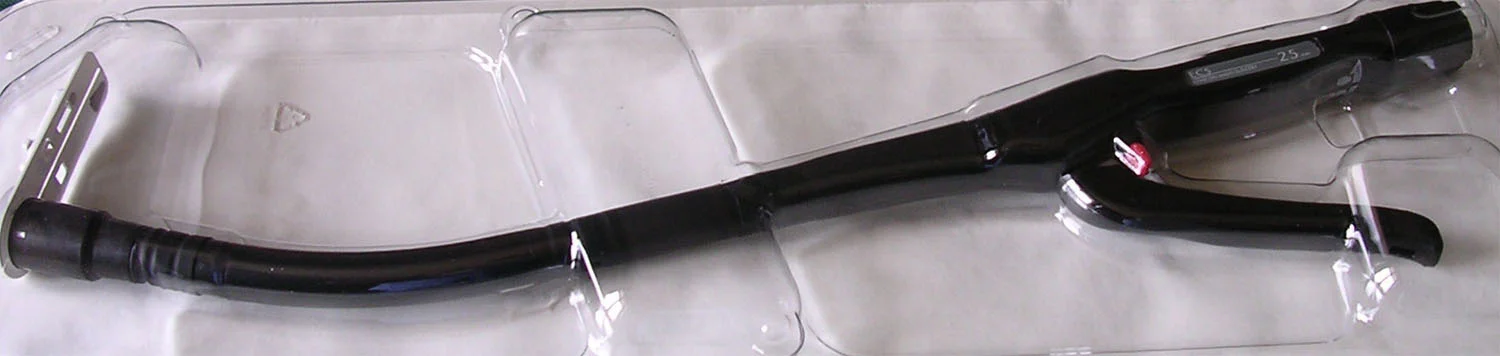
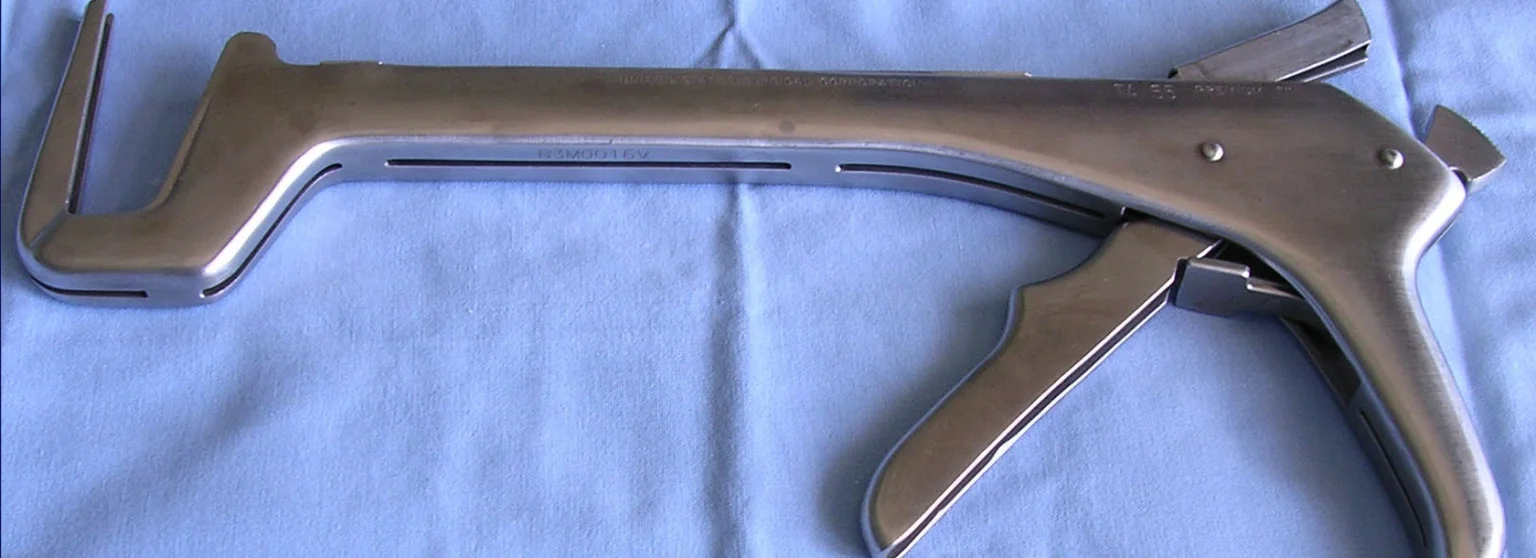
The case
Spark notes
The 30-second rundown. Scan this outside the room.
- Modified lithotomy in padded Allen or Lloyd-Davies stirrups; antiembolic hose; Foley before prep; NG tube; dispersive pad.
- Ureteral stents first if requested (cystoscopy setup).
- Prep nipples to mid-thigh, then thighs, perineum, anus last (vagina in women); buttock sheet, leggings, towels, laparotomy sheet.
- Perineal table: rigid sigmoidoscope, anoscope, light cord, insufflation bulb, circular stapler with sizers, suction. Basic/Minor tray kept for closure.
- #10 blade; midline or transverse incision; Balfour; moist laps; no loose 4 x 4s once the peritoneum is open.
- Long Metzenbaum and DeBakey to free the sigmoid; left ureter and gonadal vessels protected, then the right ureter.
- Mesentery: Pean, Kelly and Crile clamps, large ties, clip appliers. For cancer, more mesentery and lymph nodes are taken.
- Pelvis: lighted, Harrington or Deaver retractor; bipolar vessel sealer for the upper rectum.
- Rectum divided with the curved articulating stapler; colon divided with the GIA. Bowel technique starts.
- Anvil in the colon with a purse-string; circular stapler passed through the anus; fire; check the donuts; count the stapler parts.
- Leak test: bowel clamp, saline in the pelvis, air through the sigmoidoscope; assistant regowns; new drape over the legs.
- Clean closure: new gowns, gloves and drapes, Basic/Minor tray; warm irrigation with a clean Poole; drain; layered closure.
Walkthrough
What the surgeon does, and what to have in your hand before they ask.
Positioning, Prep and Draping
The patient is put in modified lithotomy with the legs in padded stirrups (Allen or Lloyd-Davies). This lets an assistant reach the anus later to pass the circular stapler. The arms may go out on padded armboards, and a pad under the sacrum helps prevent back strain. Antiembolic hose go on the legs, a Foley catheter is inserted and connected to drainage before the prep, anesthesia may pass a nasogastric tube, and the dispersive pad is applied. If the surgeon has asked for ureteral stents, the urologist places them before the abdominal prep, so cystoscopy equipment is needed. The prep starts at the incision site and runs from the nipples to mid-thigh and down to the table at the sides. Then the thighs and perineum are prepped, with the anus last (a fresh sponge after each wipe of the anus); women also get a vaginal prep. A drape sheet is tucked under the buttocks, leggings go on, the abdomen is squared off with folded towels and the laparotomy sheet covers the perineum. An opening is cut in the sheet later for the perineal part of the case.
Set up an extra Mayo stand or small table for the perineal phase with the rigid sigmoidoscope (with obturator, light cord and insufflation bulb), the anoscope, the circular (EEA-type) stapler with sizers, and suction tubing. A Basic/Minor tray is kept aside for the clean closure. Have many large ties opened and ready, because the mesenteric vessels are large.
Next up: the #10 blade on a #3 handle.
Opening the Abdomen
A midline (vertical) or transverse incision is made. The surgeon explores the abdomen, confirms the lesion and decides how much bowel to remove. A self-retaining retractor such as a Balfour is placed. Moist laparotomy pads protect the wound edges and pack the small bowel away from the pelvis. From now on, no loose 4 x 4 sponges on the field; use them only on a sponge stick.
Next up: long Metzenbaum scissors and long DeBakey forceps.
Mobilizing the Sigmoid Colon
The sigmoid colon is freed from the side wall along its bloodless peritoneal attachment using sharp and blunt dissection. The surgeon protects the left ureter and the gonadal vessels where they enter the pelvis. The middle side is freed next, with the right ureter identified and protected. Long instruments are needed as the dissection goes down into the pelvis.
Next up: Pean and Kelly clamps, large ties and the clip appliers.
Dividing the Mesentery
The blood vessels in the mesentery are divided. They are clamped with large hemostats (Pean, curved Kelly, Crile), cut with Metzenbaum scissors and tied, or closed with ligating clips. For cancer, more of the mesentery is taken, along with the lymph-node-bearing tissue, out to the mesorectum. If the colon will not reach the rectum without tension, more colon is freed (for example, the splenic flexure).
Next up: a lighted, Harrington or Deaver retractor for the pelvis, and the bipolar vessel sealer.
Freeing the Upper Rectum
The surgeon opens the space in front of the sacrum and frees the rectum as far down as needed, using blunt and sharp dissection and bipolar vessel-sealing forceps. The uterus or bladder is held forward with a lighted retractor, a Harrington or a Deaver.
Next up: the curved articulating stapler (or bowel clamps) and the linear stapler-cutter.
Removing the Sigmoid Colon (Bowel Technique Begins)
The rectum is divided below the diseased segment with a curved articulating linear stapler or between bowel clamps. The colon above it is divided with the GI linear stapler-cutter. The specimen goes off the field. Bowel technique starts now: every instrument that touches the inside of the bowel goes into a separate basin and is not used again. The open bowel ends may be covered with lap pads or a glove tied on with umbilical tape.
Next up: the circular stapler anvil and a nonabsorbable purse-string suture.
The Anastomosis
The colon is joined end to end to the rectum, with staples or by hand-sewn sutures. For a stapled join, the surgeon opens the end of the upper colon, places the anvil of the circular stapler inside, and ties it in with a nonabsorbable purse-string stitch. An assistant moves between the legs, works from the perineal table, and passes the circular stapler through the anus into the rectum. The anvil and stapler are joined, closed and fired. The two tissue rings (donuts) are removed from the stapler and checked to make sure each is a complete circle. If one is not complete, the surgeon may repair the join with sutures. The donuts go with the specimen, and every stapler and anvil part is counted.
Next up: a noncrushing bowel clamp (such as a Glassman), warm saline and the rigid sigmoidoscope.
Testing the Anastomosis
The colon above the join is clamped with a bowel clamp, and warm saline is poured into the pelvis. The assistant gently pushes air into the rectum through the sigmoidoscope while the surgeon watches for bubbles. Bubbles mean a leak that must be oversewn. The sigmoidoscope also lets the surgeon look directly at the anastomosis. The assistant then puts on a new gown and gloves before returning to the abdomen, and a fresh sterile drape is placed over the legs.
Next up: the clean closing setup (Basic/Minor tray), a clean Poole suction tip and warm irrigation.
Clean Closure
Contaminated instruments, the bowel basin and soiled items are moved off the field. The team changes gowns and gloves, new drapes go on, and the closure is done with the fresh Basic/Minor tray. The abdomen is irrigated with warm saline and suctioned with a clean Poole tip. A closed-suction drain such as a Hemovac or Jackson-Pratt may be placed. The abdomen is closed in layers and dressed.
Tips and Tricks
Set up the perineal table and the closing tray before the incision. Open plenty of large ties and keep extra Criles, Kellys and Peans ready for the big mesenteric vessels. Ask early whether the surgeon plans a primary anastomosis or a Hartmann procedure (closed rectal stump and end colostomy). For an end colostomy, have the marking pen (for the stoma site) and a colostomy pouch ready. Count the anvil and all stapler parts. Keep the Mayo stand and back table sterile until the patient has left the room.
Add your table
Every surgeon runs it a little differently. Submissions stay private, are reviewed by our team, and accepted contributions earn a credit in the contributor list.