Da Vinci Hemicolectomy
The cecum, ascending colon and hepatic flexure are removed together with their blood vessels and lymph nodes using the da Vinci robot, and the ileum is joined to the remaining transverse colon.
43 instruments to master.
Master this setup: test yourself on every instrument, earn the tier, hold the record.
No site record yet · target 16:01
Study flashcards
Card by card, grade yourself · 43 cards
Practice test
Answer, see why · 25 at a time
Take the exam
45 questions · target 16:01
Surgical instruments
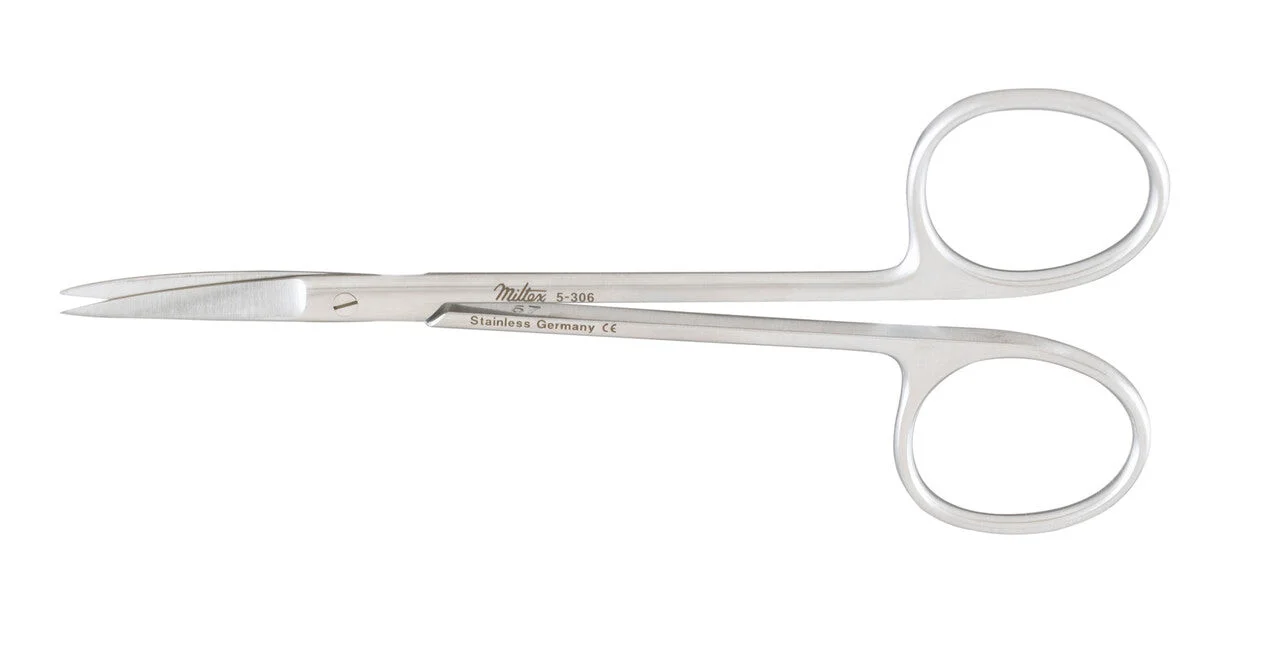
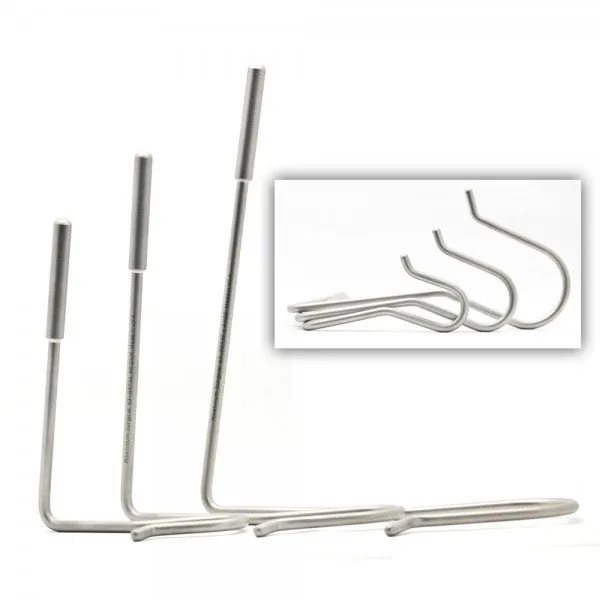
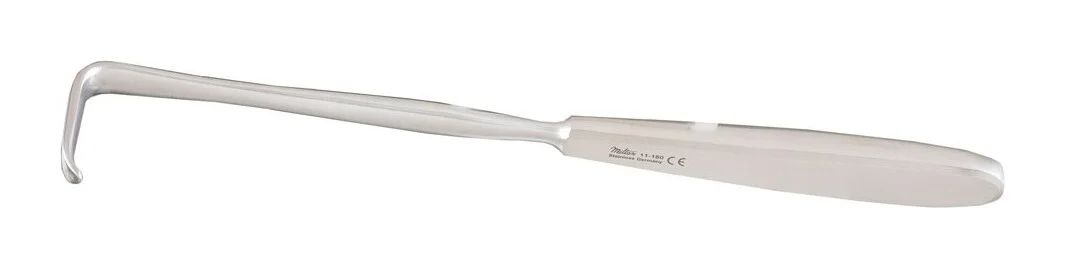
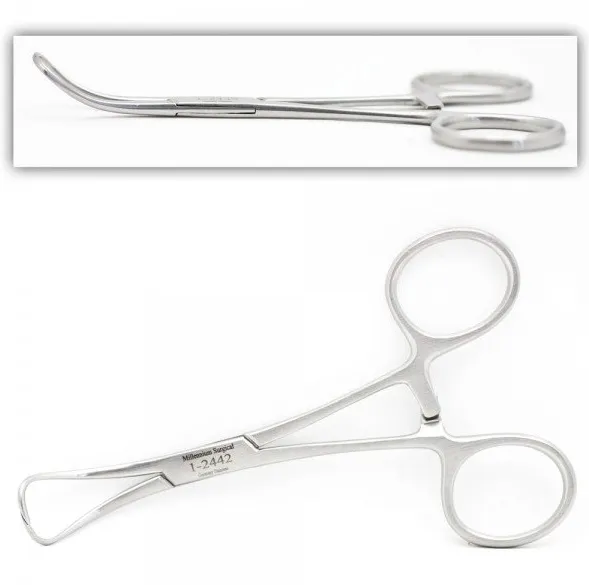
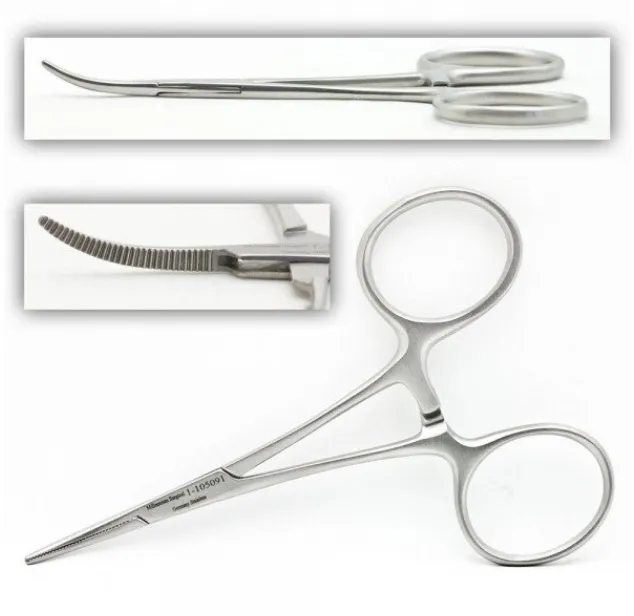
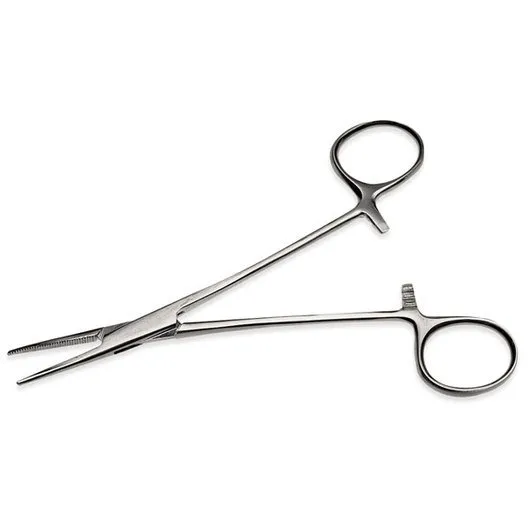
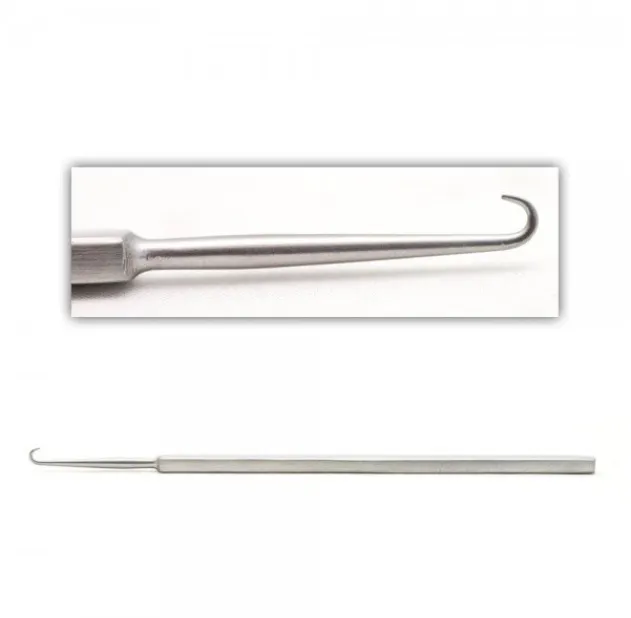
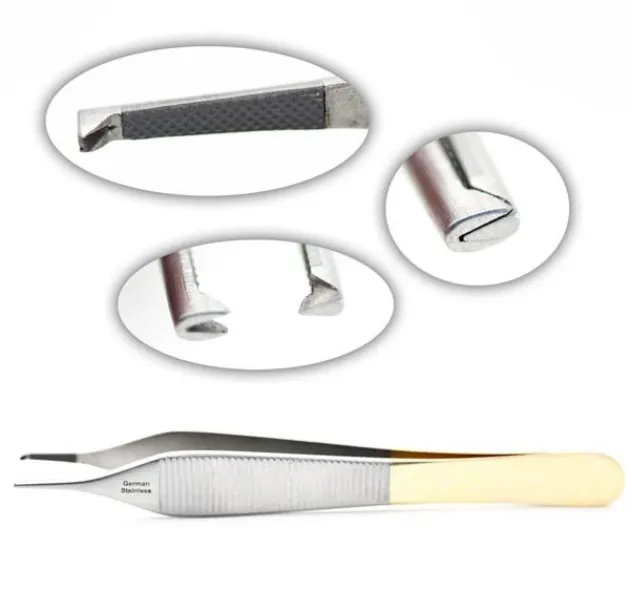
43 on this table. Tap a photo to zoom, the name for its card.
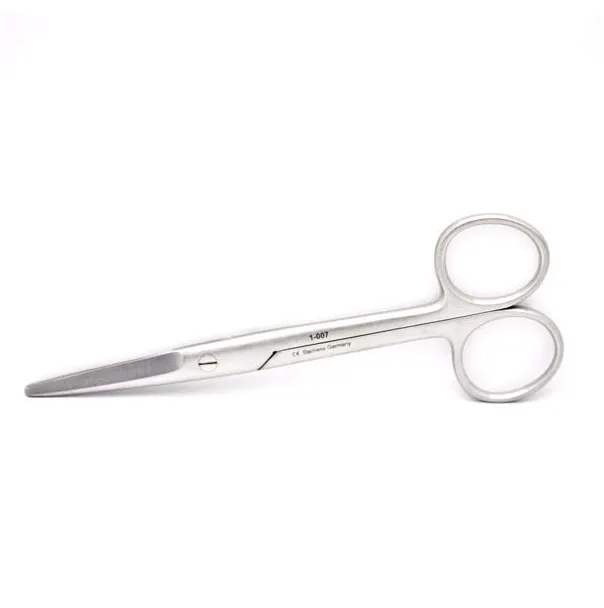
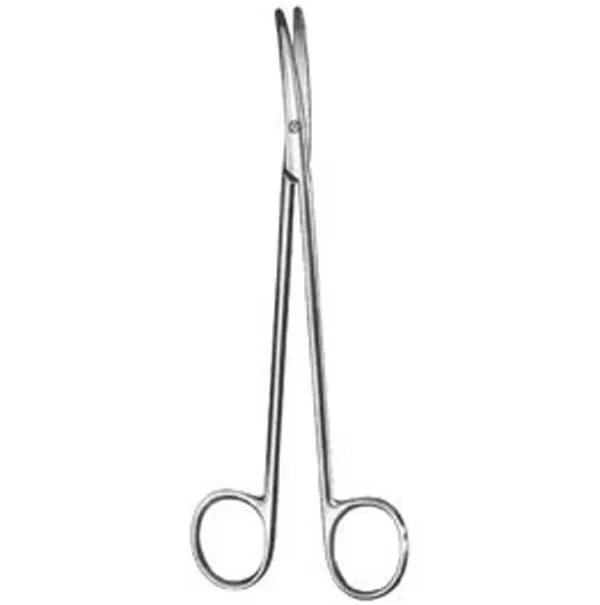
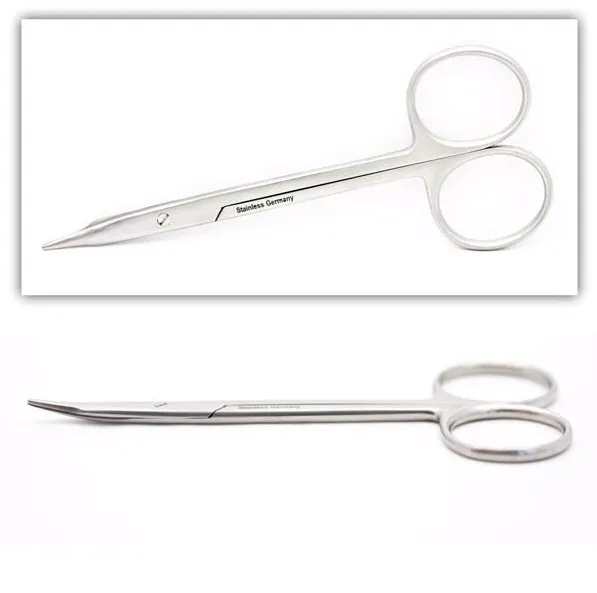
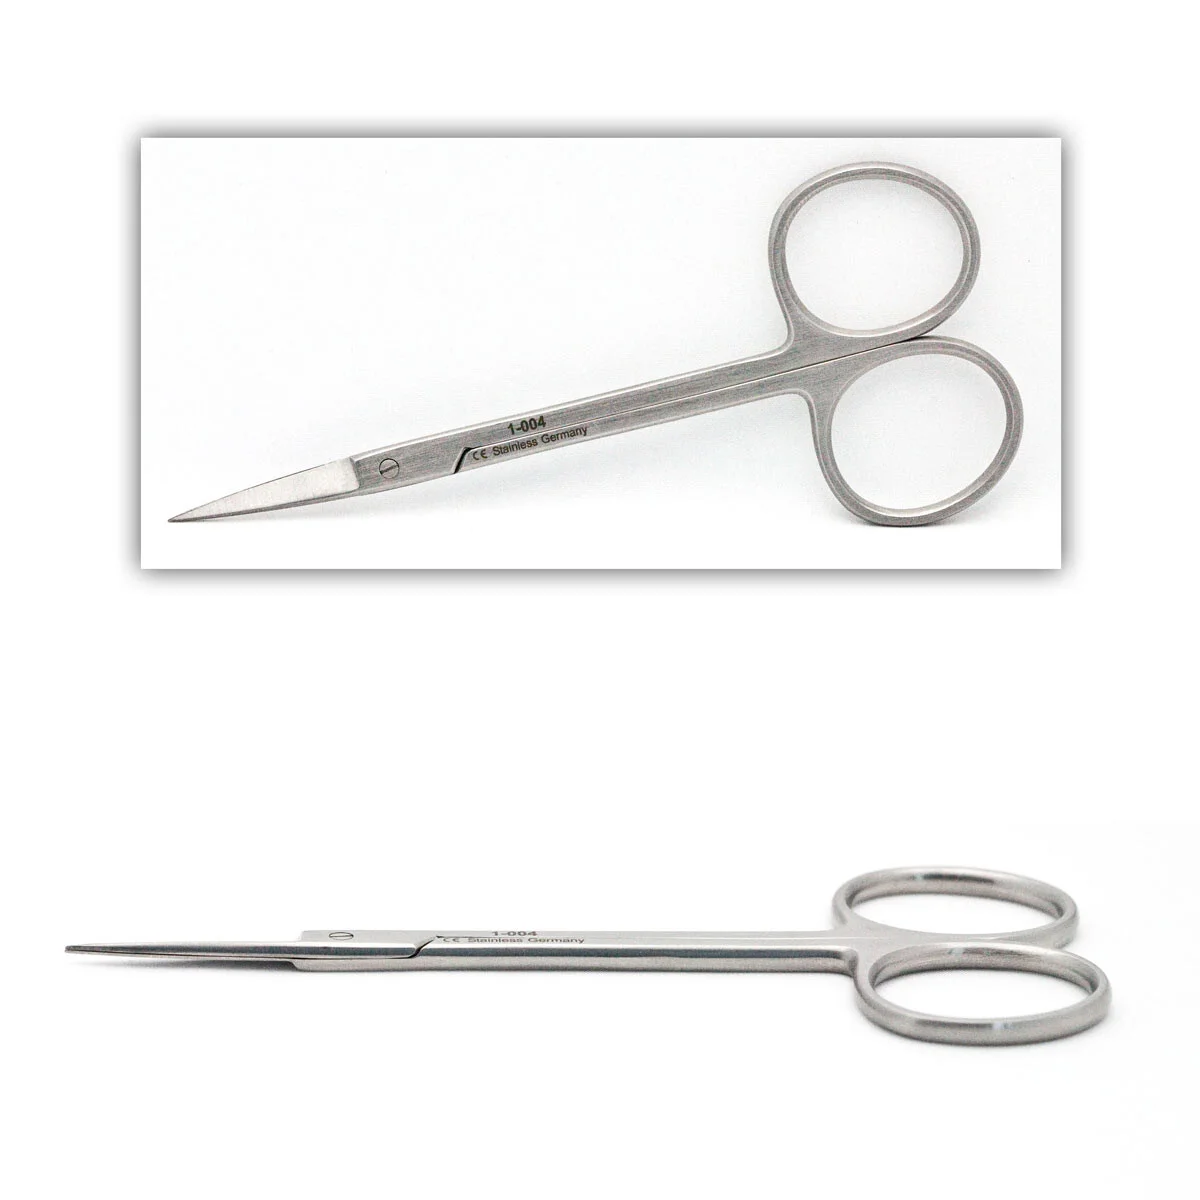
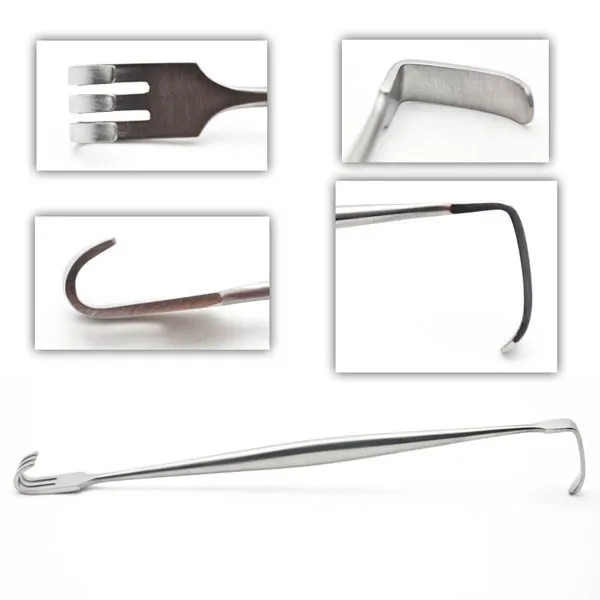
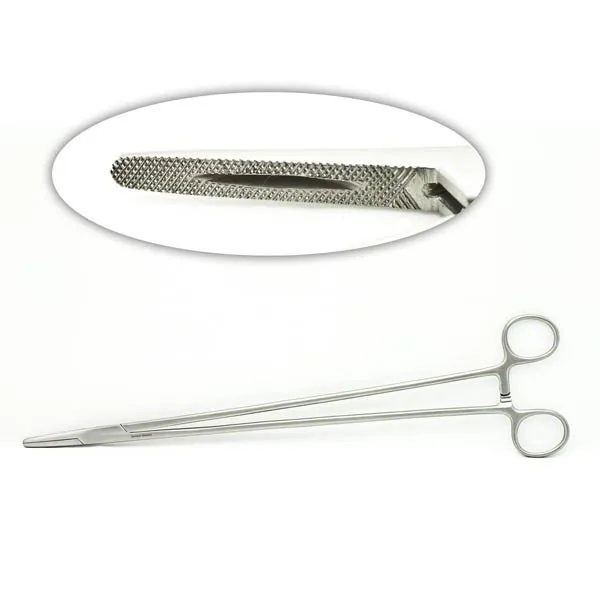
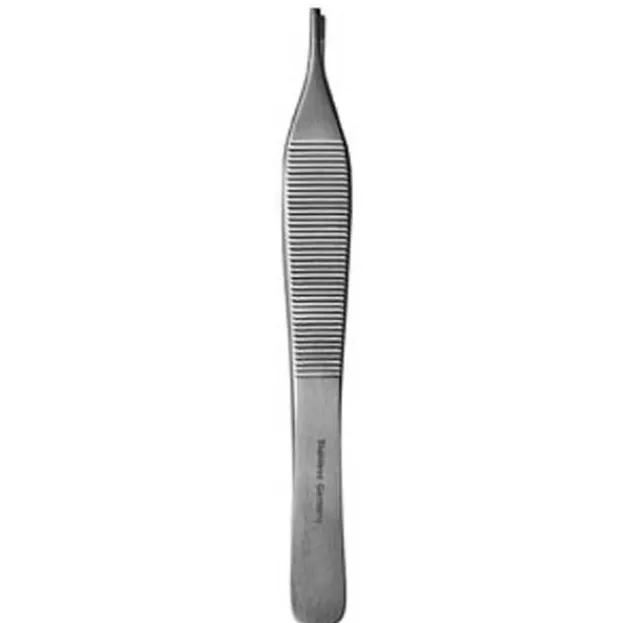
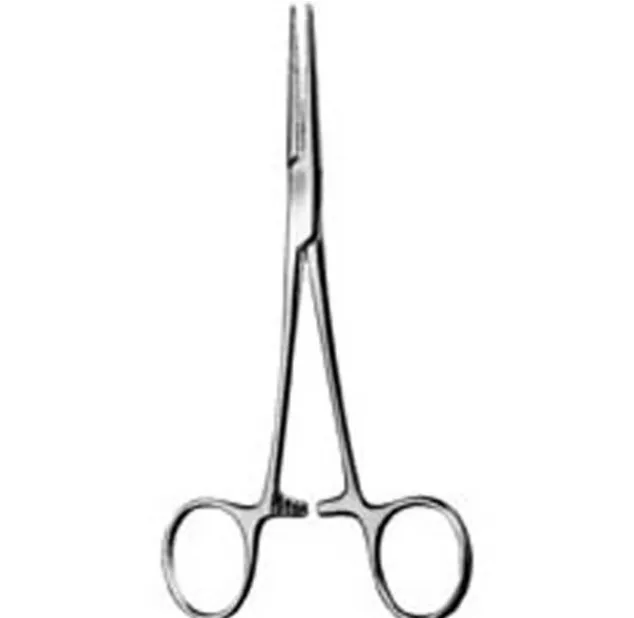
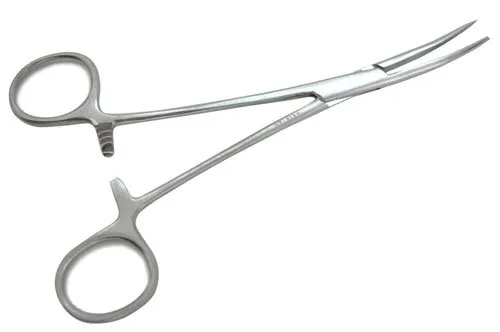
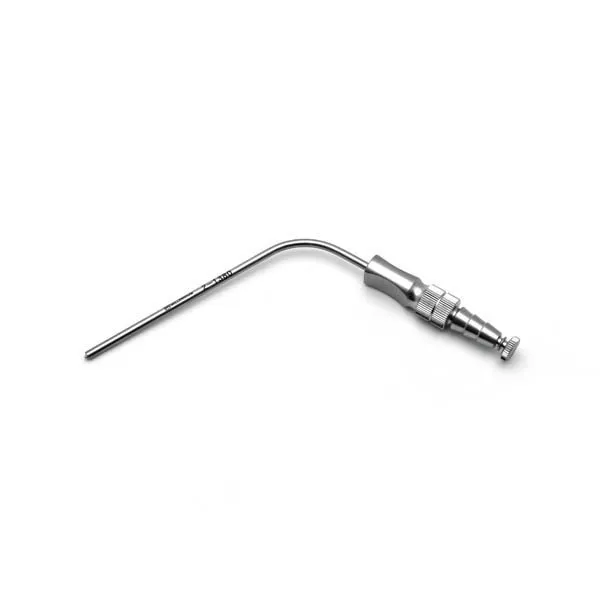
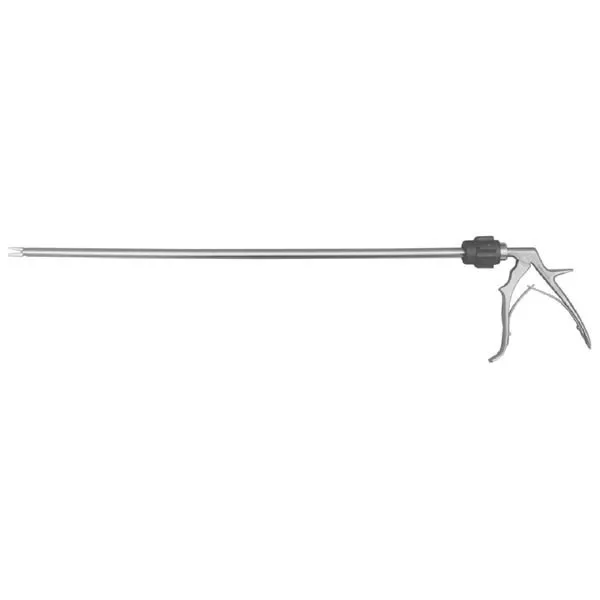
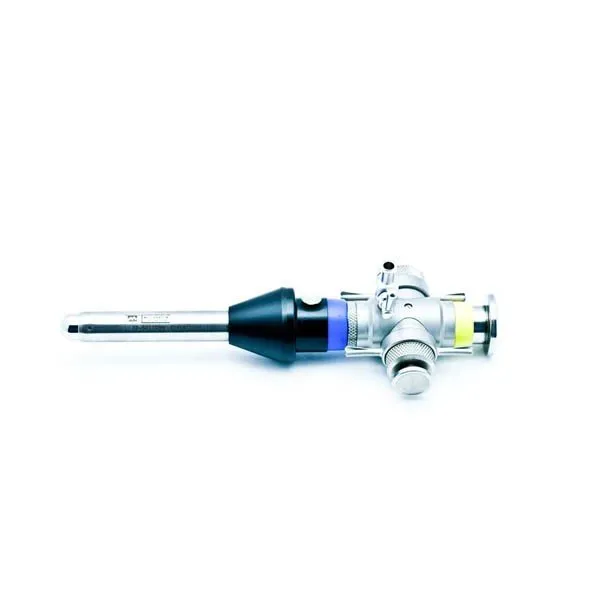
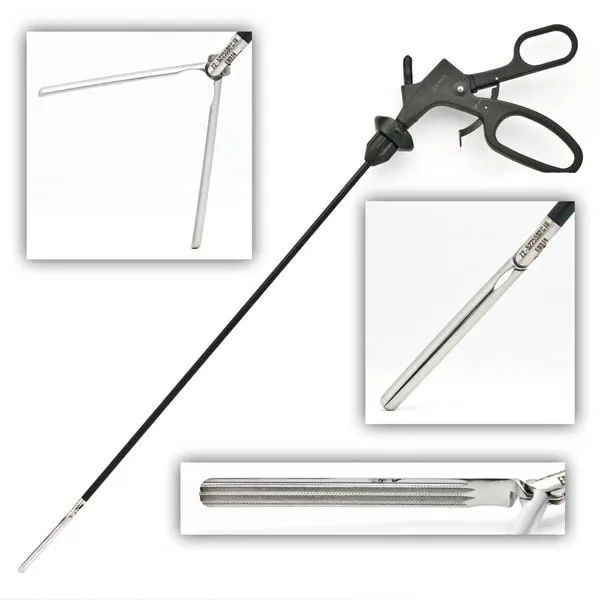
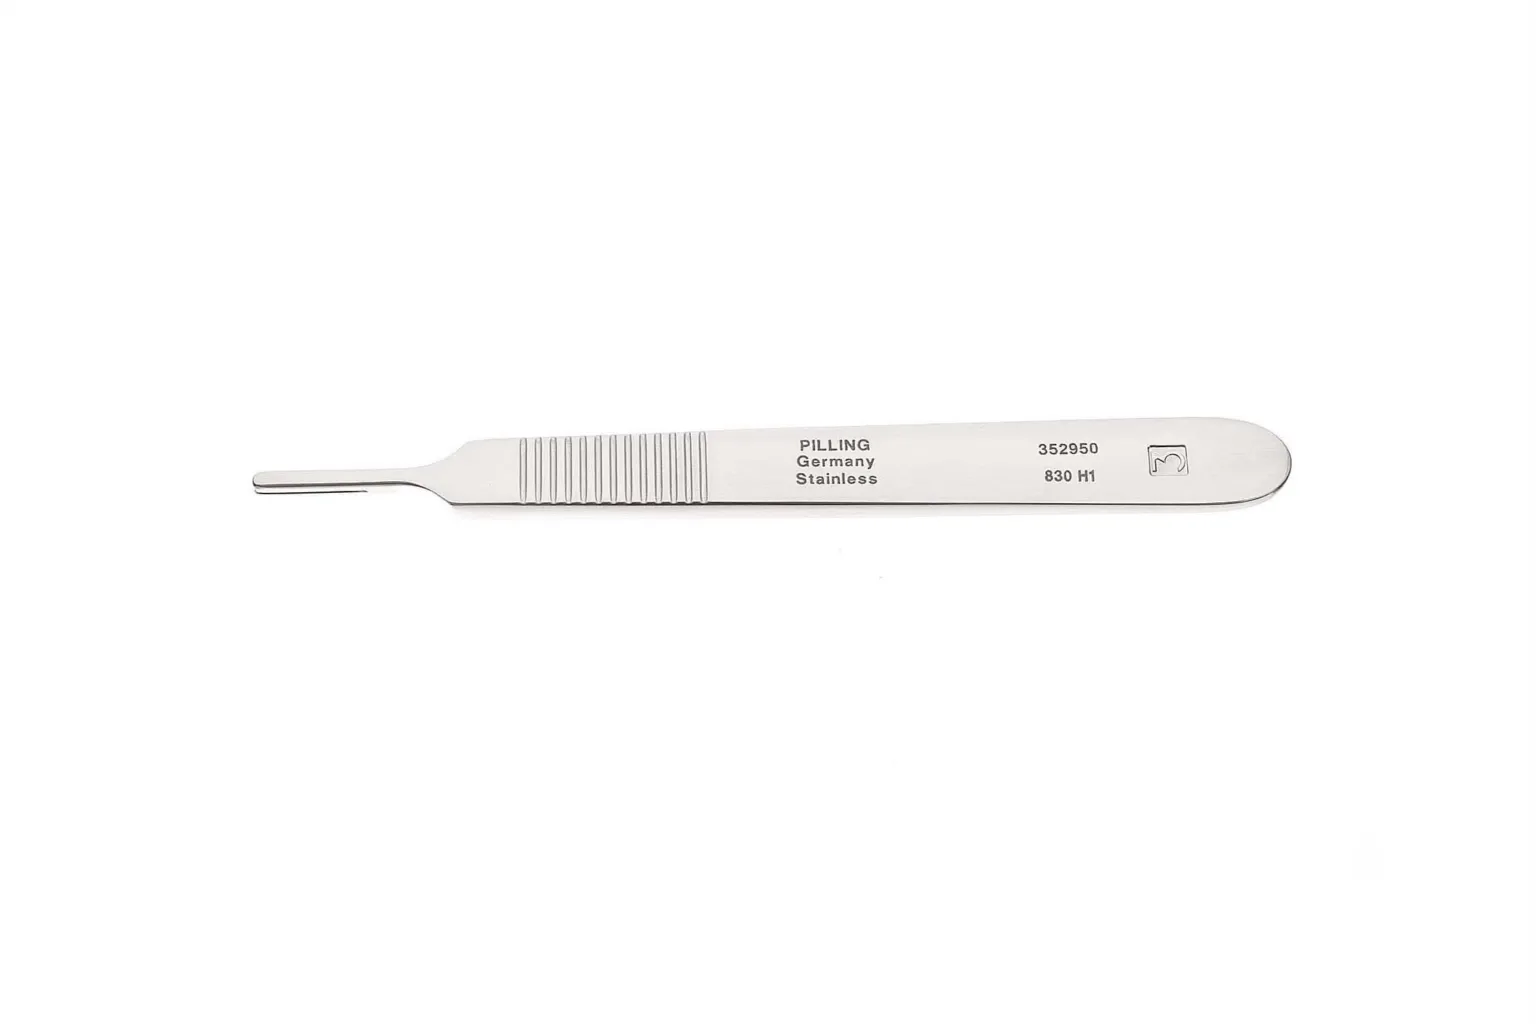
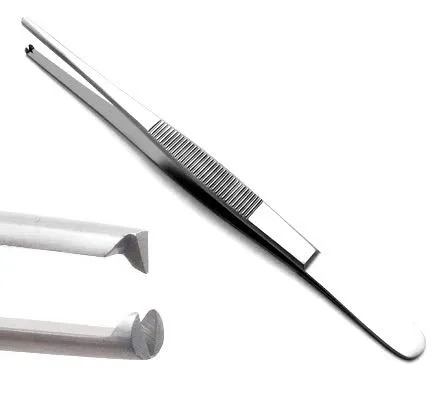
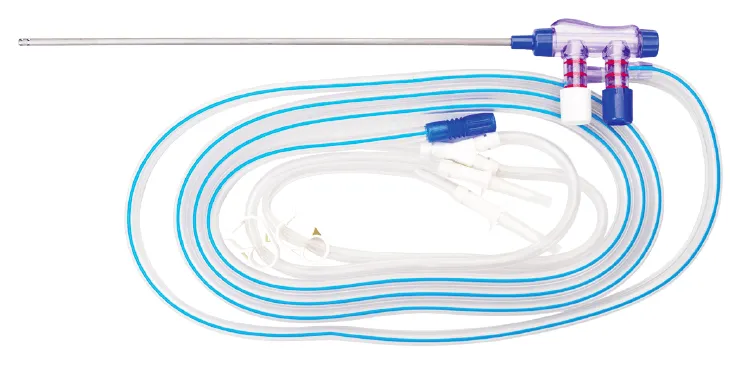
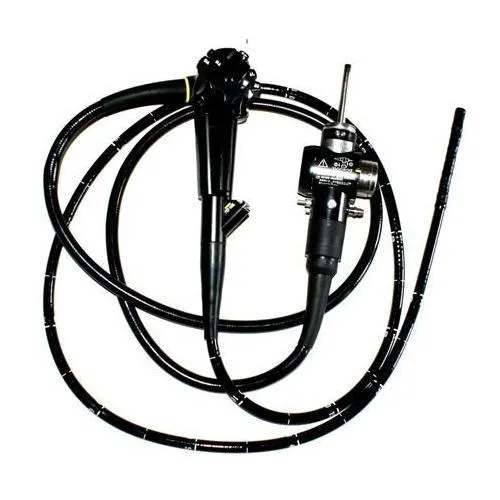
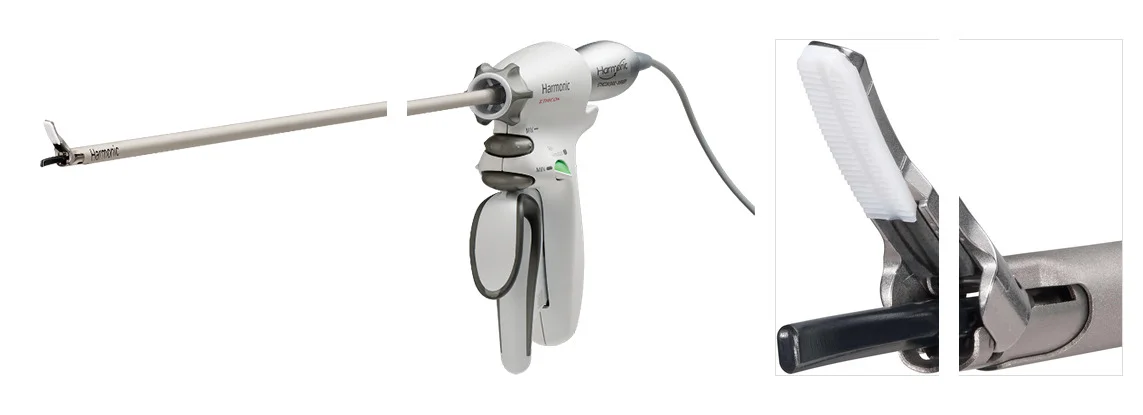
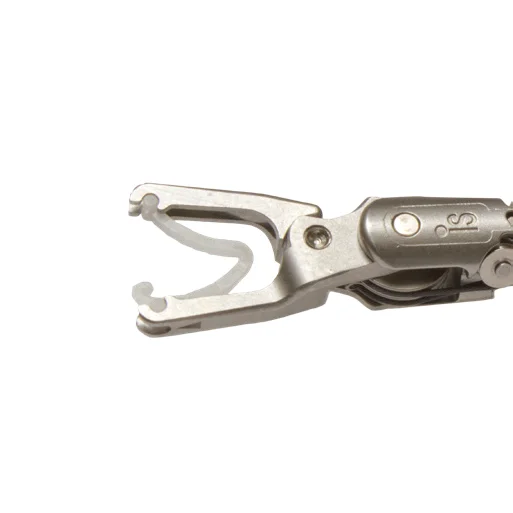
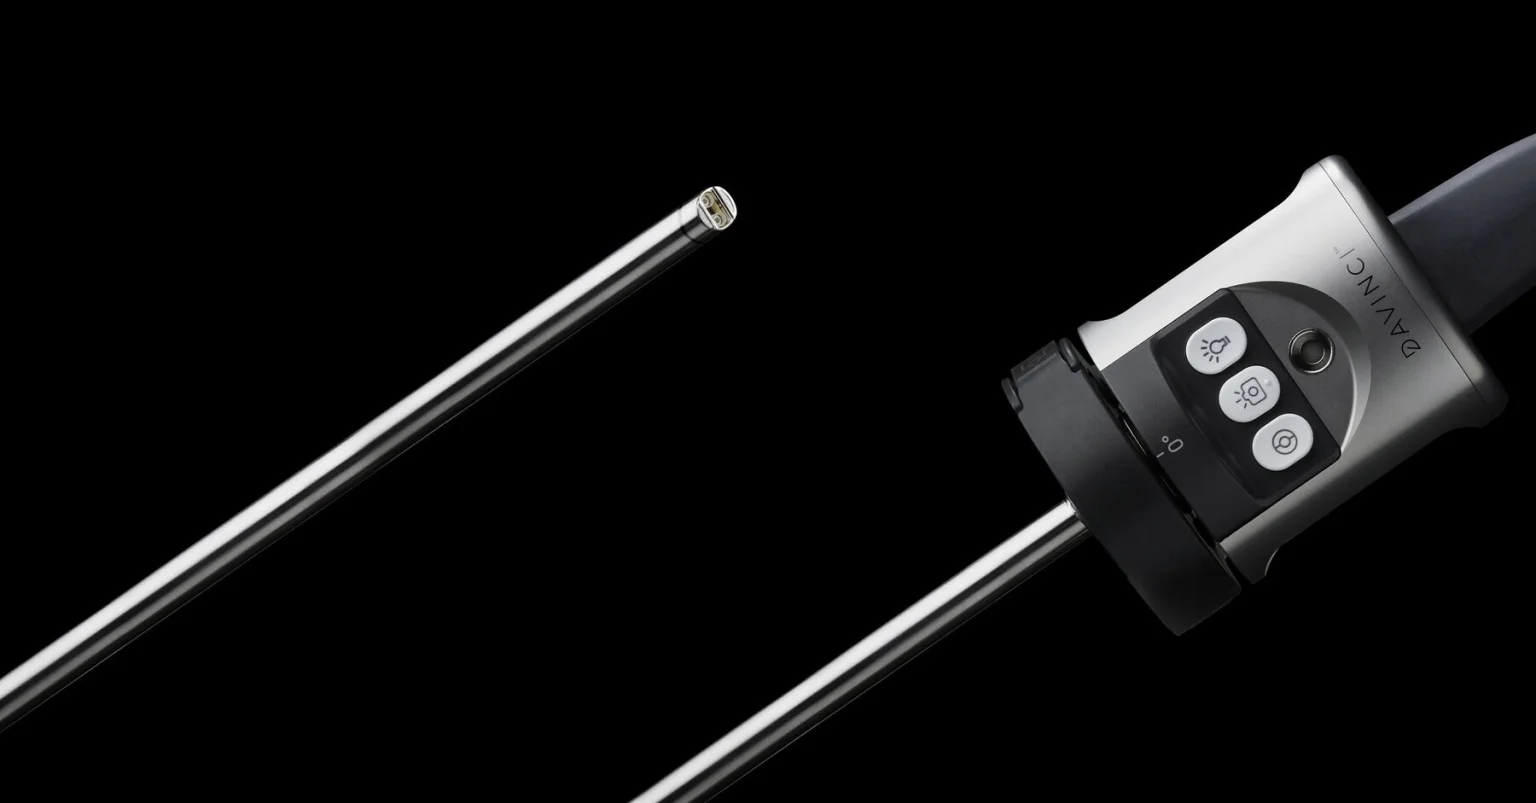

The case
Spark notes
The 30-second rundown. Scan this outside the room.
- Bowel prep done; cefuroxime and metronidazole before induction; Foley and NG tube.
- Supine with shoulder braces; head-down, right side up, later head-up.
- Prep umbilicus outward, nipples to upper thighs; towels and laparotomy sheet; drape the Xi.
- Open Hasson entry below the umbilicus: #11 blade, Langenbeck retractors, artery clips.
- 8 mm da Vinci cannulas plus a 10 to 12 mm assistant port for staplers.
- Dock; surgeon to console; assistant exchanges, retracts, suctions and cuts.
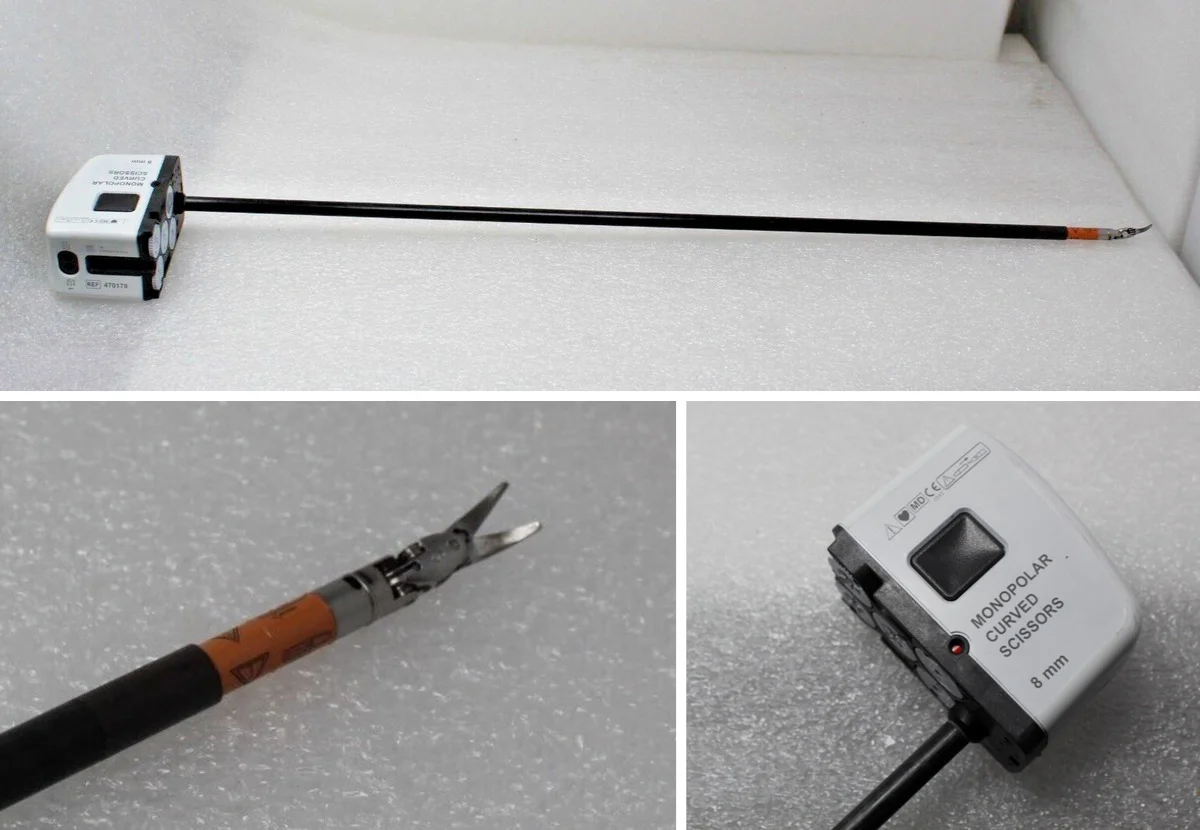
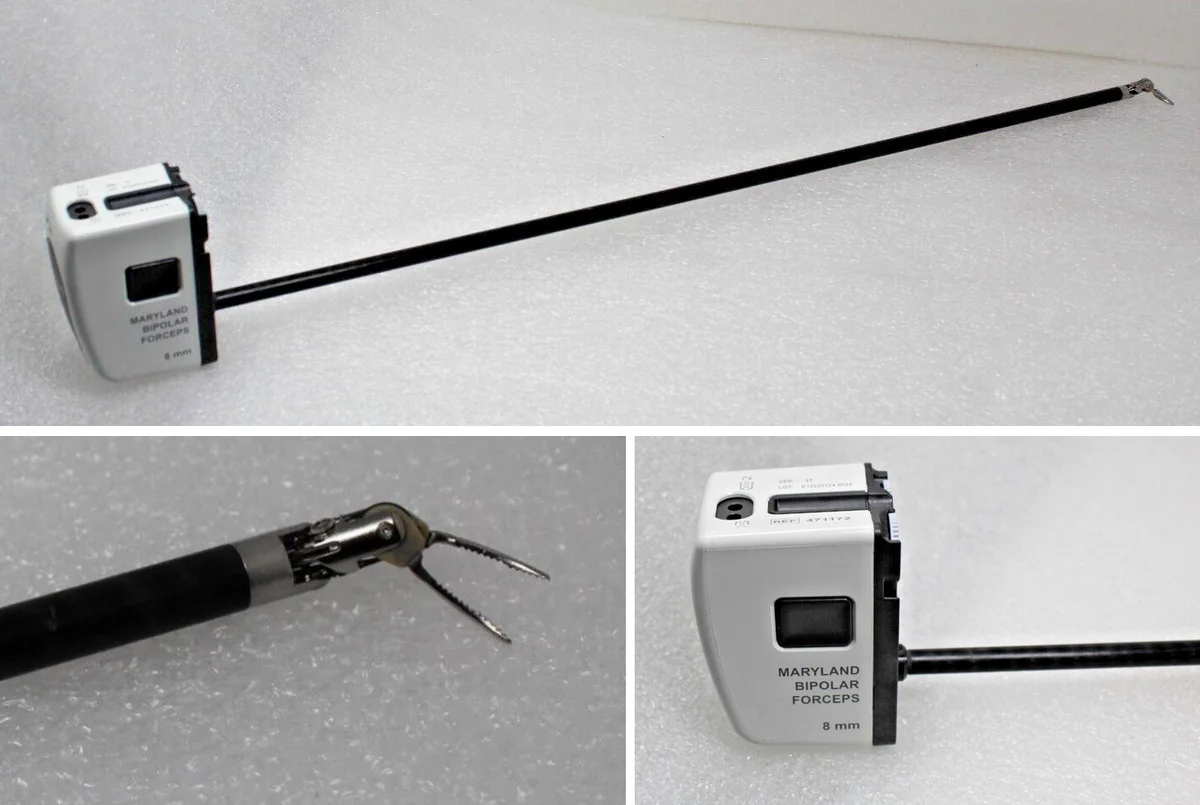
- 30-degree endoscope; Cadiere, Maryland bipolar, monopolar scissors, needle drivers.
- Free the right colon from cecum to hepatic flexure along Gerota's fascia; protect the duodenum.
- Head-up; Nathanson lifts the stomach; gastrocolic ligament divided into the lesser sac.
- Ileocolic and right colic arteries clipped and divided at their origin.
- Enlarge a port, wound protector, bowel out; staplers divide and join ileum to colon.
- Close the fascia, re-insufflate to check, drain if wanted, undock and close.
Walkthrough
What the surgeon does, and what to have in your hand before they ask.
Preparation, Positioning, Prep and Draping
Most patients have had a bowel prep, and cefuroxime and metronidazole (or the hospital's equivalent) are given just before induction. After general anesthesia is induced, a Foley catheter is placed to track fluid balance, anesthesia passes a nasogastric tube, sequential compression or antiembolic stockings go on the legs, and every pressure point is padded. The patient is supine; padded shoulder braces are secured because the table will be tipped head-down with the right side up for most of the right colon work, then head-up for the transverse colon. Prep with chlorhexidine (or as ordered) starting at the umbilicus, from the nipples to the upper thighs and down to the table on both sides, so the whole abdomen is in the field. Drape with folded towels and a laparotomy sheet, and cover the Xi arms and column with the robot's sterile drapes.
Next up: a #11 blade on a #3 handle, two Langenbeck retractors and a Hasson cannula.
Open Entry at the Umbilicus
A 10 mm port is placed just below the umbilicus by open cut-down: the #11 blade makes the skin incision, Langenbeck retractors and artery clips (small hemostats) open the way to the fascia, and the Hasson cannula goes in under direct vision. The abdomen is filled with CO2 and the surgeon looks around to confirm the case can go ahead with the robot as planned.
Next up: the 8 mm da Vinci cannulas and a 10 to 12 mm assistant port.
Working Ports and Table Tilt
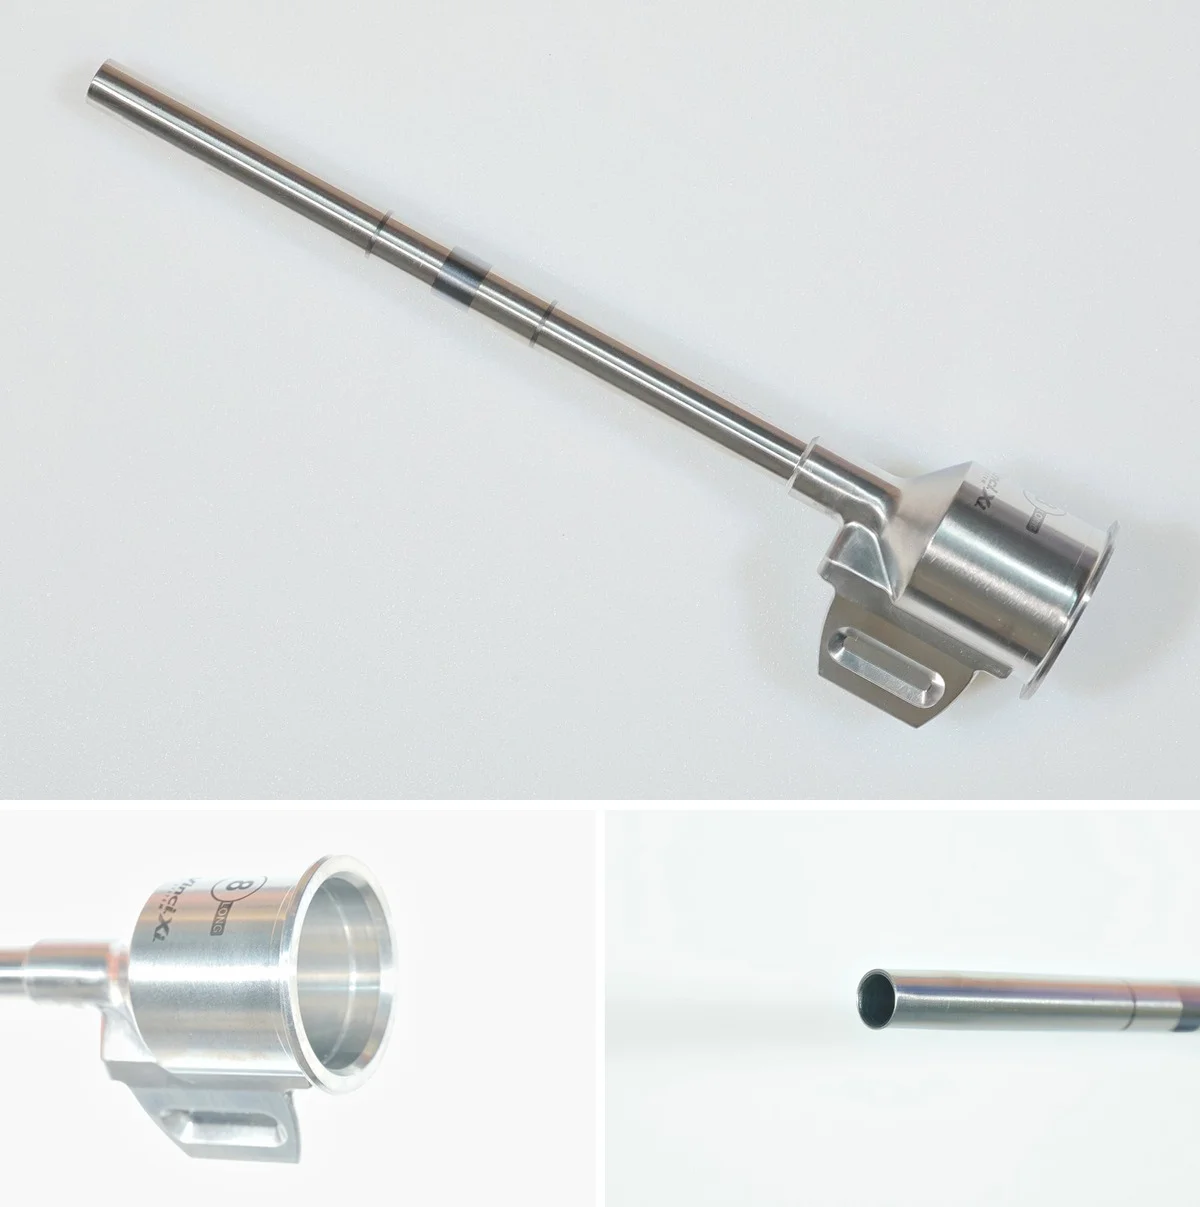
The remaining ports go in under direct vision. Their number and position depend on the surgeon and the patient; the robotic arms attach to 8 mm da Vinci cannulas, and at least one 10 to 12 mm port is kept for the bedside assistant, because laparoscopic staplers only pass through 11 or 12 mm ports. Ports may also be planned so two can be joined later to make the extraction incision. The table is tipped head-down with the left side down, so the small bowel falls away from the right colon.
Next up: the patient cart.
Docking
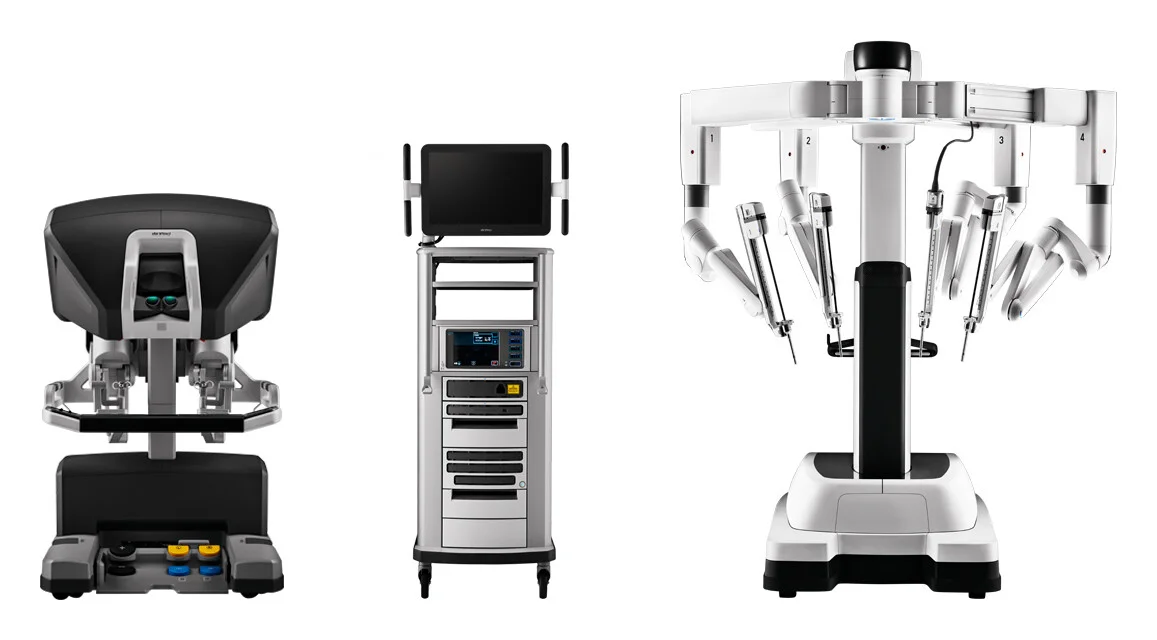
The patient cart is brought over the patient with the surgeon guiding it, the arms are attached to the cannulas, and the camera and instruments go in. The surgeon then leaves the field for the console. The scrub and the first assistant stay at the table: the assistant passes and exchanges instruments, retracts, irrigates, suctions and cuts suture. If the table needs to be tilted again later, the Xi's integrated table motion lets it move without colliding with the arms.
Next up: the 30-degree endoscope.
Camera and Robotic Instruments
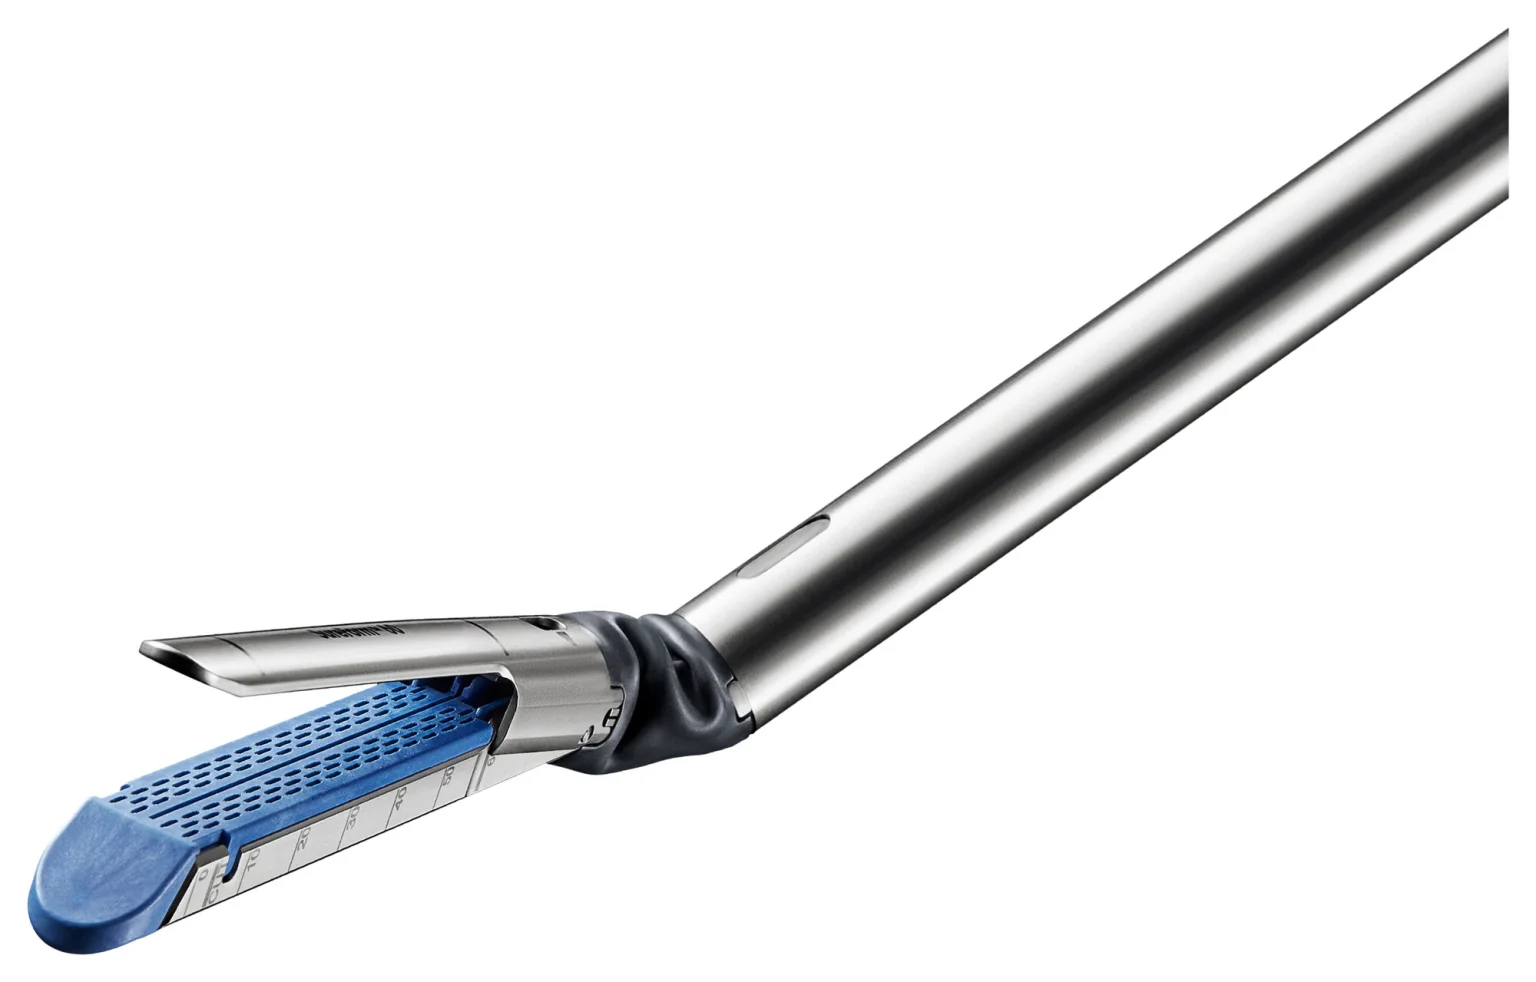
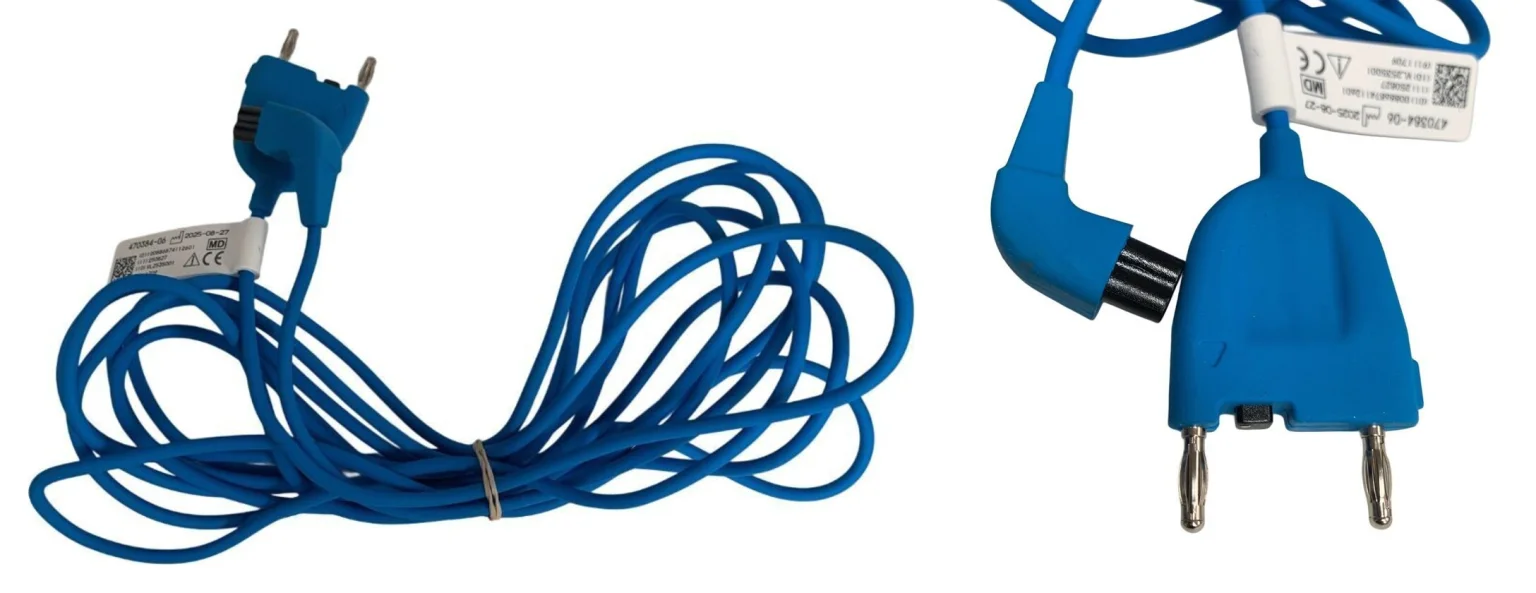
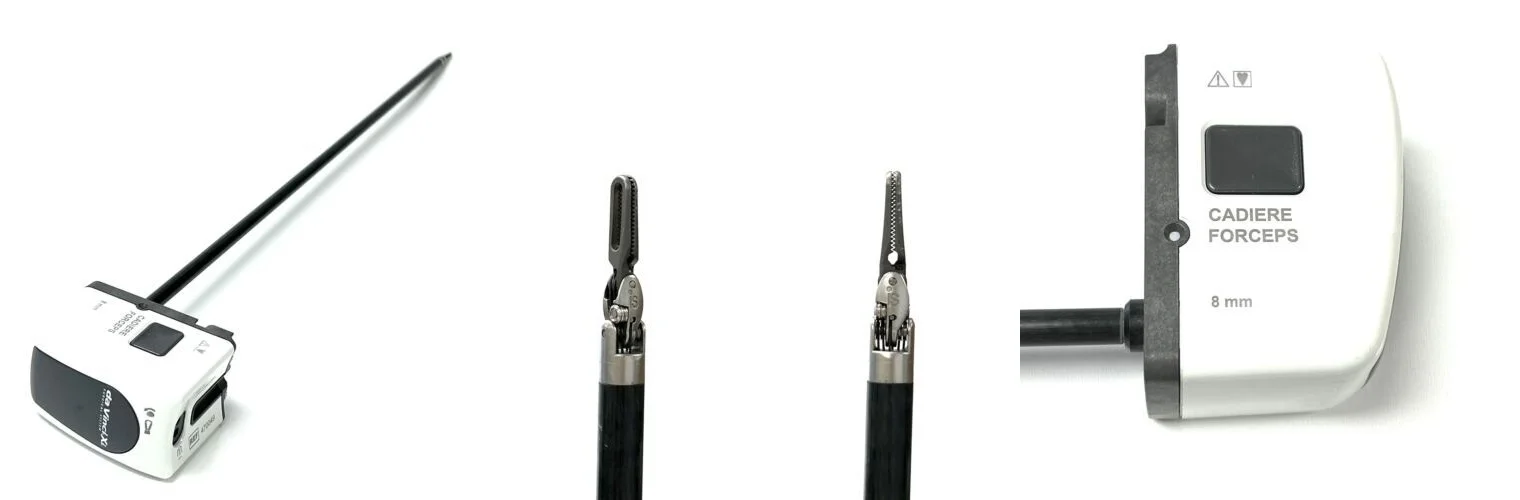
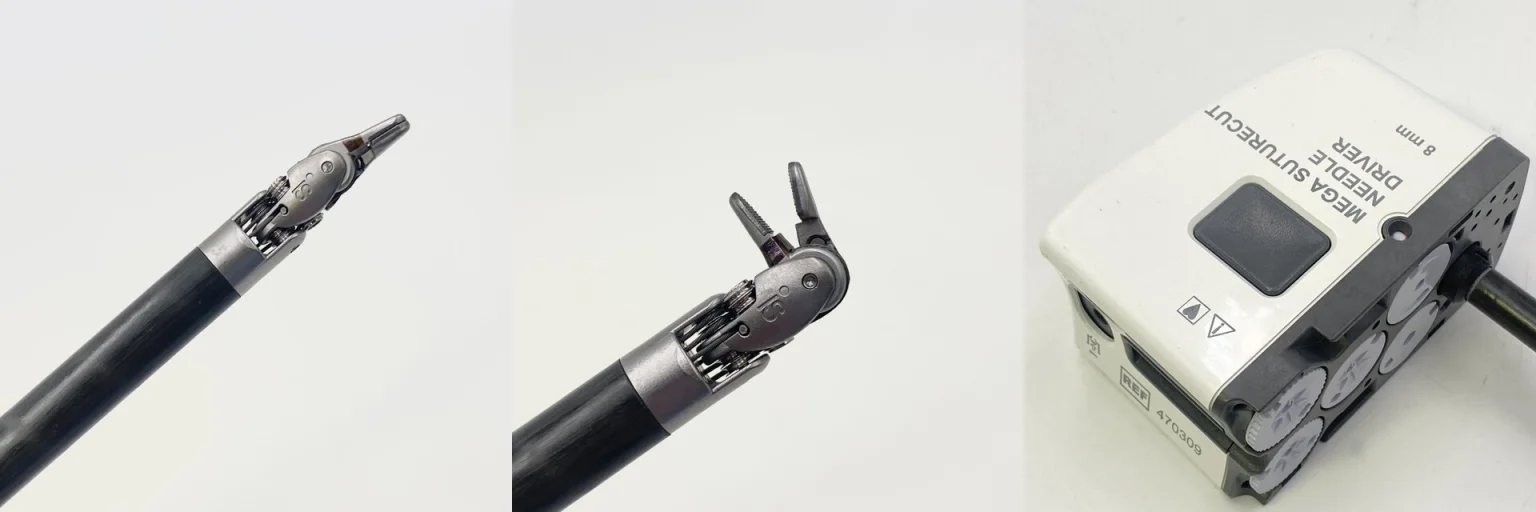
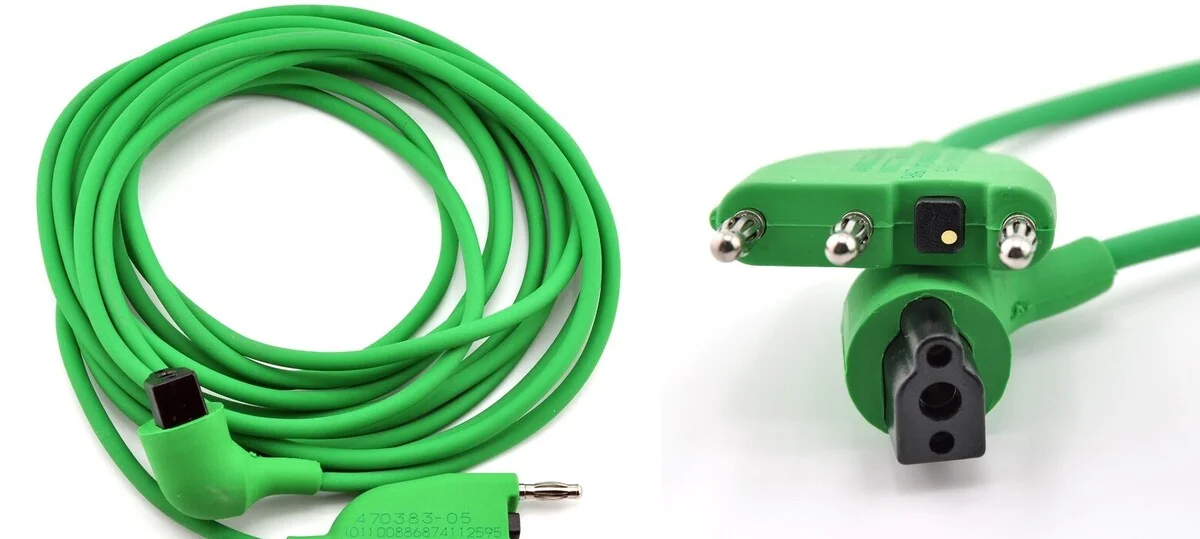
The scrub hands up the 30-degree da Vinci endoscope. The robotic set for this case commonly includes Cadiere forceps, a Maryland bipolar dissector, monopolar curved scissors and needle drivers, with a robotic clip applier and stapler available. Attach the green monopolar and blue bipolar cords. On the field, have three bowel-safe laparoscopic graspers, the suction irrigator, the laparoscopic clip applier and an ultrasonic (Harmonic) device ready for the assistant.
Next up: energy for the ileal mesentery and the right gutter.
Mobilizing the Right Colon
The surgeon divides the mesentery of the terminal ileum with cautery or the ultrasonic device. With the right colon pulled toward the midline, the peritoneum along the right paracolic gutter is opened, and the colon is freed upward from the cecum to the hepatic flexure. Gerota's fascia over the kidney marks a bloodless plane to follow; going deeper risks the ureter, the kidney and the large vessels. Near the hepatic flexure the second and third parts of the duodenum come into view and are protected. The colon is laid back in place to keep everyone oriented.
Next up: a Nathanson retractor for the left upper quadrant port, and reverse Trendelenburg.
Mobilizing the Transverse Colon
The table is tipped head-up. The gastrocolic ligament is divided, and a Nathanson retractor through the left upper quadrant port lifts the stomach so the surgeon can enter the lesser sac. The dissection runs toward the hepatic flexure until it meets the plane opened from below.
Next up: clips for the vessels.
Dividing the Vessels
The right colon is held out to the side and the first part of the transverse colon is lifted, which shows the mesocolon. The mesocolon is opened at the hepatic flexure between the right colic and middle colic vessels. The ileocolic and right colic arteries are cleared, then clipped and divided close to where they leave the superior mesenteric artery, so the lymph nodes come out with the specimen.
Next up: the knife to enlarge a port, the wound protector, and the linear staplers.
Bringing the Bowel Out and Joining It
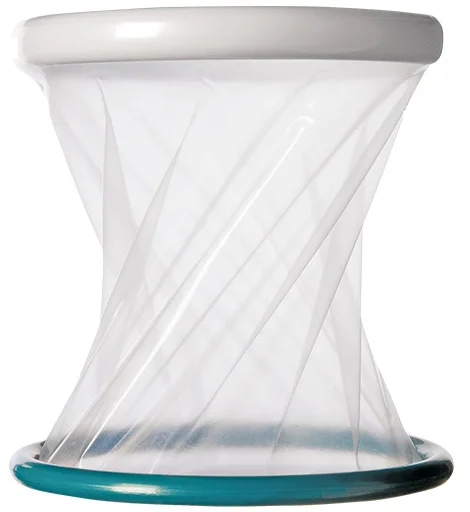
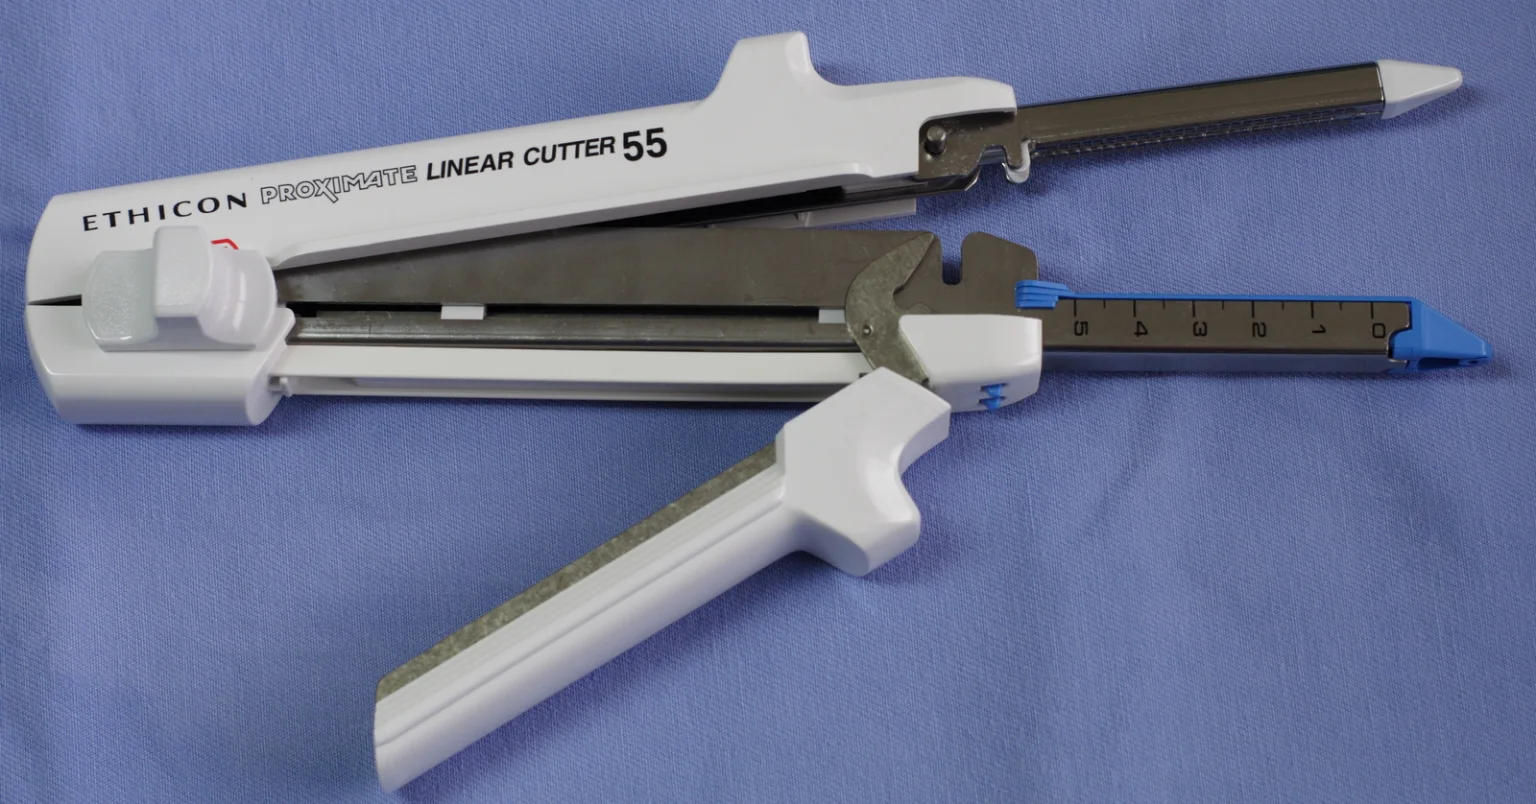
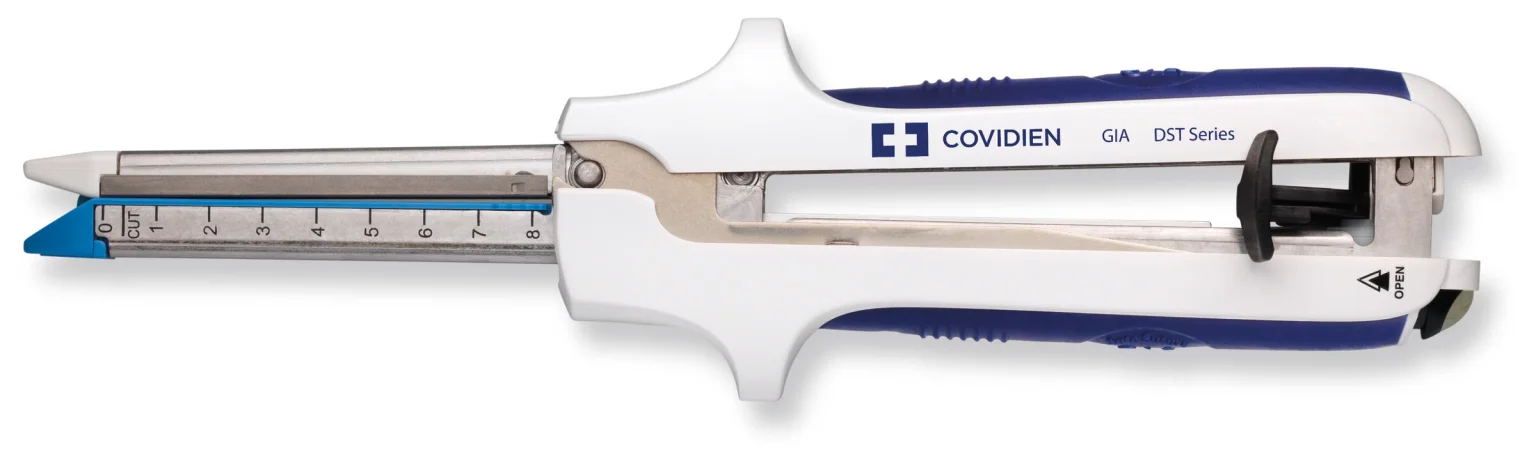
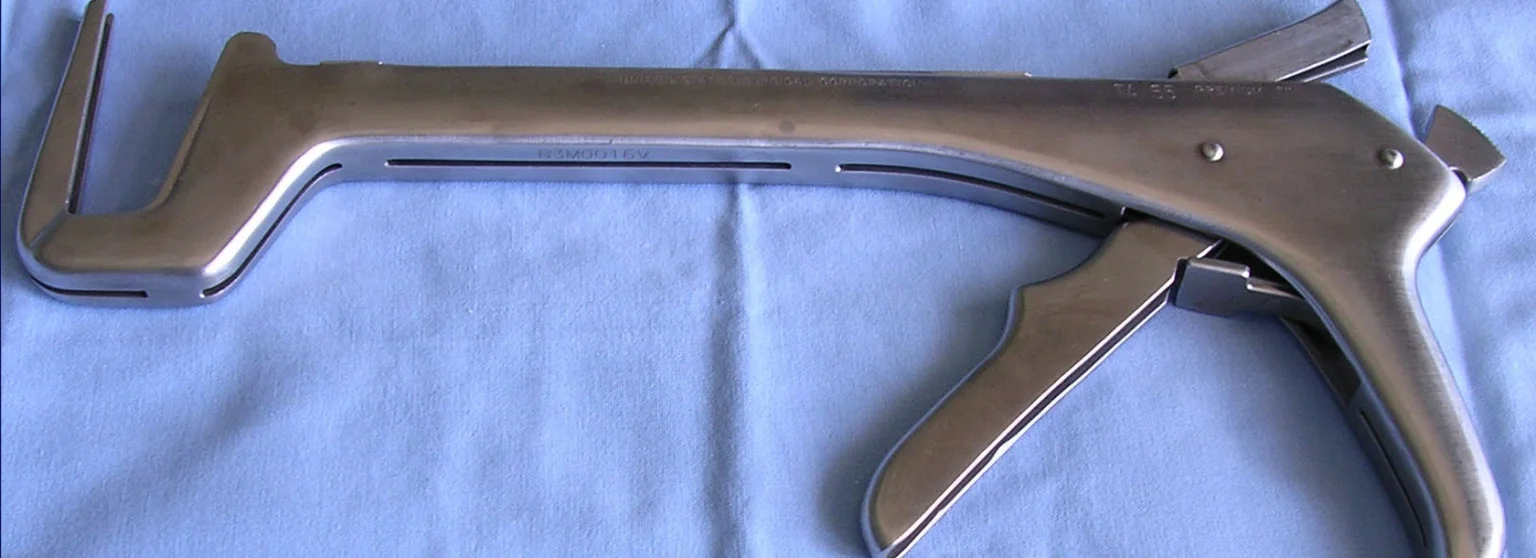
A port incision is enlarged and a medium wound protector is placed. The right colon and the end of the ileum are lifted out through it. The ileum is divided with a linear stapler just before the ligament of Treves, and the colon is divided beyond the specimen with a stapler. Two small openings (enterotomies) are made at the ends of the ileum and colon, and a 75 mm GIA-type stapler joins them side to side, keeping the mesentery out of the jaws. The leftover opening is closed with a 60 mm linear (non-cutting) stapler. The joint is checked carefully and any weak spot is oversewn; the crotch of the staple lines is the most common place for a leak. The gap in the mesentery may be closed. Hand off the specimen.
Next up: suture for the fascia of the extraction wound.
Closing, Re-checking and Undocking
The fascia of the extraction wound is closed as one layer. The abdomen is refilled with gas so the surgeon can look at the anastomosis, check for bleeding and irrigate. Some surgeons leave a drain near the anastomosis. The ports come out under direct vision, the gas is let out, and the robot is undocked. The larger port sites are closed at the fascia, the skin is closed, and dressings go on.
Tips and Tricks
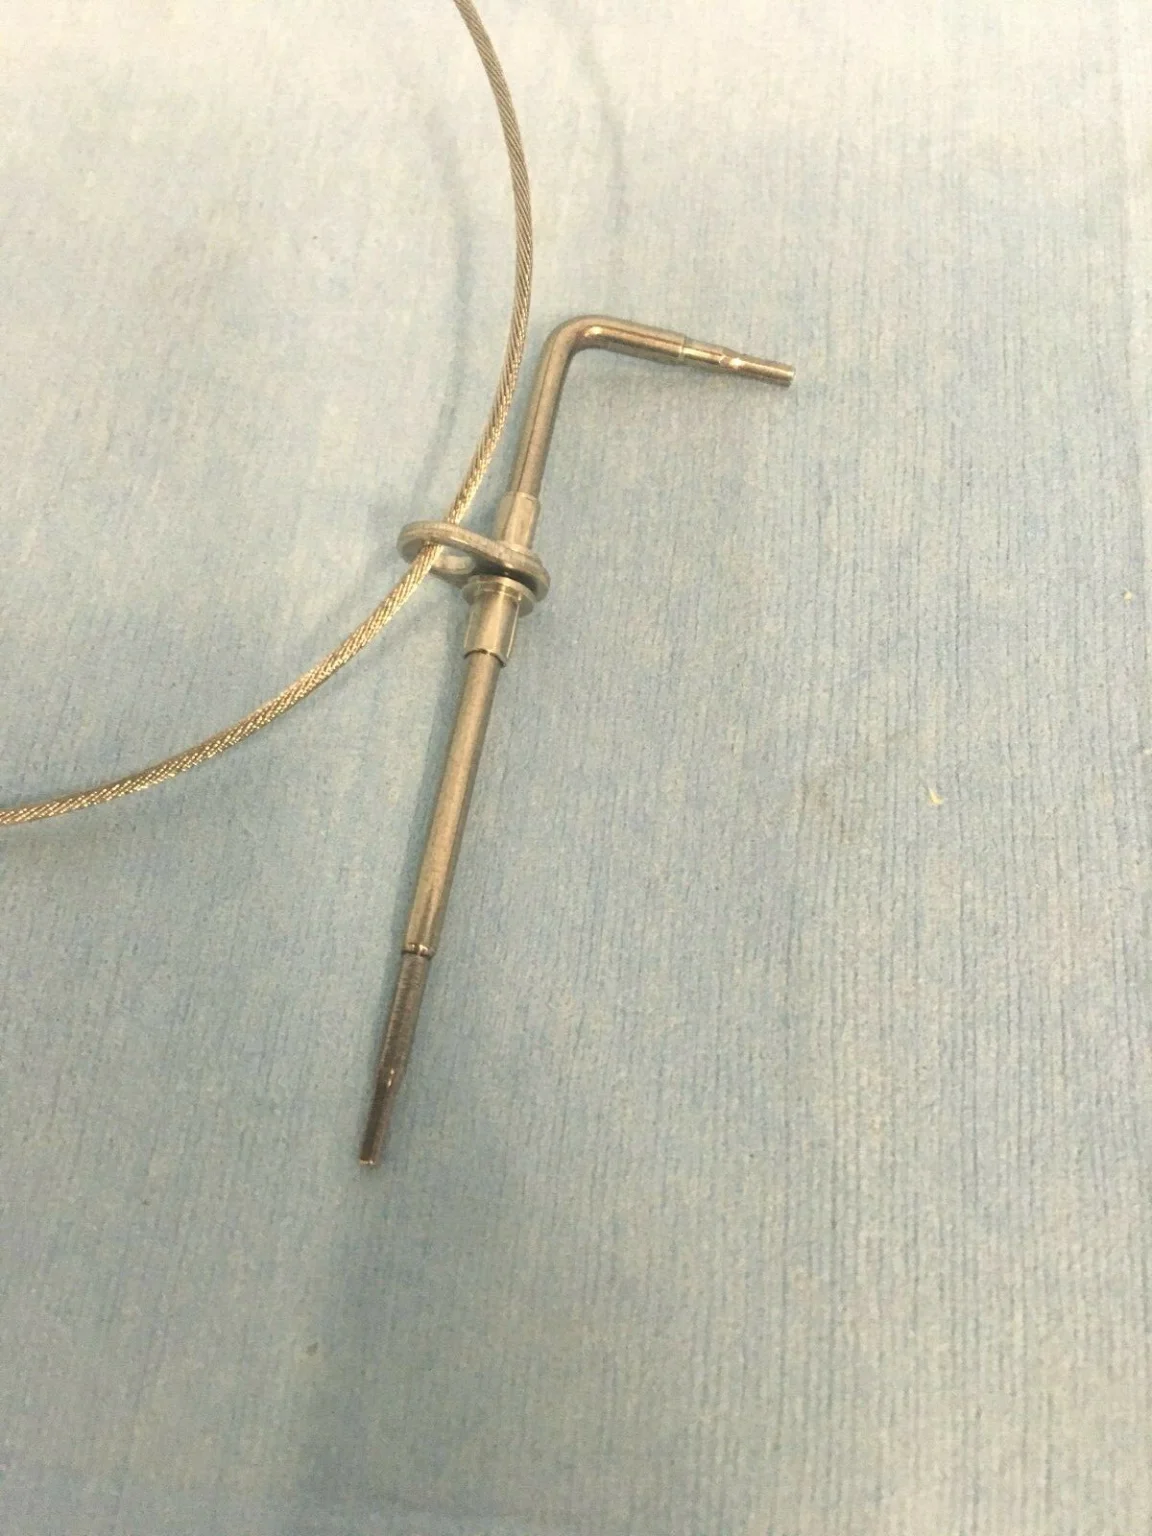
A small tumor may have been tattooed with methylene blue at colonoscopy; if the surgeon still cannot find it, an intraoperative colonoscopy may be needed, so ask whether a colonoscope should be in the room. Heavy bleeding, dense adhesions or a tumor growing into nearby organs means converting to open, so keep the major and long instrument trays and the instrument release kit ready and know your role in an emergency undock. Some surgeons add a loop ileostomy to protect the anastomosis.
Add your table
Every surgeon runs it a little differently. Submissions stay private, are reviewed by our team, and accepted contributions earn a credit in the contributor list.