Laparoscopic Low Anterior Resection
The sigmoid colon and upper rectum are removed through laparoscopic ports and a small incision, and the colon is joined end to end to the remaining rectum with a circular stapler passed through the anus.
52 instruments to master.
Master this setup: test yourself on every instrument, earn the tier, hold the record.
No site record yet · target 19:14
Study flashcards
Card by card, grade yourself · 52 cards
Practice test
Answer, see why · 25 at a time
Take the exam
54 questions · target 19:14
Surgical instruments
52 on this table. Tap a photo to zoom, the name for its card.
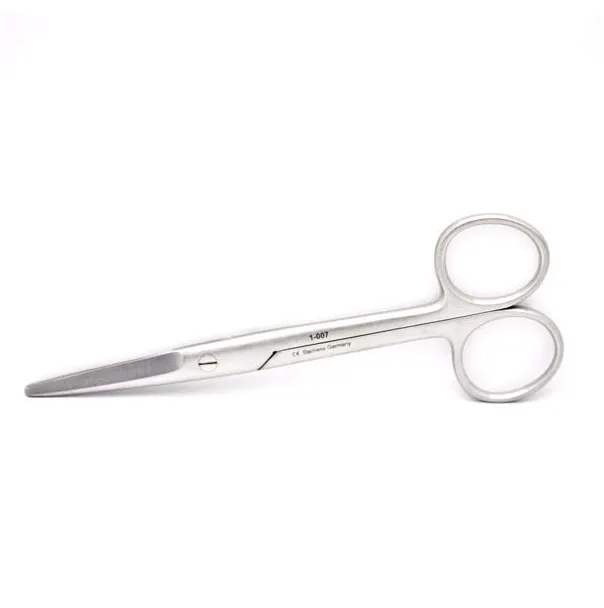
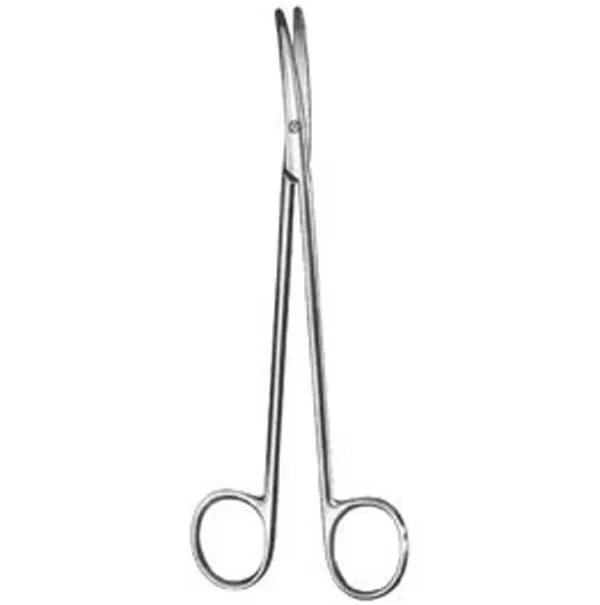
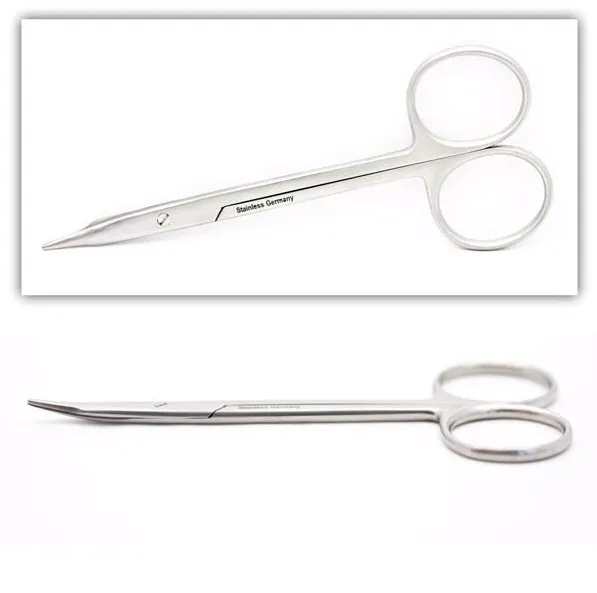
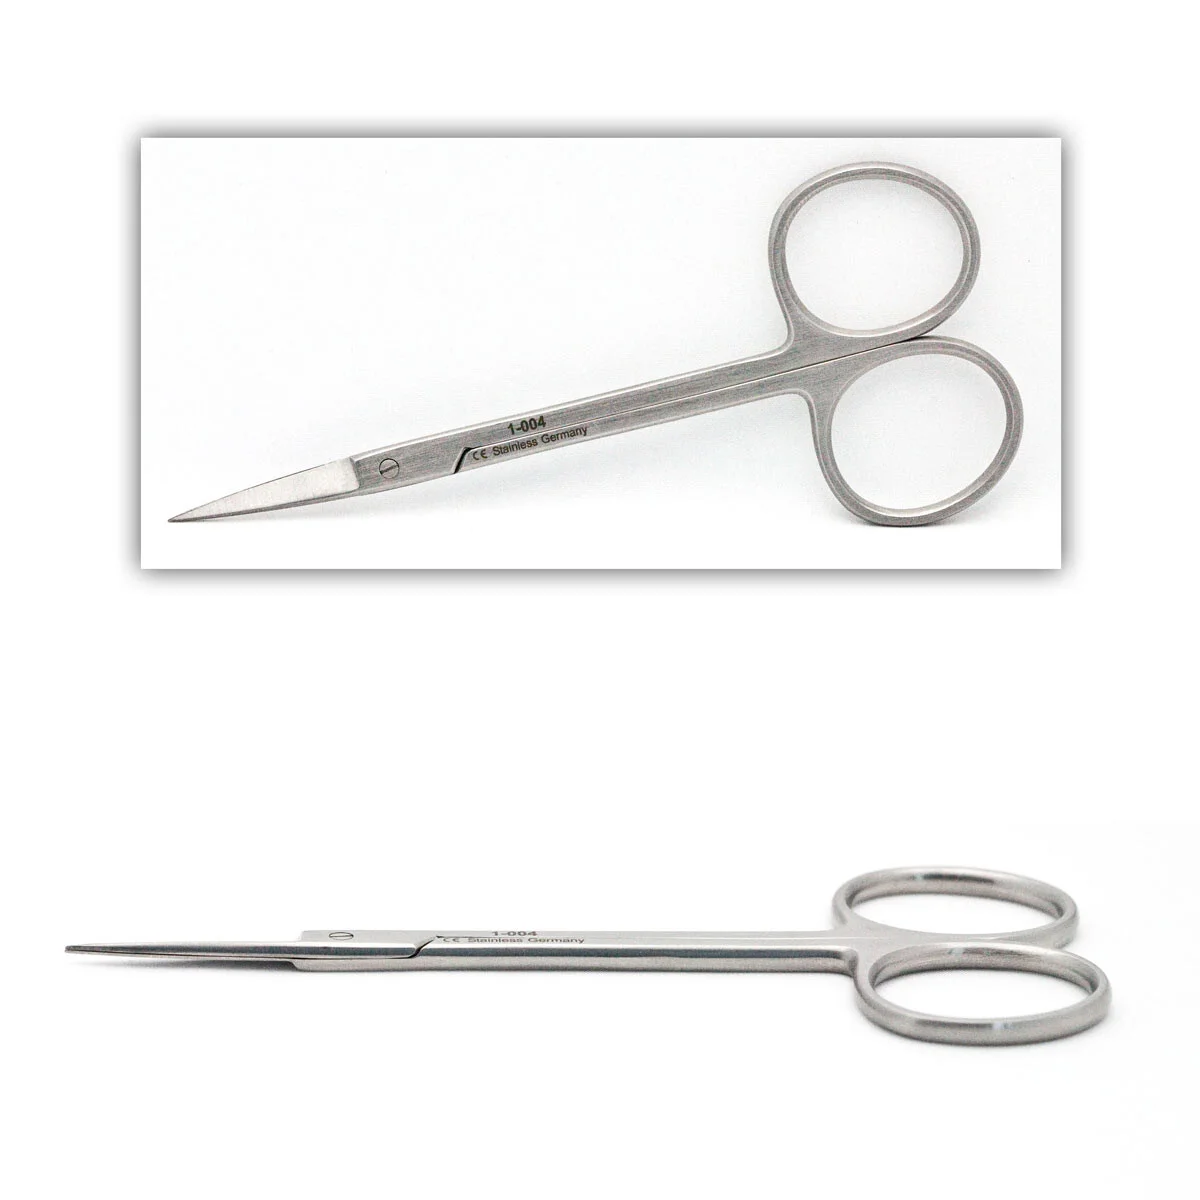
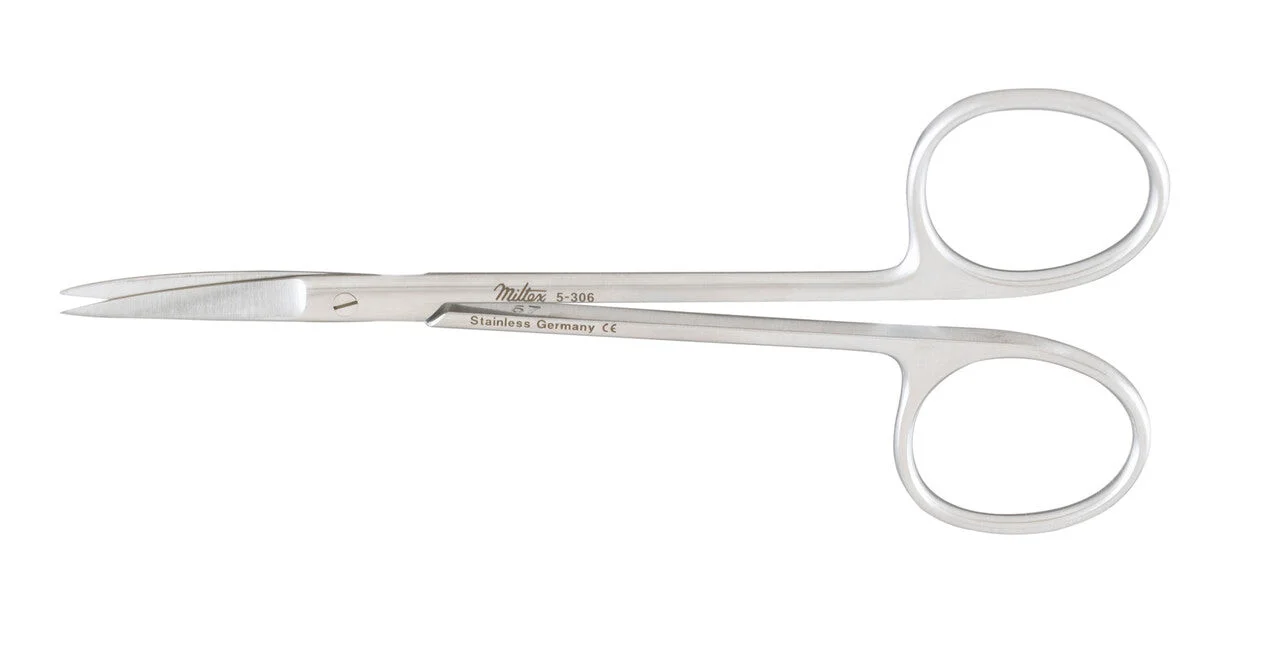
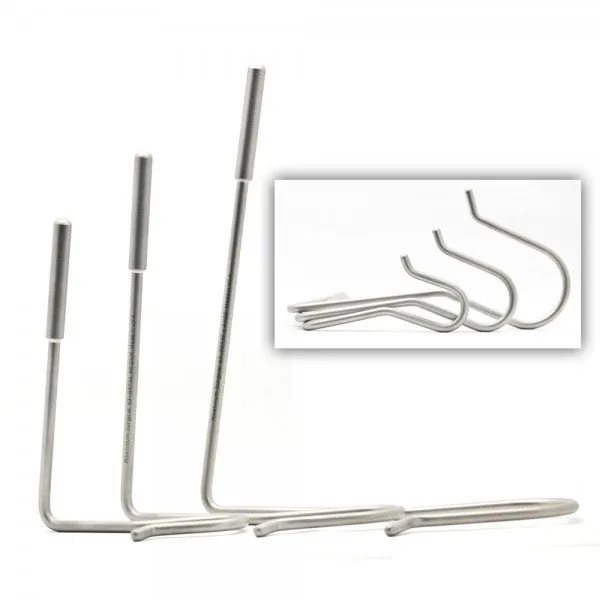
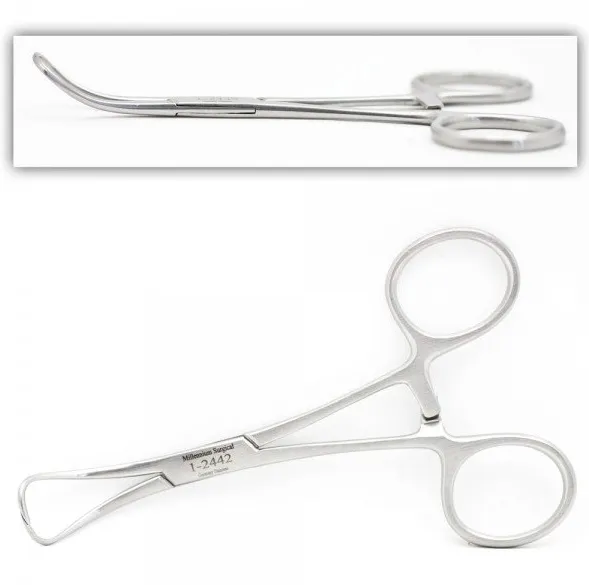
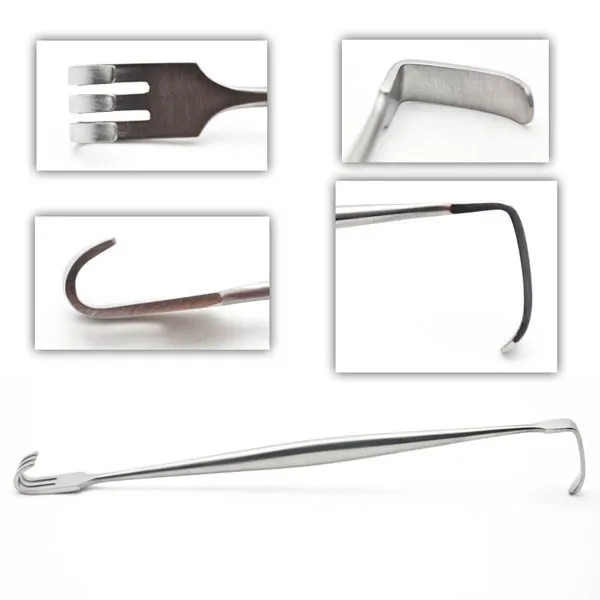
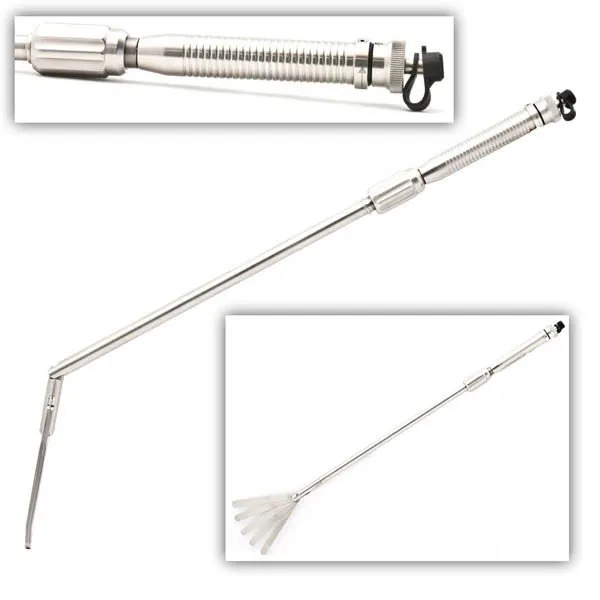
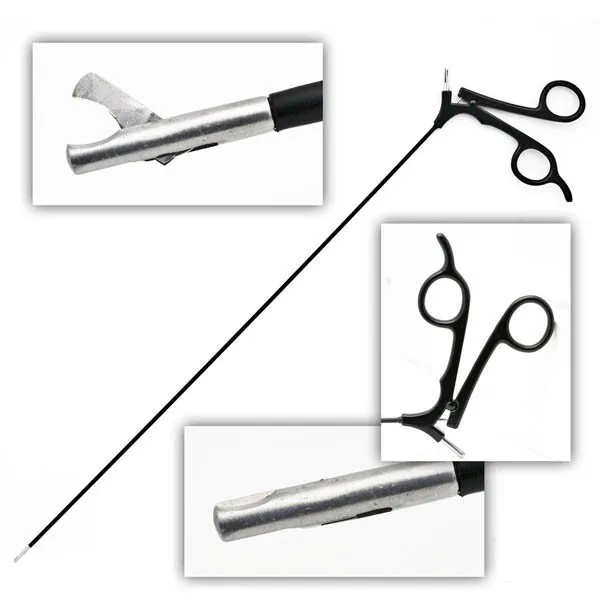
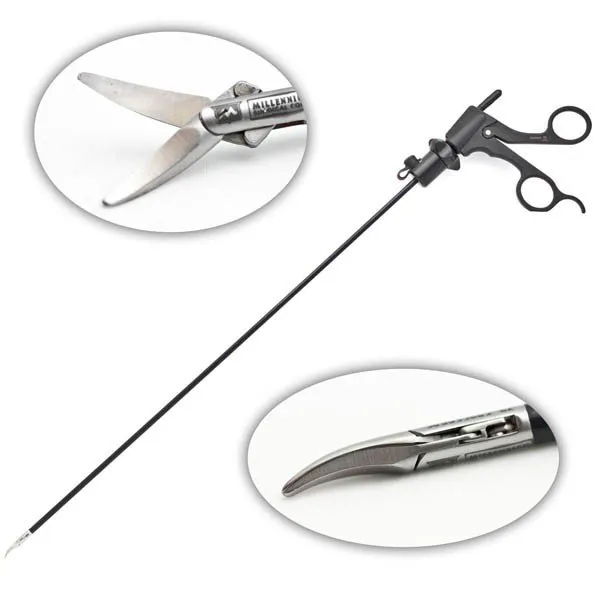
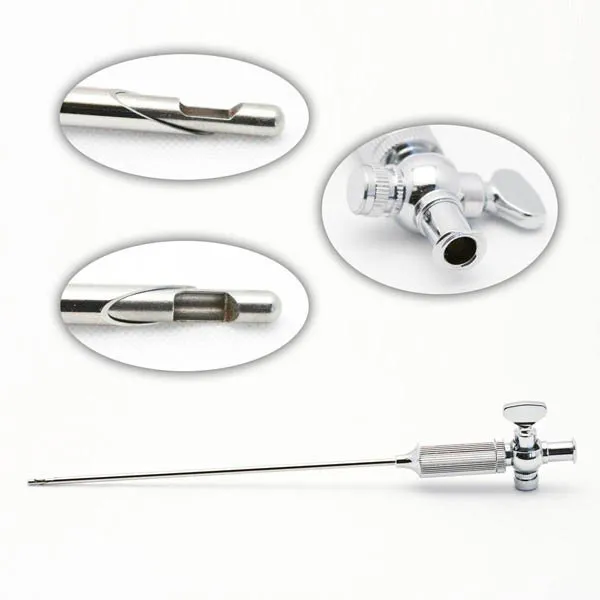
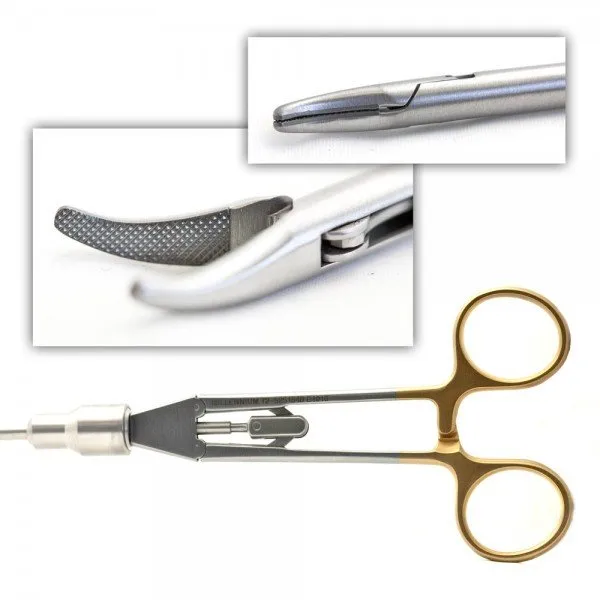
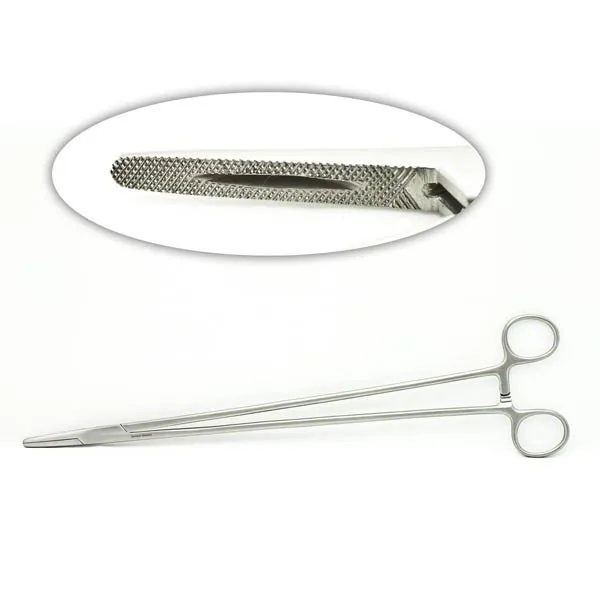
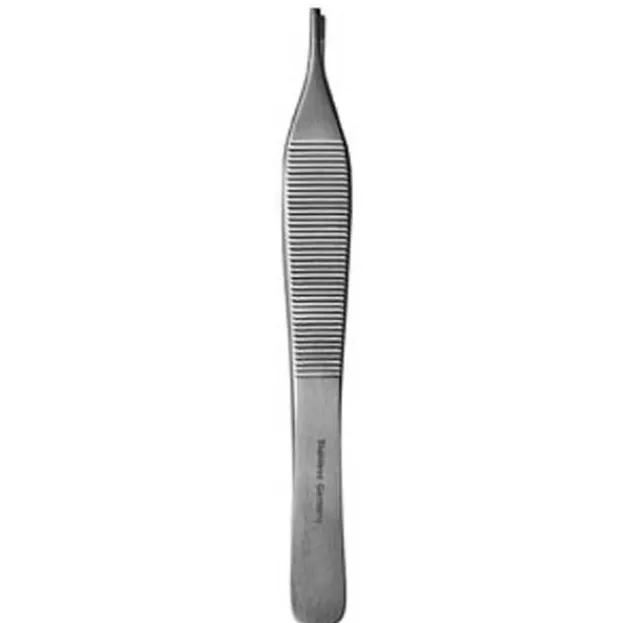
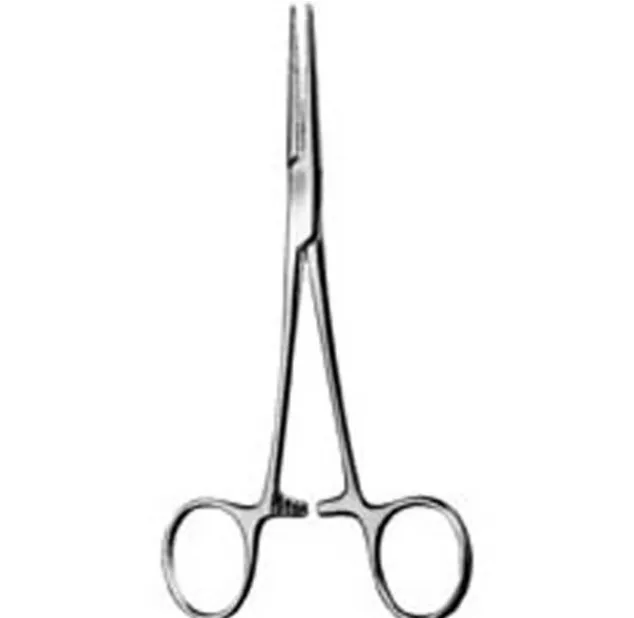
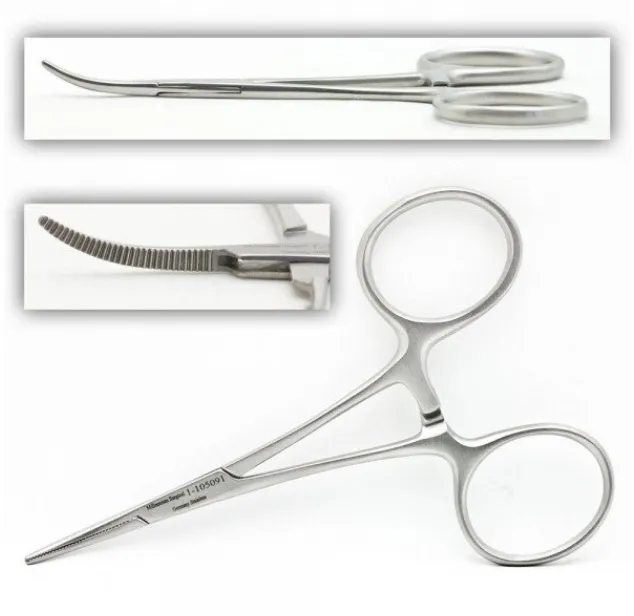
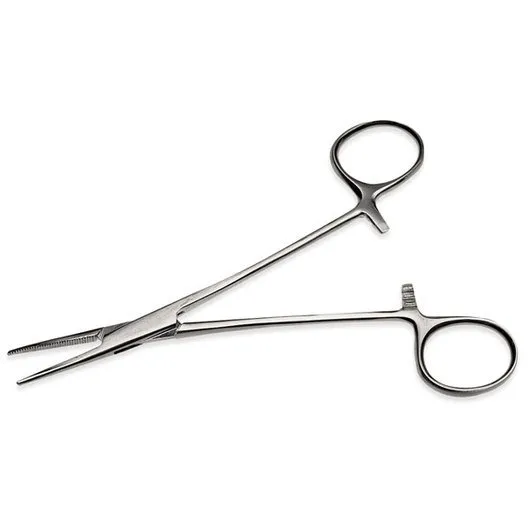
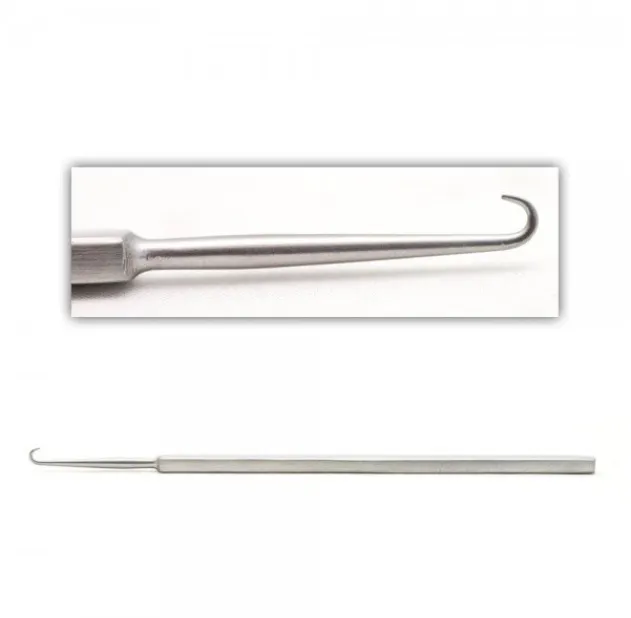
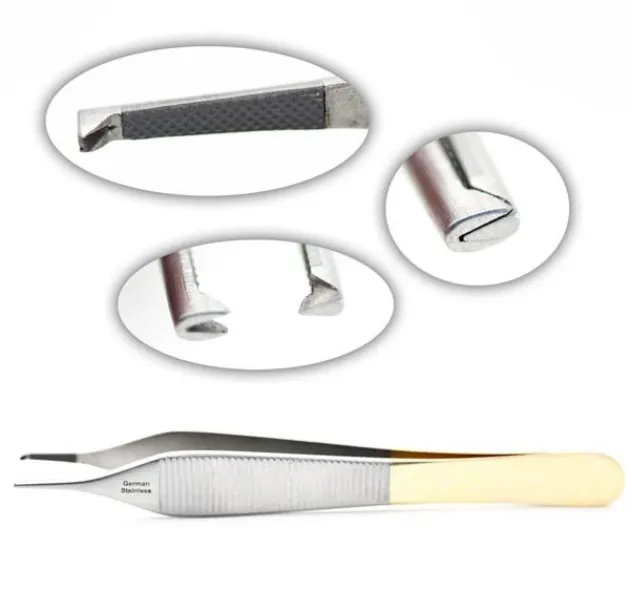
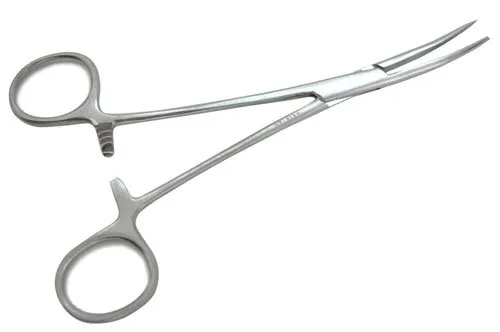
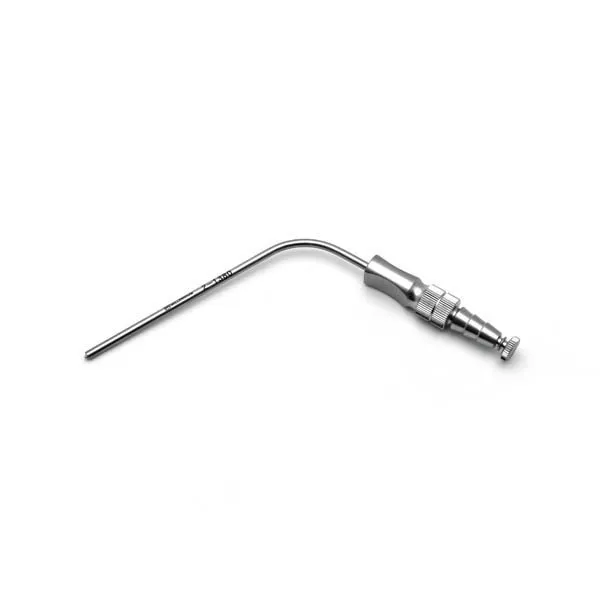
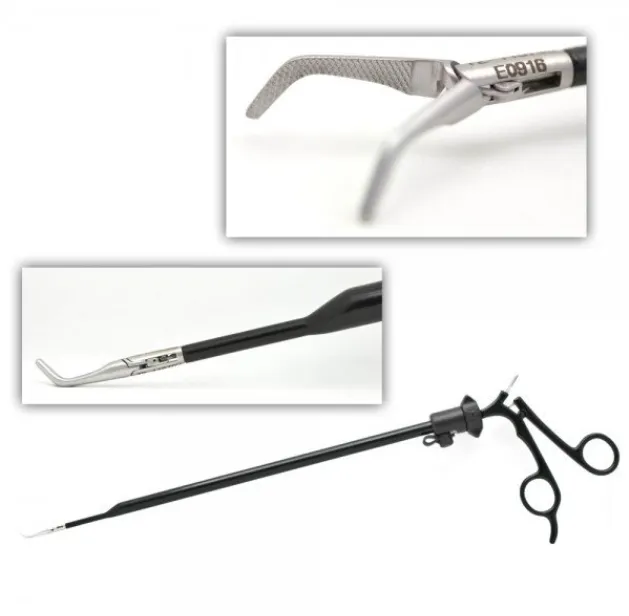
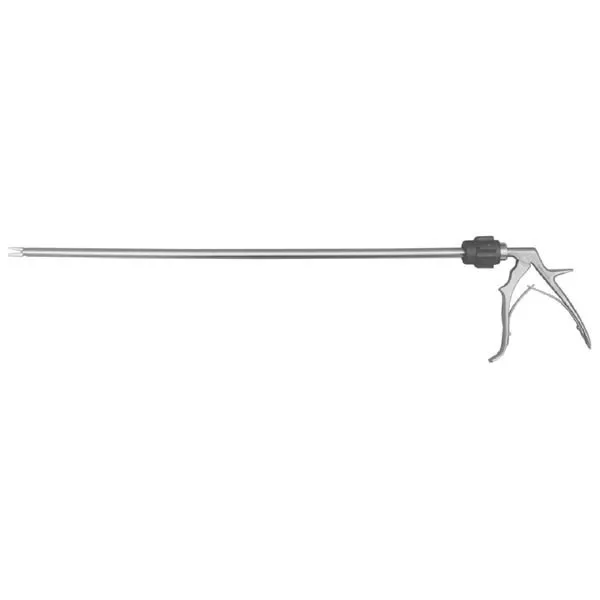
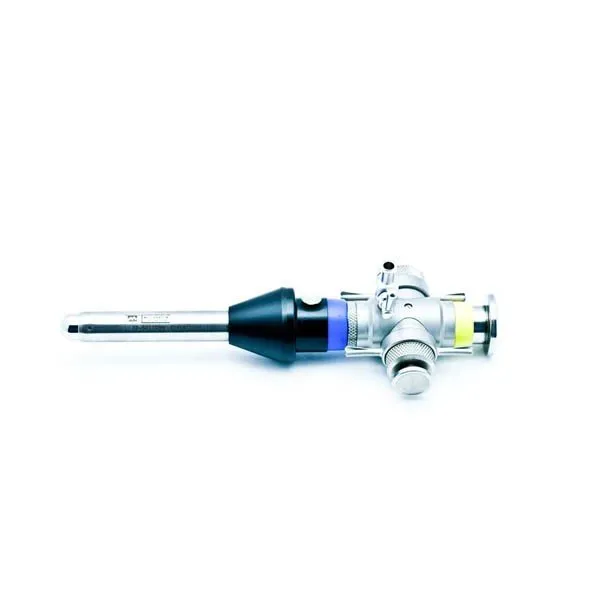
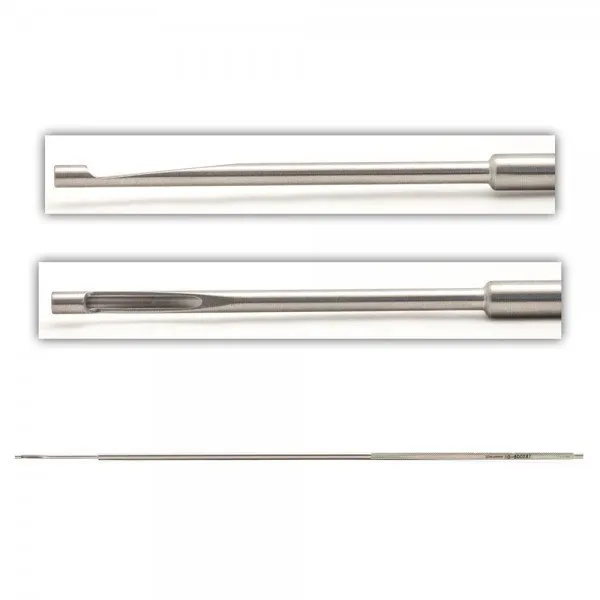
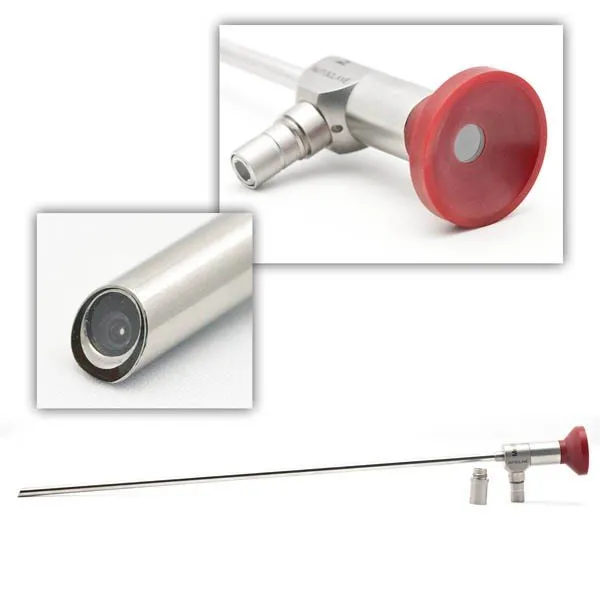
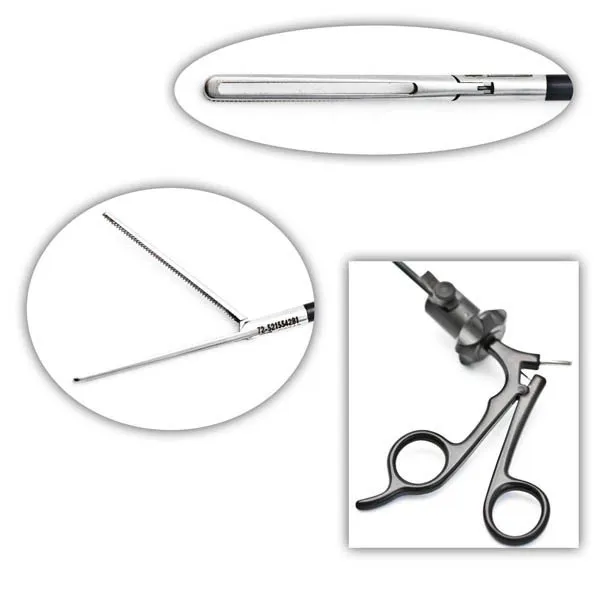
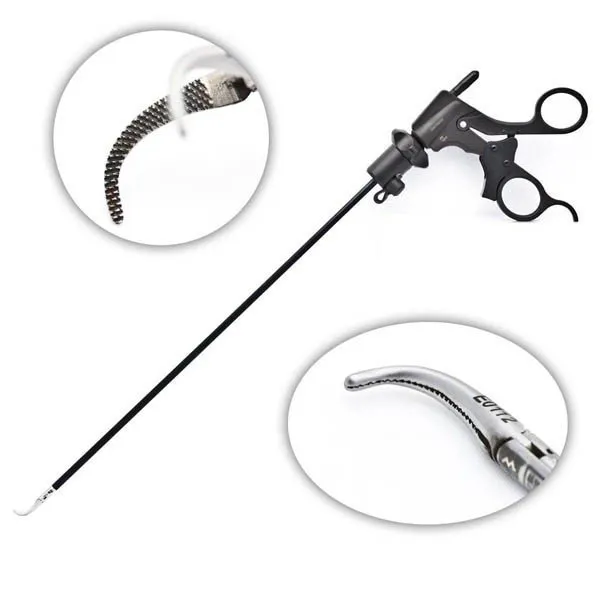
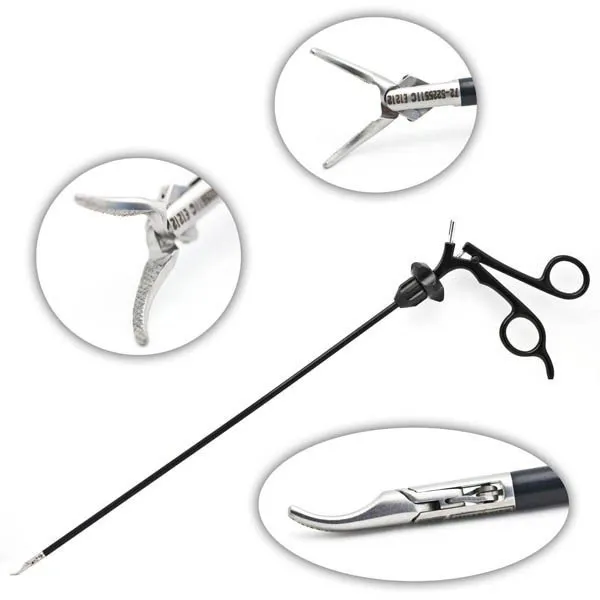
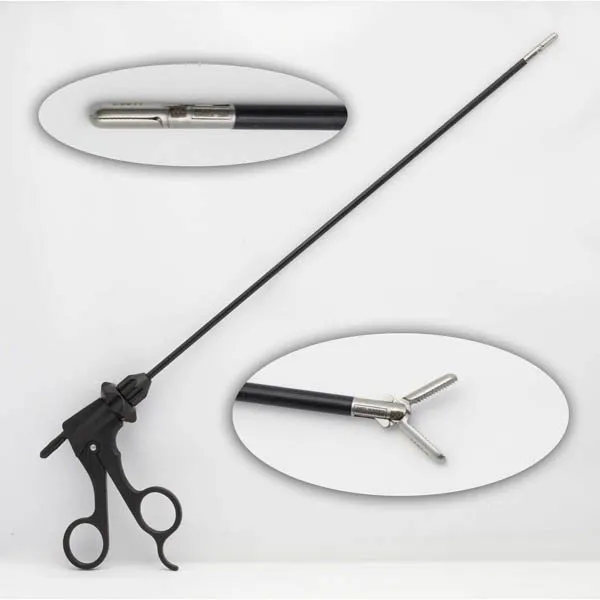
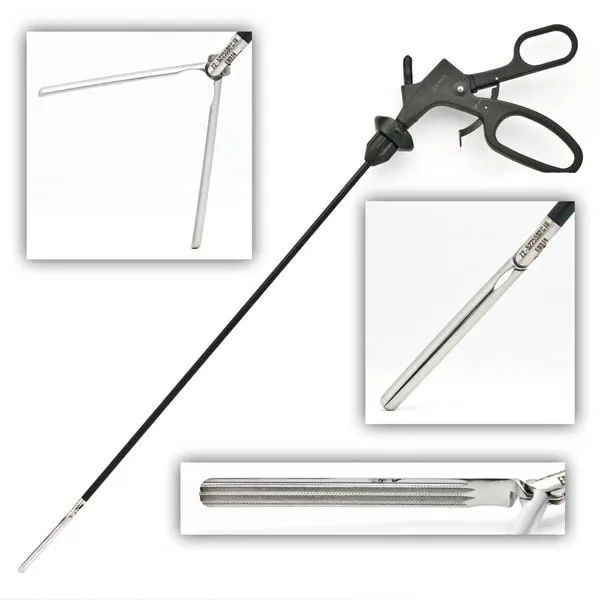
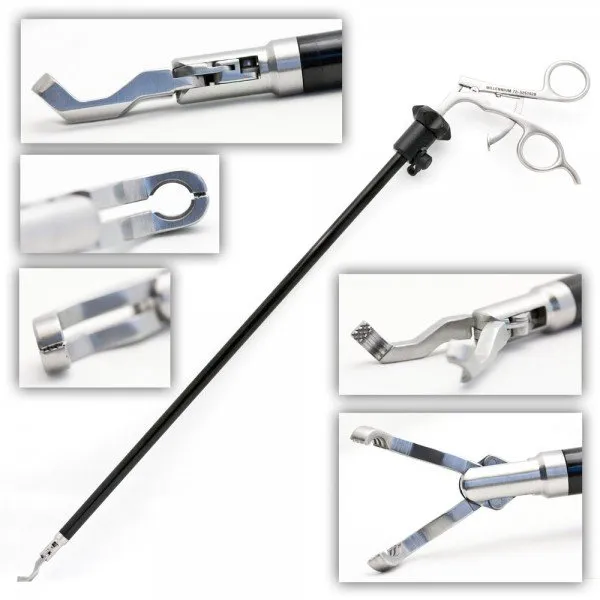
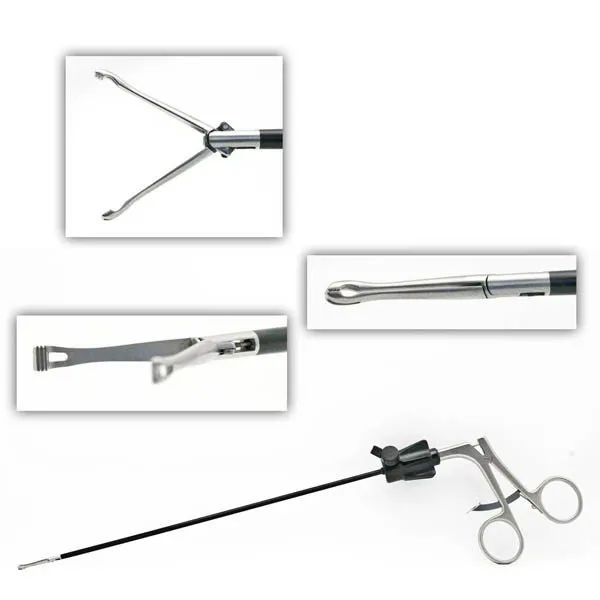
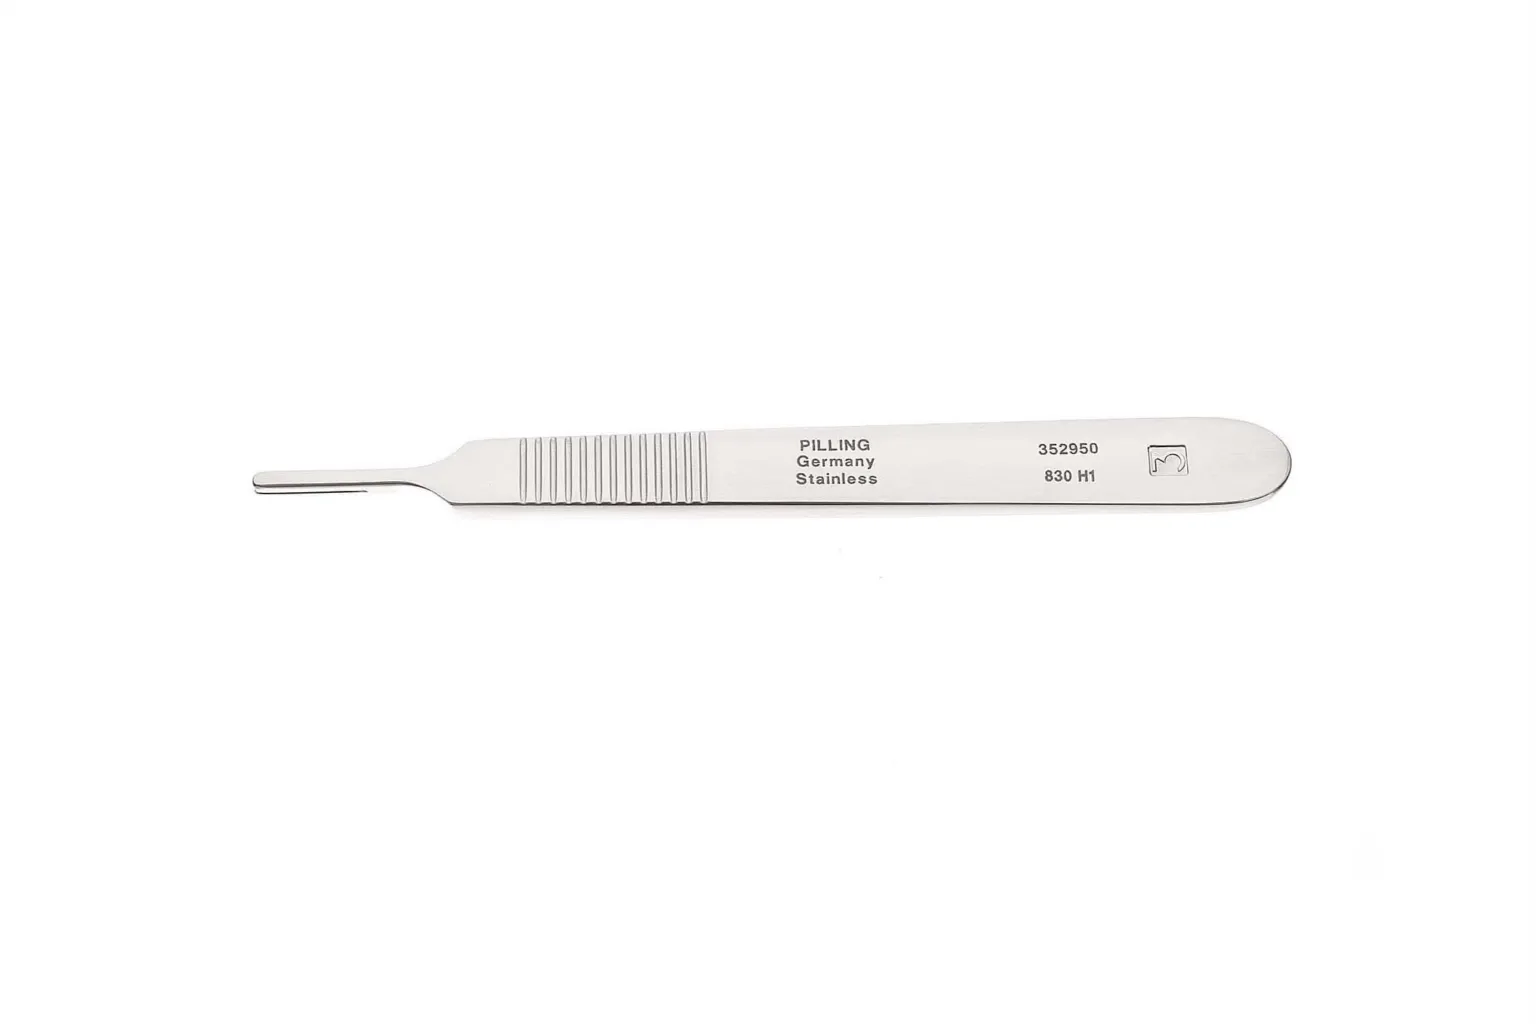
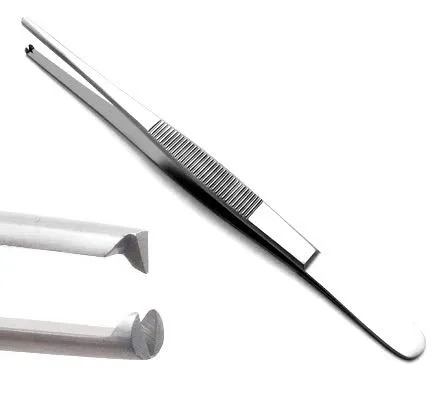
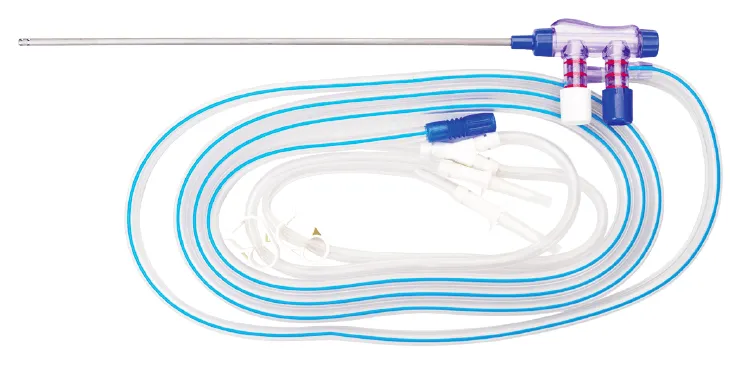

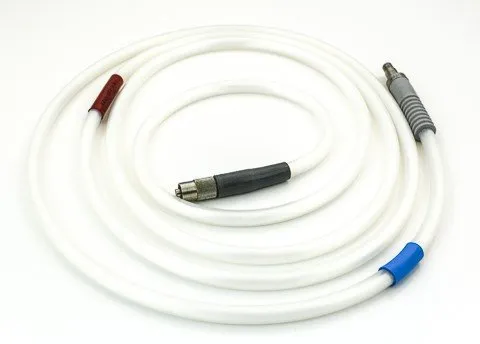
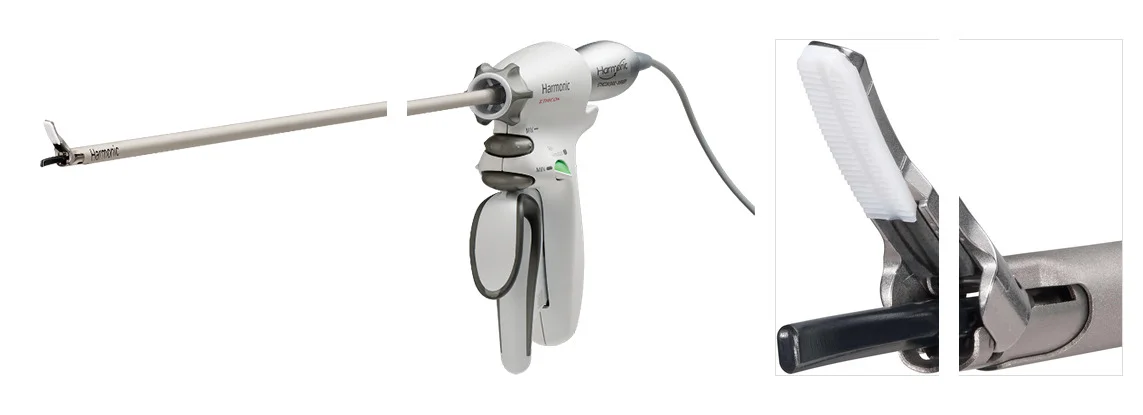
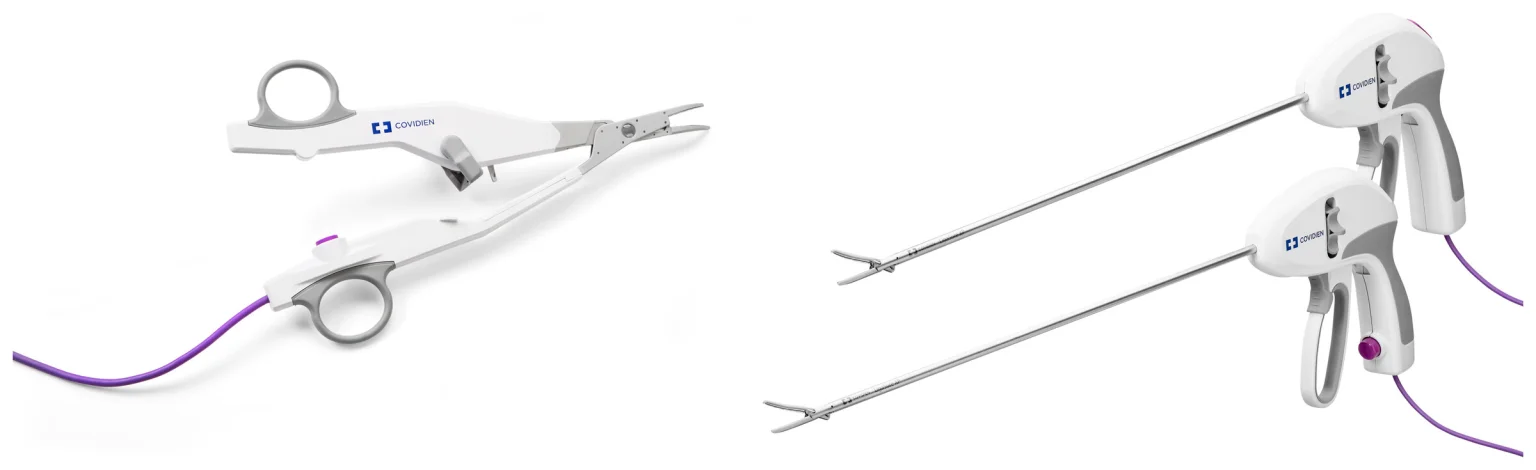
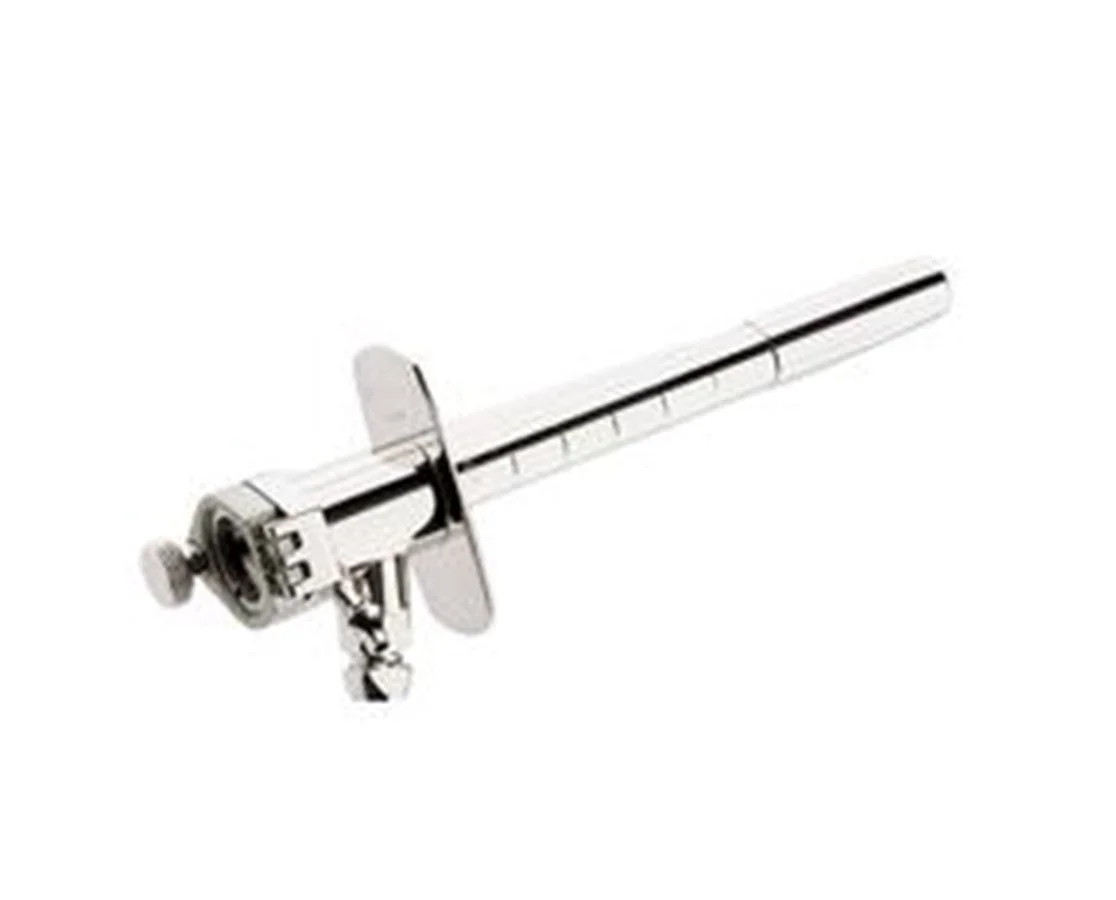
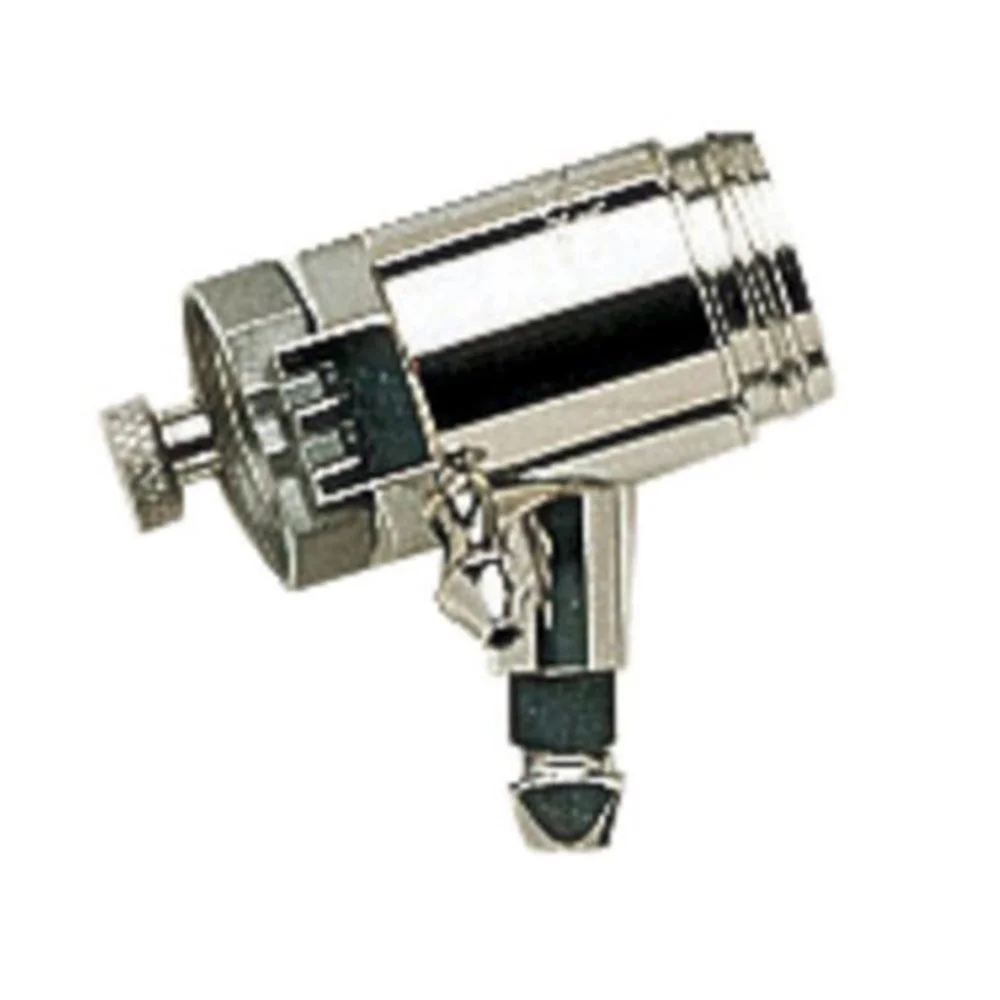
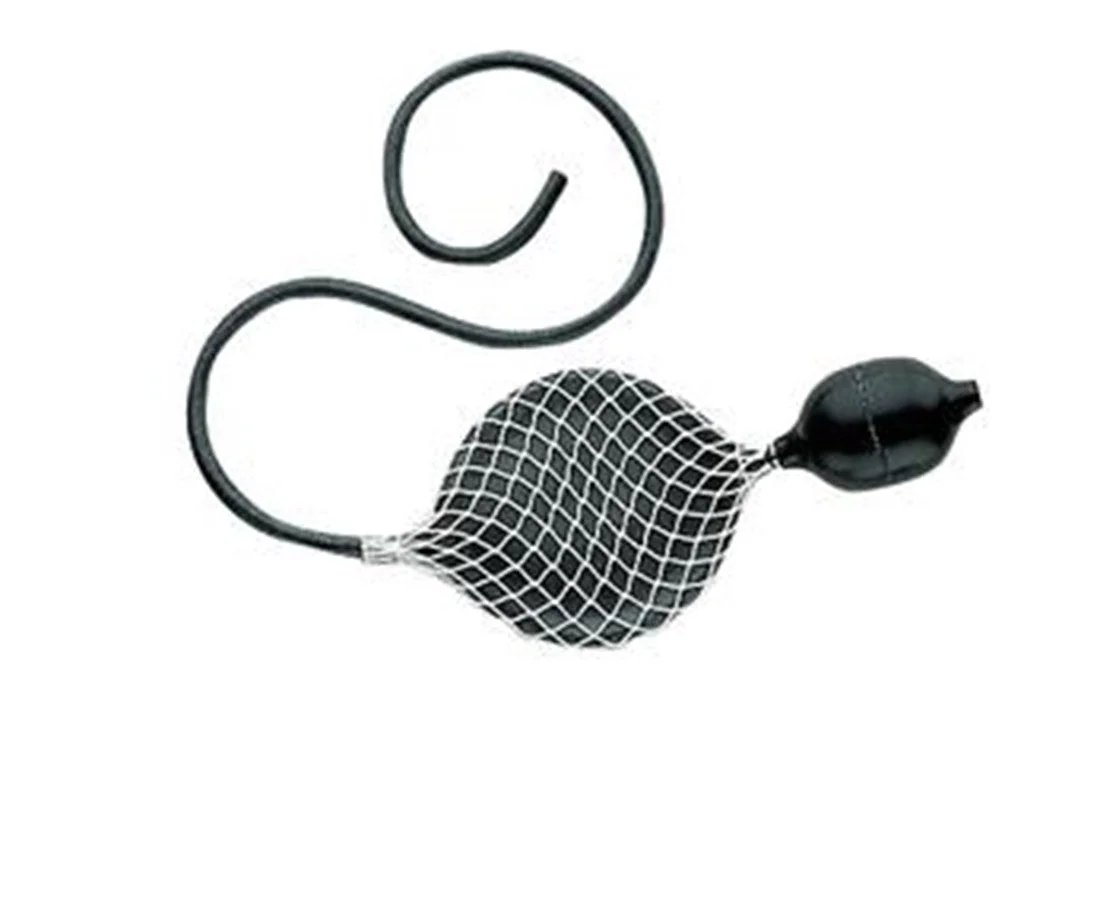
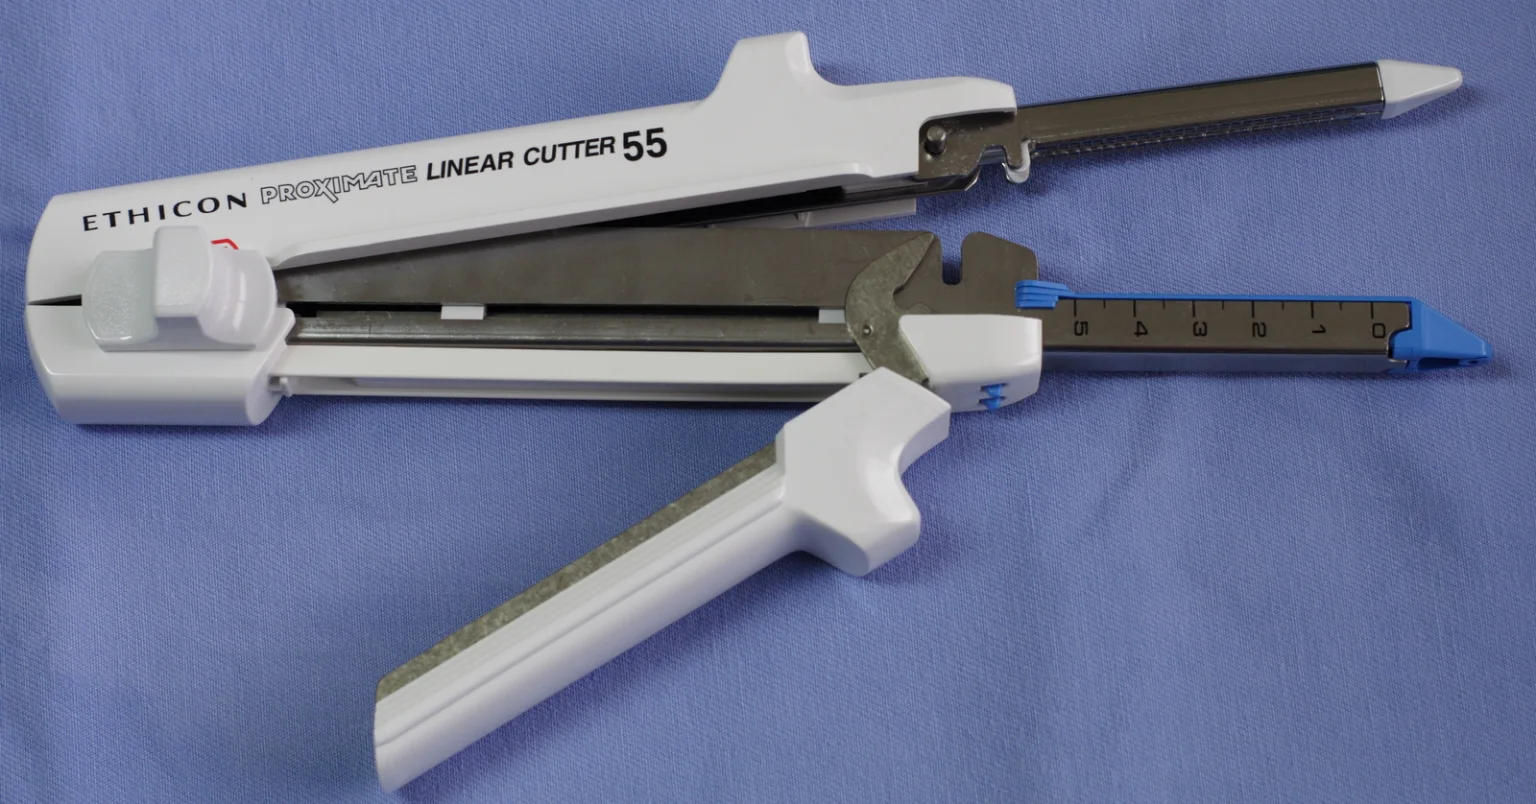
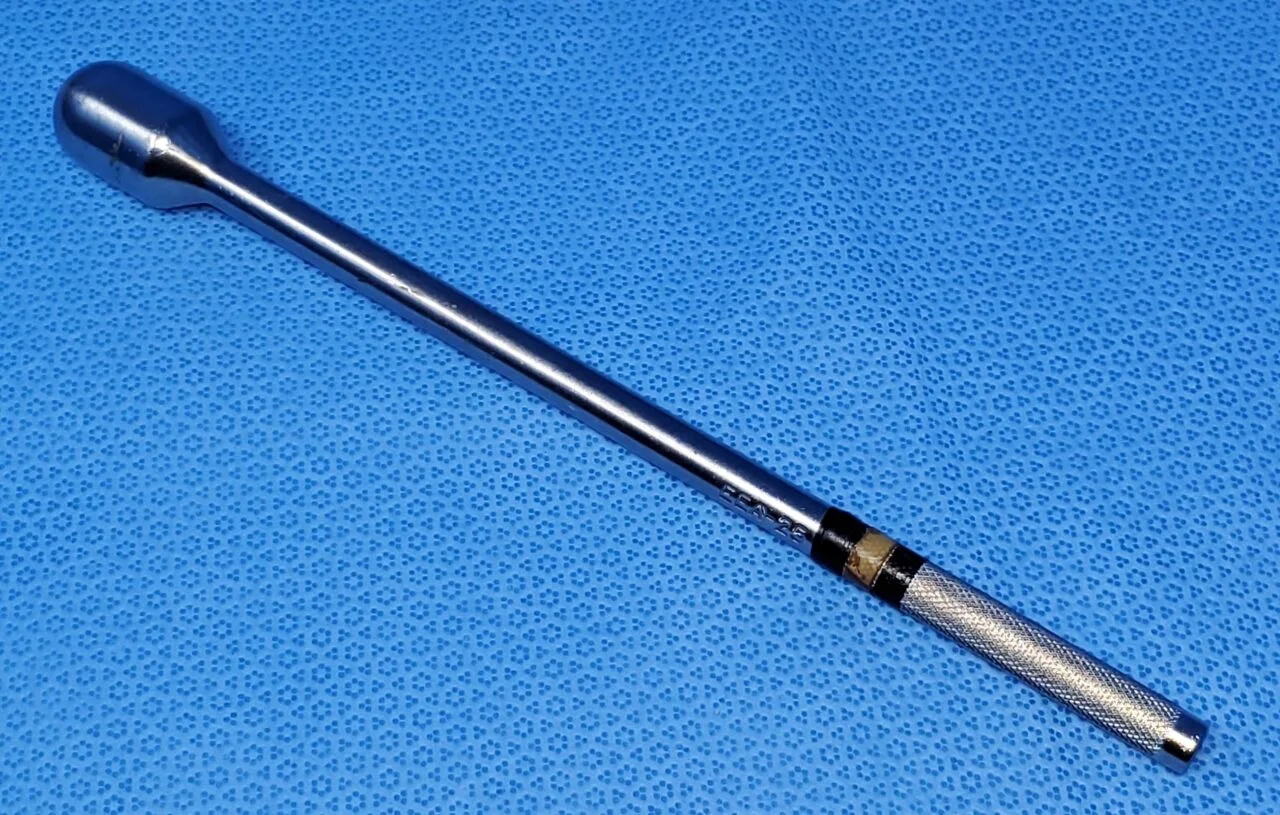
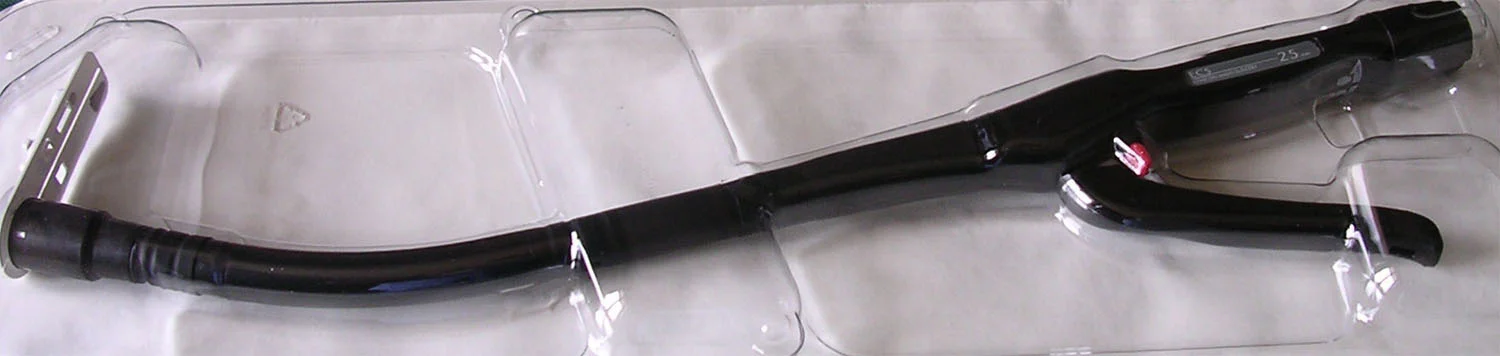
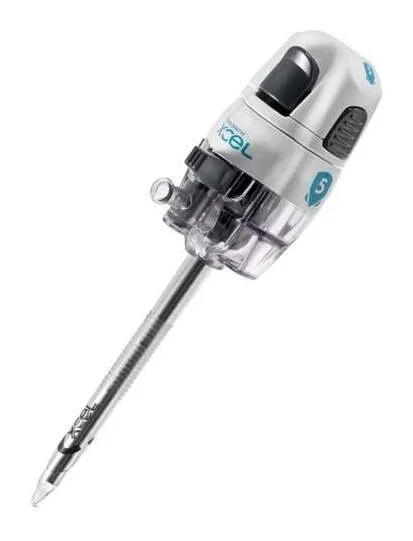
The case
Spark notes
The 30-second rundown. Scan this outside the room.
- Modified lithotomy in padded Allen or Lloyd-Davies stirrups; arms tucked; straps, beanbag, shoulder braces for steep Trendelenburg.
- Hose or SCDs, Foley, NG tube, dispersive pad.
- Prep nipples to pubis, then thighs, perineum, anus last (vagina in women); buttock sheet and laparoscopy sheet with leggings.
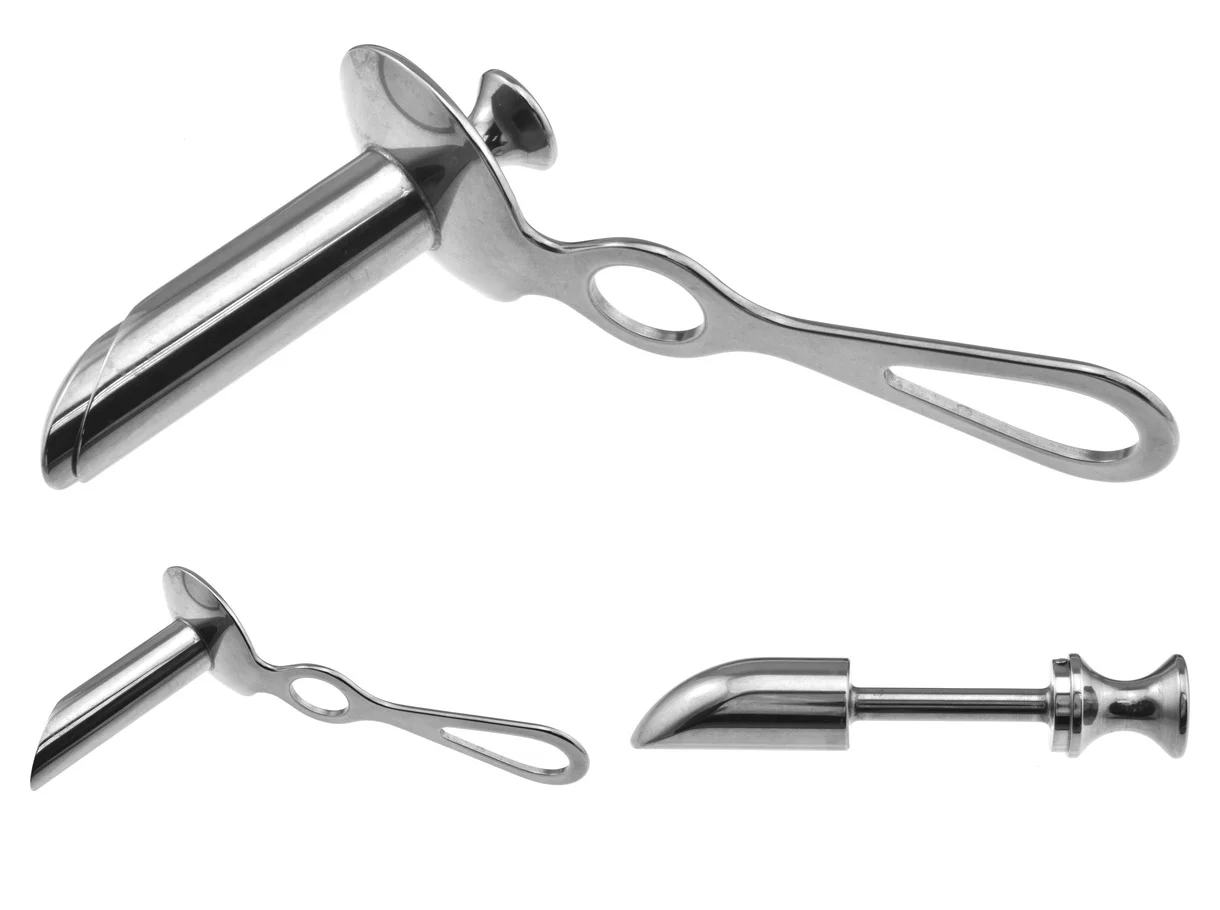
- Separate perineal table: anoscope, rigid sigmoidoscope, light cord, insufflation bulb, circular stapler with sizers, suction.
- Major, Long and GI trays in the room, unopened, for conversion.
- Veress needle (or blunt trocar) at the umbilicus; laparoscope with camera; Trendelenburg.
- Left-sided ports; four 10–12 mm trocars.
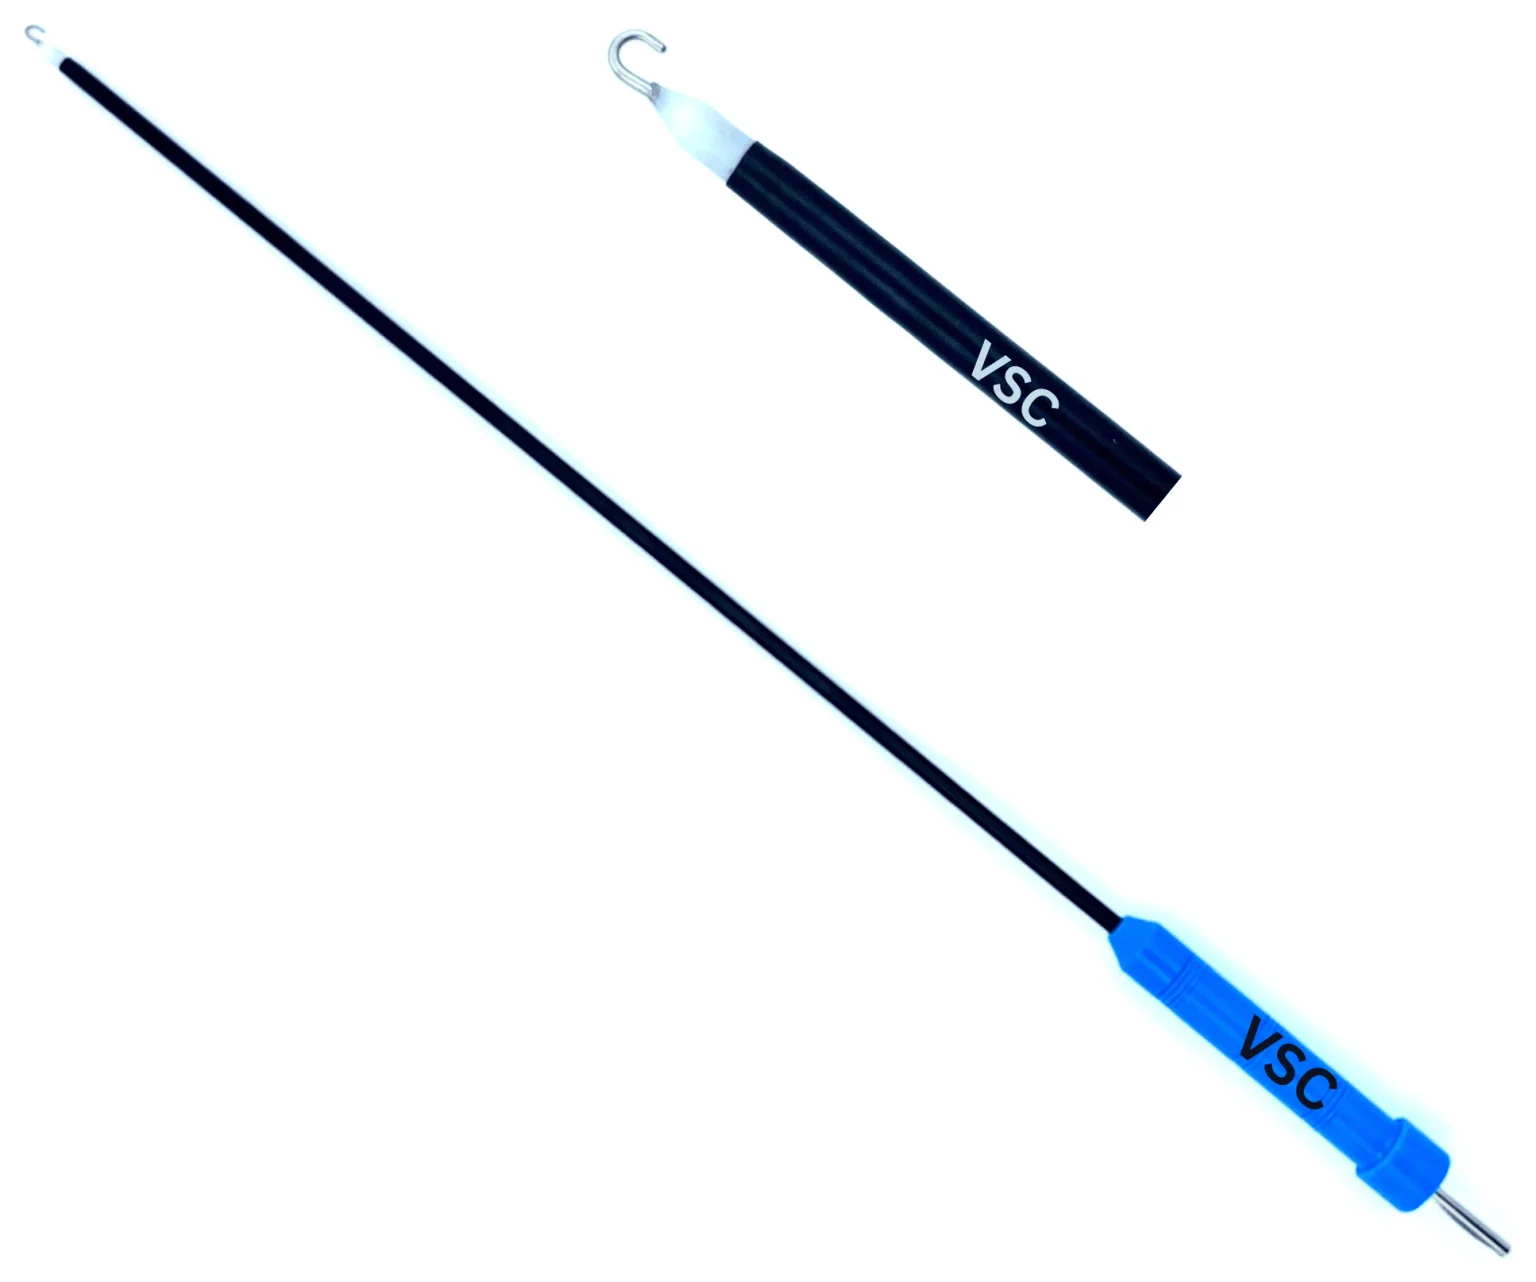
- Atraumatic graspers, Babcocks, ultrasonic shears or bipolar sealer to free the sigmoid and rectum; protect ureters and gonadal vessels.
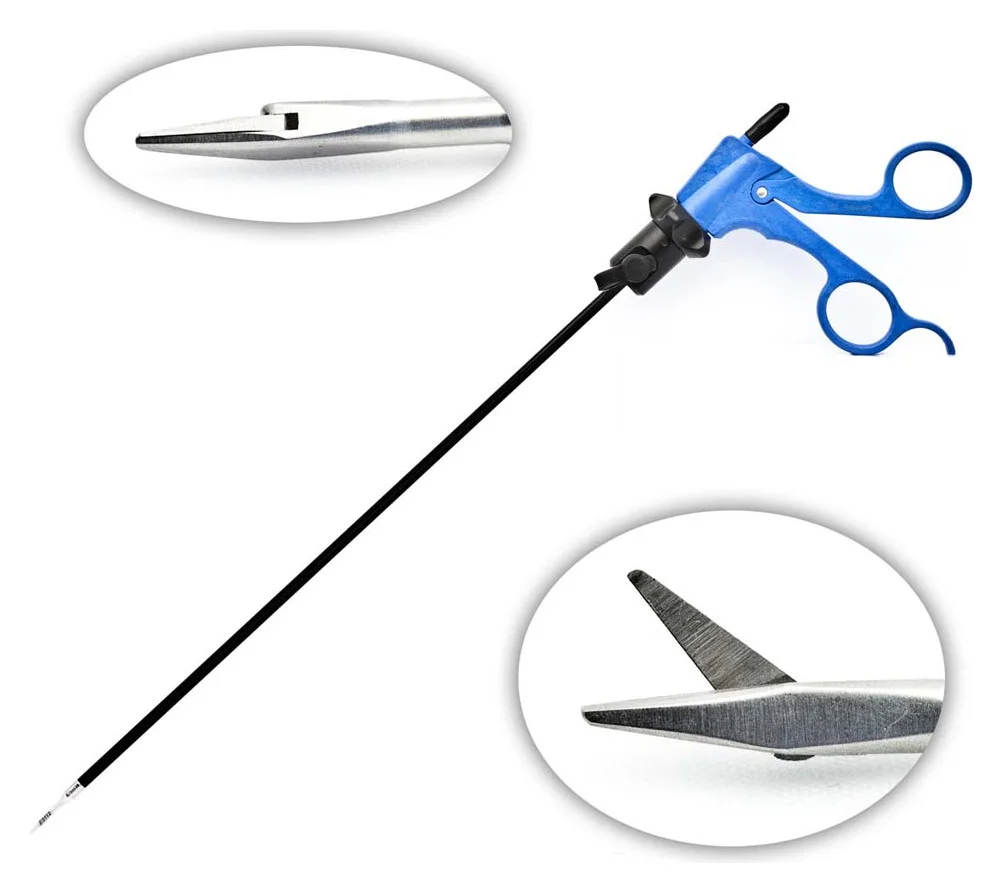
- Mesentery: stapler with reloads, energy device, or clips and scissors; Endoloop available.
- Bowel divided with the linear stapler-cutter; specimen out through a large port, minilaparotomy or the anus.
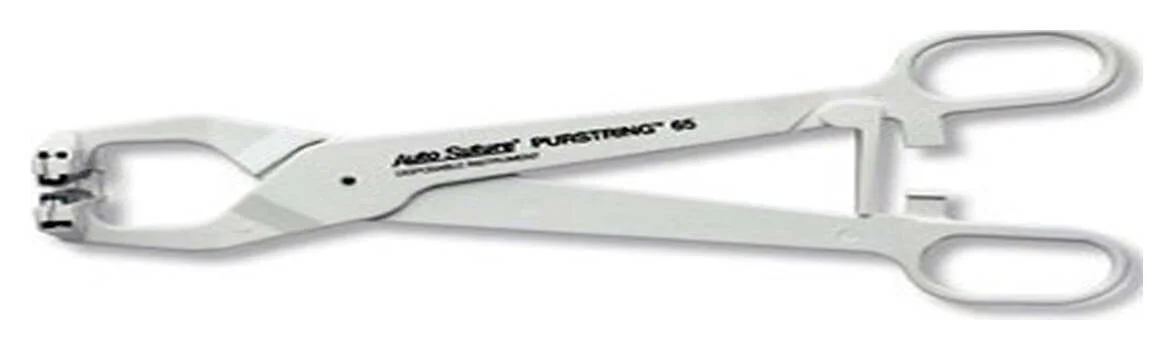
- Anvil in the upper colon with a purse-string; circular stapler passed through the anus; anvil grasper; fire; check the donuts and count stapler parts.
- Leak test: saline in pelvis, bowel grasper above, air through the sigmoidoscope or bulb syringe; ports closed under vision.
Walkthrough
What the surgeon does, and what to have in your hand before they ask.
Positioning, Prep and Draping
The patient goes into modified lithotomy with the legs in padded Allen or Lloyd-Davies stirrups, so the team can reach both the abdomen and the anus. The arms are usually tucked so the surgeon and assistants can reach every port. Because the table will be tilted steeply, the patient is secured with straps, a beanbag positioner may be used, and padded shoulder braces are attached when Trendelenburg is planned. Antiembolic hose or sequential compression devices go on the legs, a Foley catheter is placed, anesthesia may pass a nasogastric tube, and the dispersive pad is applied. The prep starts at the umbilicus and runs from the nipples to the pubic symphysis and down to the table on both sides, then the thighs and perineum, with the anus last (a fresh sponge after each wipe of the anus); women also get a vaginal prep. A drape sheet goes under the buttocks, then a laparoscopy sheet with attached leggings.
Set up a second, separate Mayo stand or small table for the perineal part of the case: the sigmoidoscopy tray (Hirschman anoscope and rigid sigmoidoscope with obturator, light cord, insufflation bulb), the circular (EEA-type) stapler with its sizers, and suction tubing. Keep the Major, Long and GI trays in the room, unopened, in case the case is converted to open.
Next up: the #11 blade on a #3 handle and the Veress needle (or a blunt trocar).
Pneumoperitoneum and Ports
Pneumoperitoneum is established, usually at the umbilicus with the Veress needle; some surgeons place a blunt-tip trocar instead. The laparoscope with camera and light cord goes in through the umbilical port (have fog reduction agent ready). The patient is tilted into Trendelenburg. The working ports are placed on the left side of the abdomen, as for a left colectomy: typically left upper quadrant, left paraumbilical, left midclavicular and left suprapubic. Four 10–11 mm or 10–12 mm trocars are usually used, and the sites can change from patient to patient.
Next up: atraumatic graspers, Babcock forceps and the energy device (ultrasonic shears or bipolar vessel sealer).
Exploring and Mobilizing the Sigmoid and Rectum
The surgeon looks over the abdomen and the lesion. If a small lesion was tattooed with dye at colonoscopy, it is found now; if it can't be seen, intraoperative colonoscopy may be needed. Atraumatic bowel graspers and laparoscopic Babcock forceps pull the sigmoid colon gently toward the middle. The sigmoid colon and rectum are freed with ultrasonic shears or a bipolar vessel-sealing device, either from the side or from the middle outward. The surgeon watches out for the ureters, the gonadal vessels and, in women, the internal genital organs. Have the fan retractor or Nathanson retractor ready if more exposure is needed, plus a dissector, the right-angle (Mixter) dissector and the suction-irrigator.
Next up: the multifire clip applier, the energy device and the stapler-cutter with vascular reloads.
Dividing the Mesentery and Vessels
The mesentery and its vessels are divided. Depending on the surgeon, this is done with the linear stapler-cutter, ultrasonic shears, a bipolar vessel sealer, or clips and laparoscopic scissors. Have a loop ligature (Endoloop) open and ready. If the stapler is used, several reloads will be needed. For cancer, the whole fatty envelope around the rectum (the mesorectum) is removed with the specimen, so that the lymph nodes come out too.
Next up: the laparoscopic linear stapler-cutter.
Dividing the Bowel
The bowel is divided below the diseased segment with the linear stapler-cutter, which staples both cut ends closed. Keep reloads open and ready. The colon above the diseased segment is divided with the stapler as well, so both ends are closed by staple lines.
Next up: the hand port or minilaparotomy setup, the specimen bag and the circular stapler anvil.
Removing the Specimen and Placing the Anvil
The specimen comes out through a large port, a small (mini) laparotomy incision, or through the anus via the remaining rectum. A hand port or a large specimen bag may be used. Once the specimen is out, the staple line at its end is cut off and the separate anvil of the circular stapler is placed inside. It is held with a hand-sewn purse-string suture or an automatic purse-string device. The colon with its anvil goes back into the abdomen. Instruments that touched the inside of the bowel are kept apart in a basin.
Next up: on the perineal table, the circular stapler (checked with the sizers) and lubricant.
The Transanal Stapled Anastomosis
An assistant moves between the legs and works from the perineal table. The circular stapler is passed through the anus up to the closed rectal stump. Its trocar is extended through the rectal staple line. The surgeon uses the laparoscopic anvil grasper to hold the colon steady and joins the anvil to the stapler. The stapler is closed and fired, and the end-to-end anastomosis is complete. The two tissue rings (donuts) are taken out of the stapler and checked to make sure each is a full circle. They go with the specimen. Make sure every stapler and anvil part is accounted for in the count.
Next up: warm saline for the pelvis, a bowel grasper, and the rigid sigmoidoscope or a bulb syringe.
Testing the Anastomosis
The pelvis is filled with warm saline and the colon above the anastomosis is pinched closed with a bowel grasper. Air is gently pushed into the rectum through the rigid sigmoidoscope or with a bulb syringe while the surgeon watches for bubbles. Bubbles mean a leak, which is oversewn using the laparoscopic needle holder and knot pusher. The sigmoidoscope also lets the surgeon look directly at the staple line. The assistant who worked from below changes gown and gloves before coming back to the abdomen, and a fresh sterile drape goes over the legs.
Next up: the suction-irrigator, then closing sutures for the port sites.
Closure
The surgeon checks for bleeding and irrigates as needed. The ports are removed while the surgeon watches through the scope, the pneumoperitoneum is let out, and the port sites and the extraction incision are closed. Dressings are applied.
Tips and Tricks
Set up the perineal table before you open: anoscope, rigid sigmoidoscope, light cord, insufflation bulb, circular stapler with sizers and suction tubing. Keep track of the anvil and every stapler part; they are counted. Check the donuts with the surgeon and send them with the specimen. Instruments that touch the bowel lumen go to a separate basin. Keep the Major, Long and GI trays in the room: if bleeding cannot be controlled, the surgeon will convert to an open operation right away. Keep the Mayo stand and back table sterile until the patient has left the room.
Add your table
Every surgeon runs it a little differently. Submissions stay private, are reviewed by our team, and accepted contributions earn a credit in the contributor list.