Robotic Colon Resection
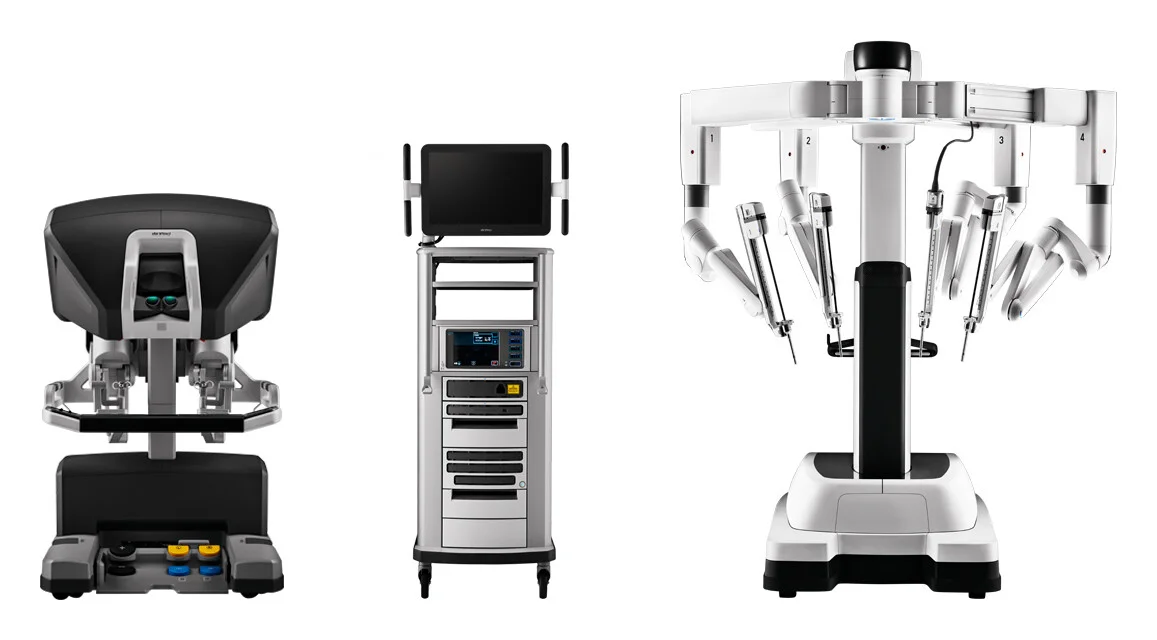
A diseased segment of the sigmoid colon, with its blood supply and lymph nodes, is removed with the da Vinci robot, and the colon is joined to the rectum with a circular stapler passed through the anus.
52 instruments to master.
Master this setup: test yourself on every instrument, earn the tier, hold the record.
No site record yet · target 19:13
Study flashcards
Card by card, grade yourself · 52 cards
Practice test
Answer, see why · 25 at a time
Take the exam
54 questions · target 19:13
Surgical instruments
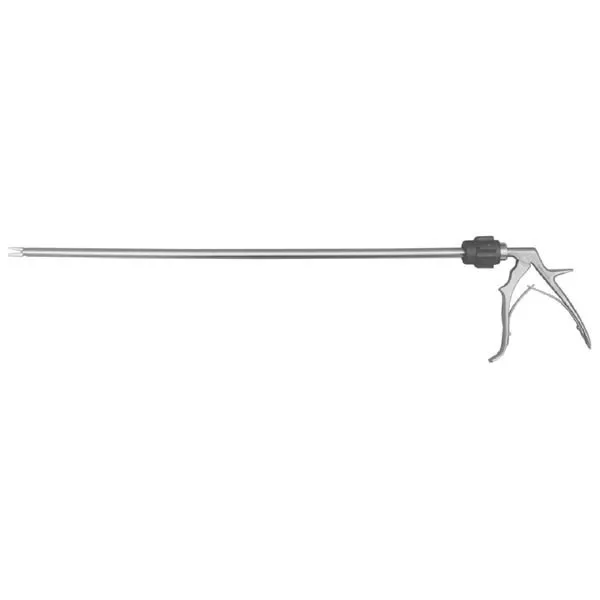
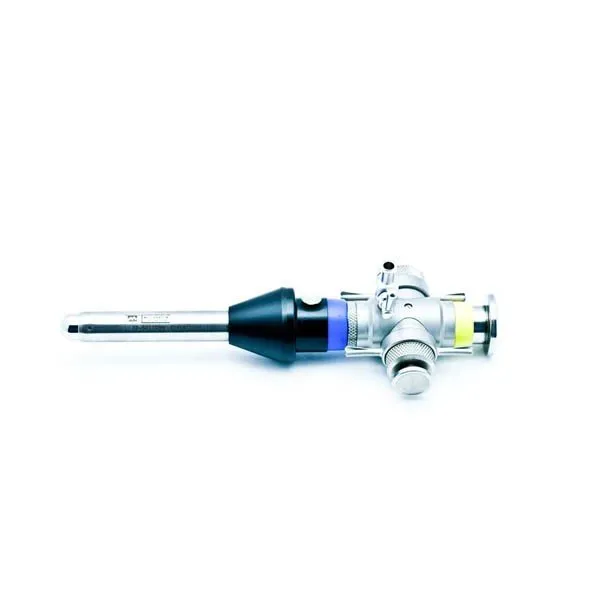
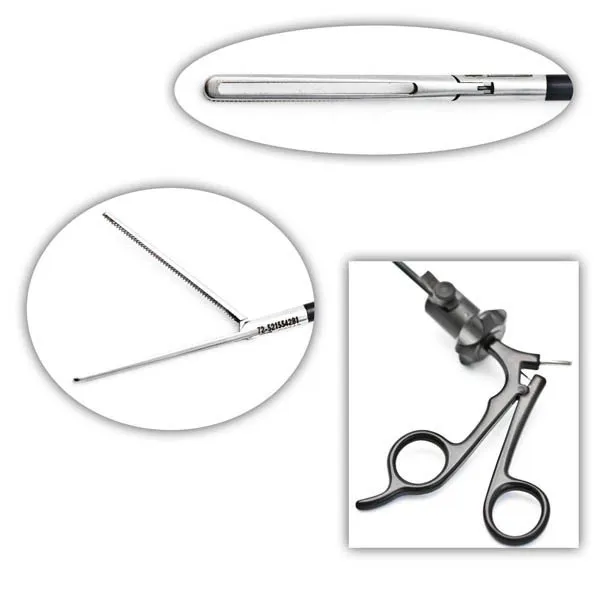
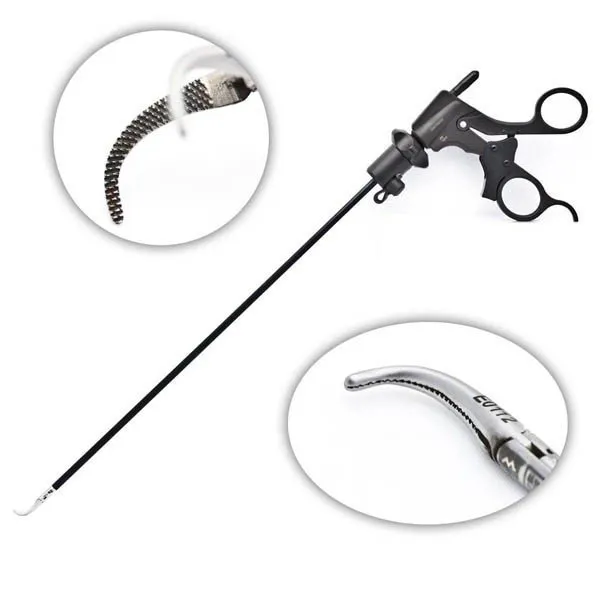
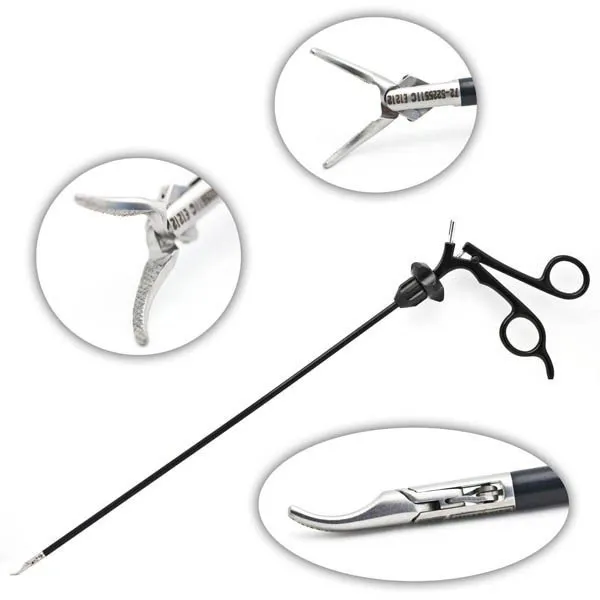
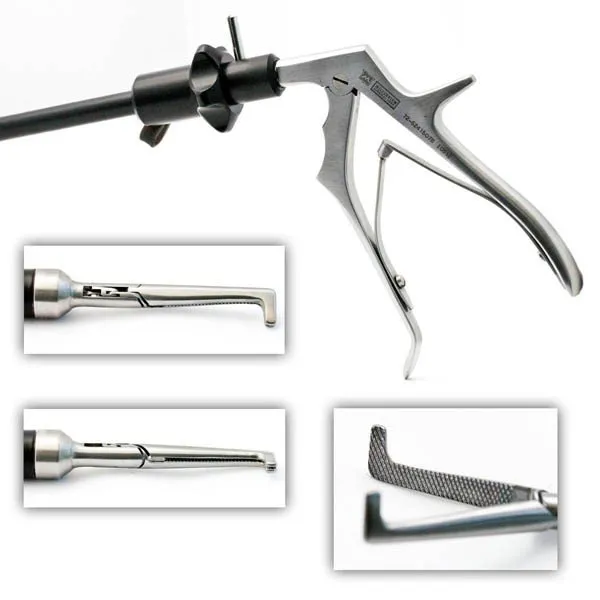
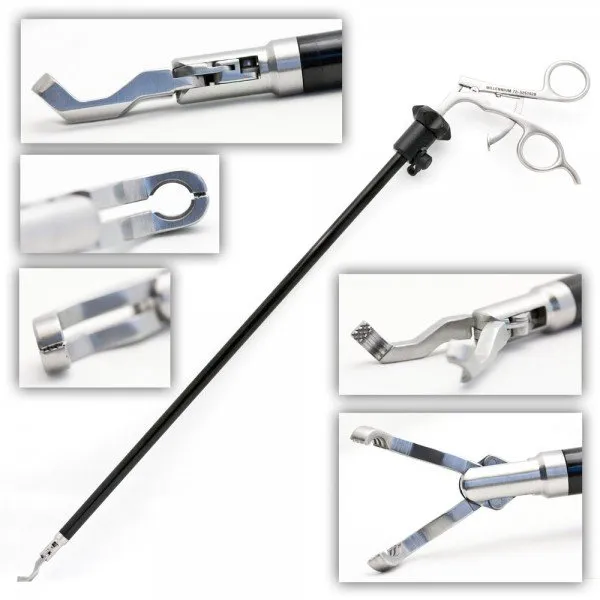
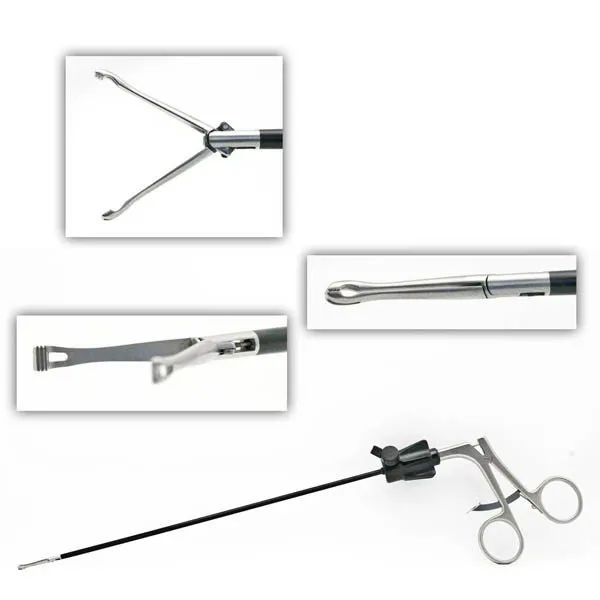
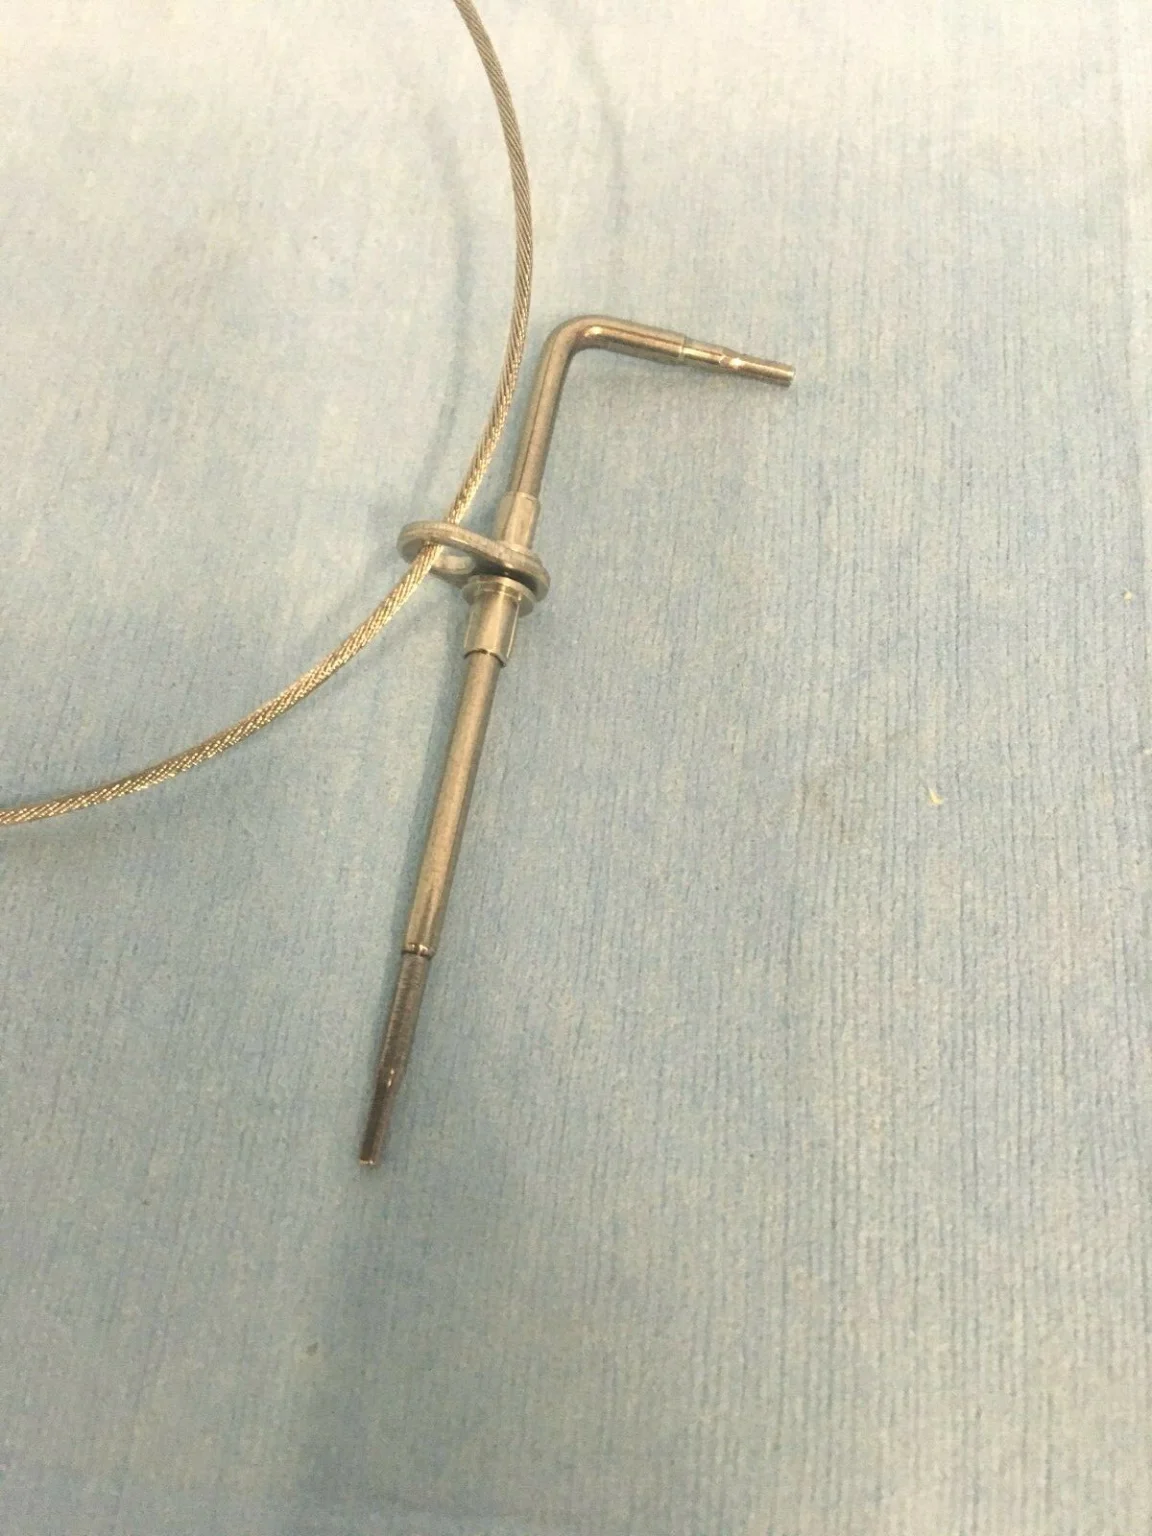
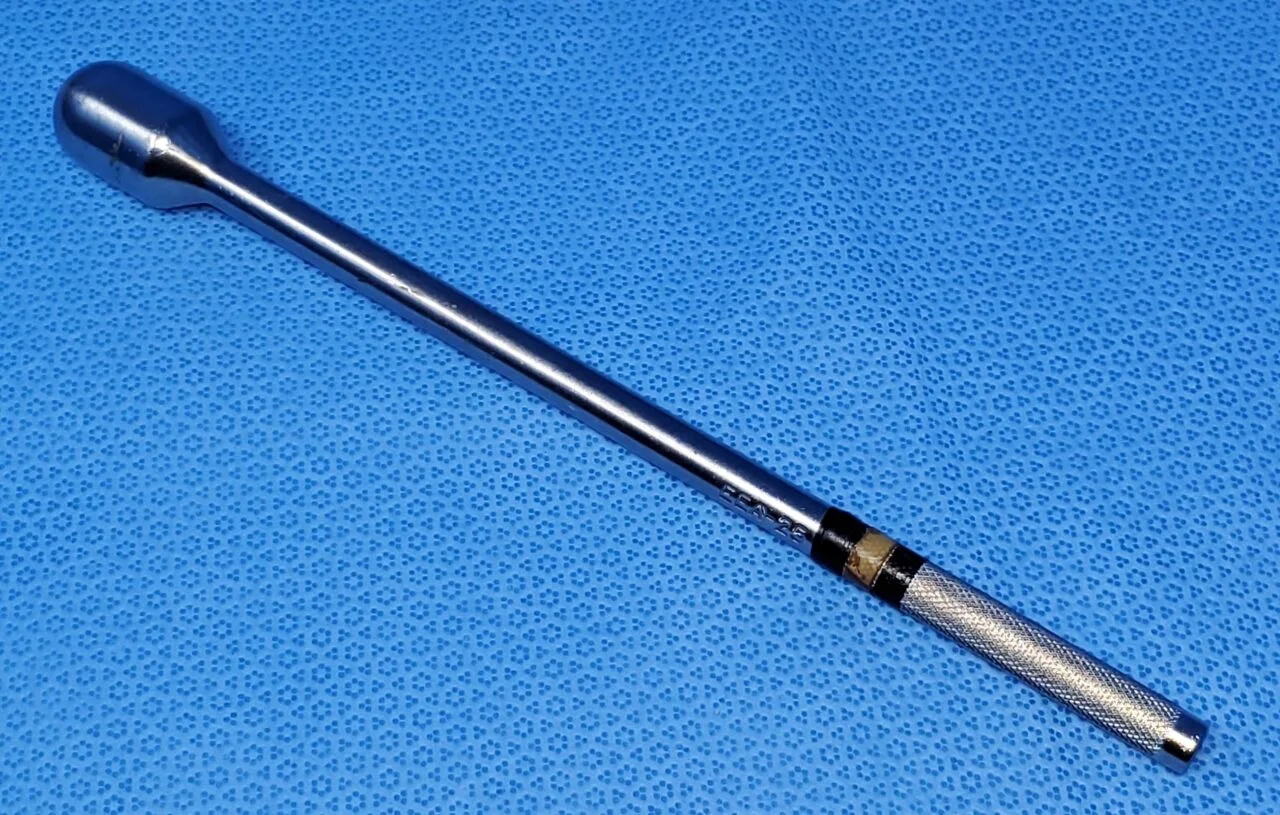
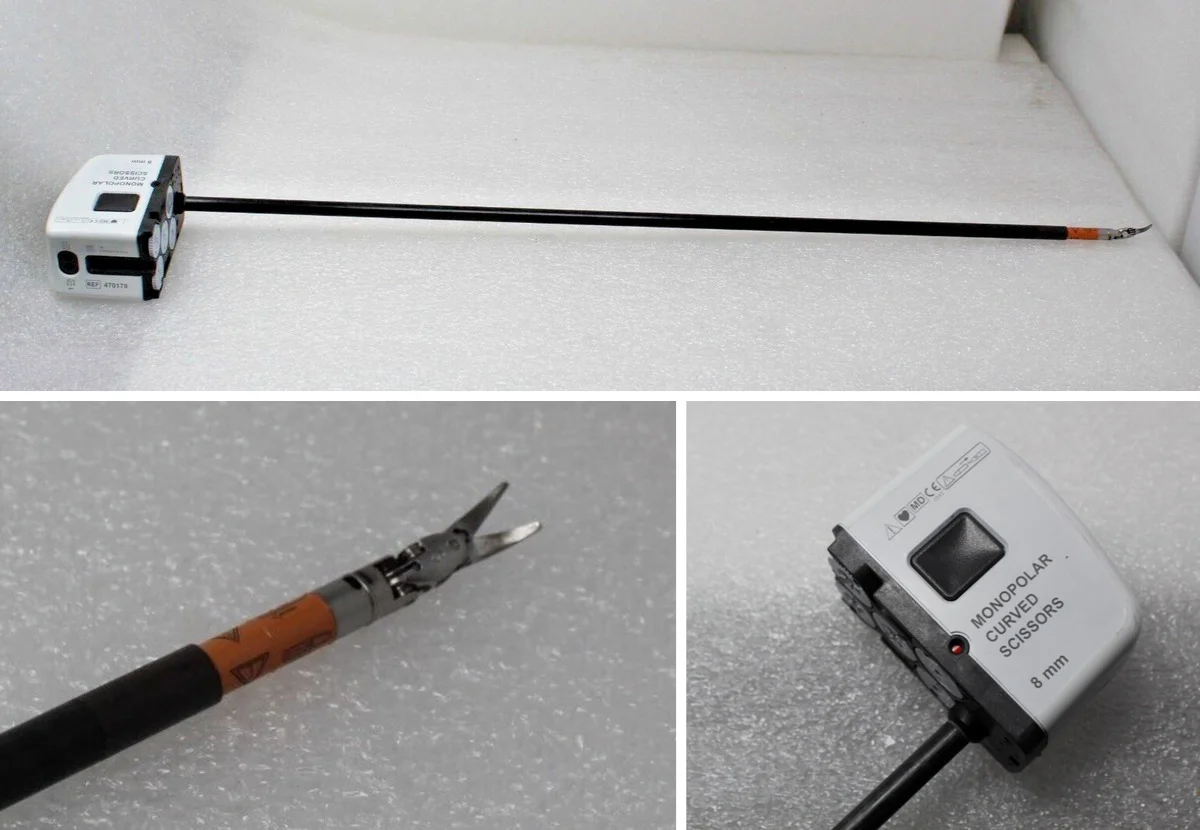
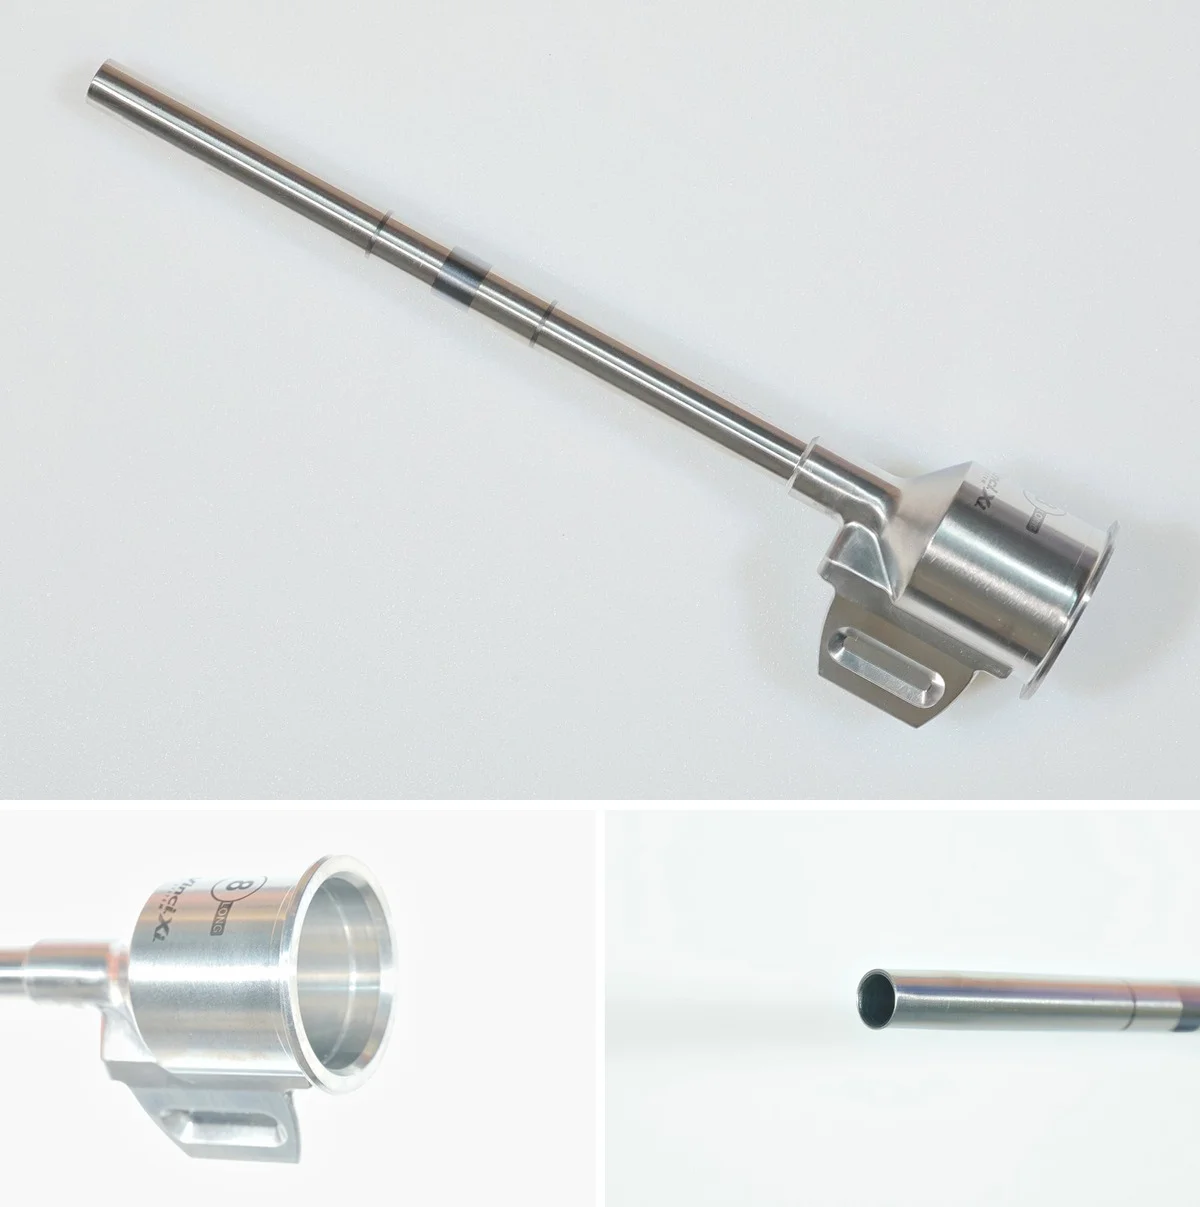
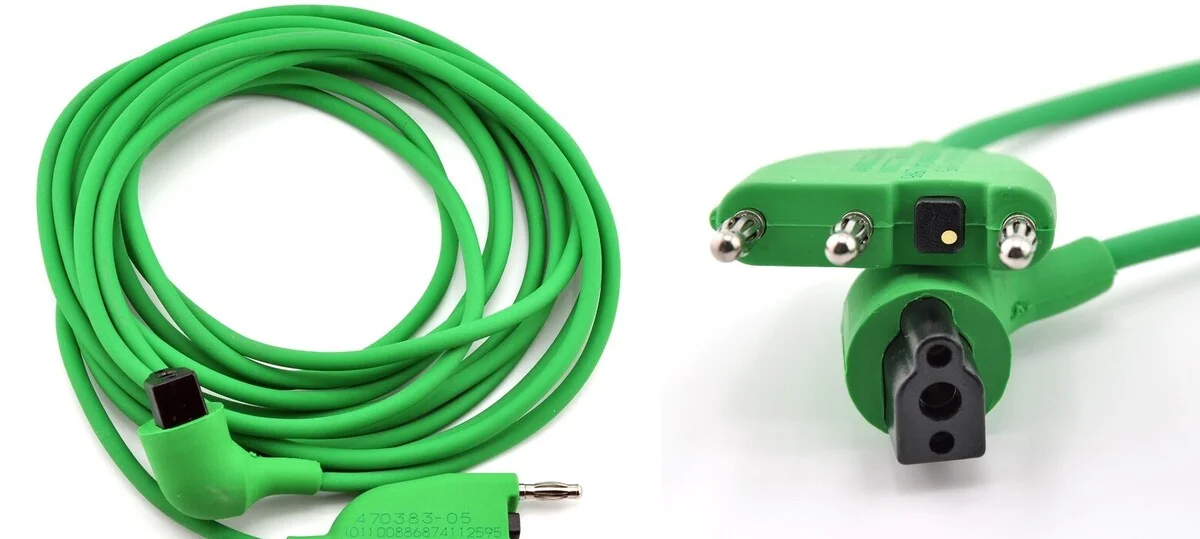
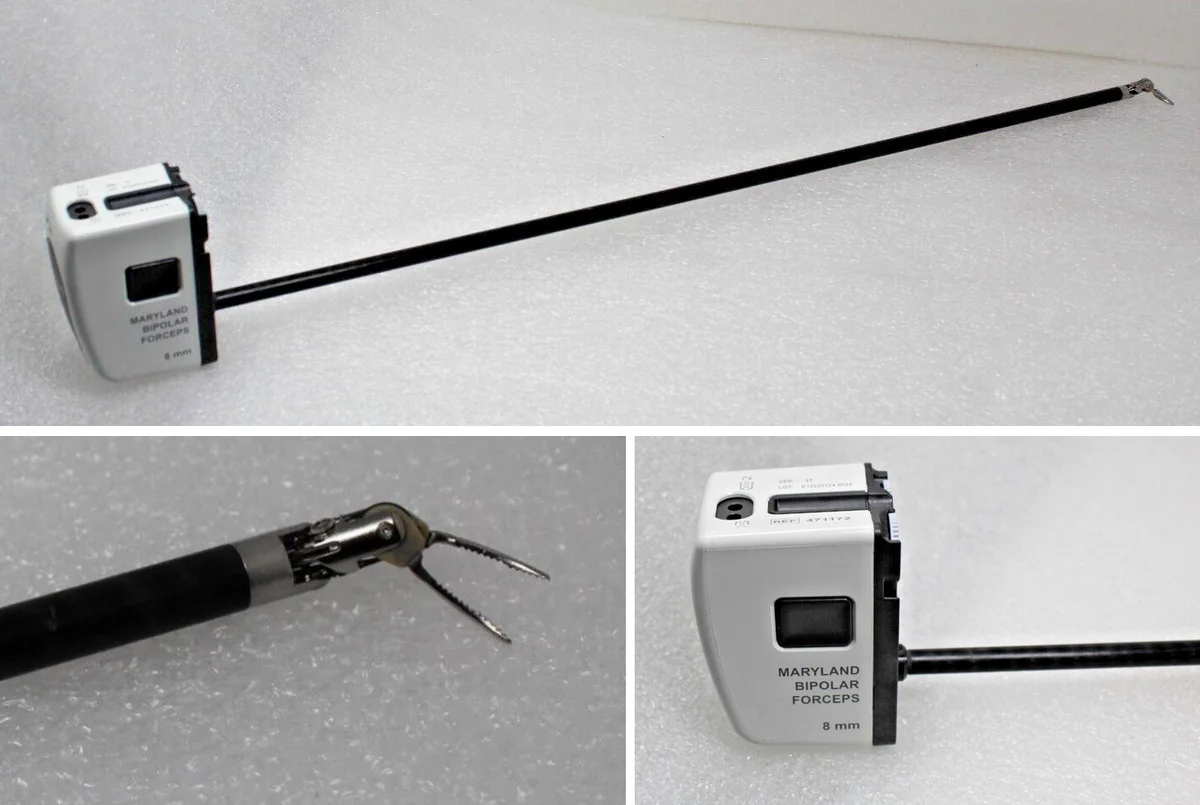
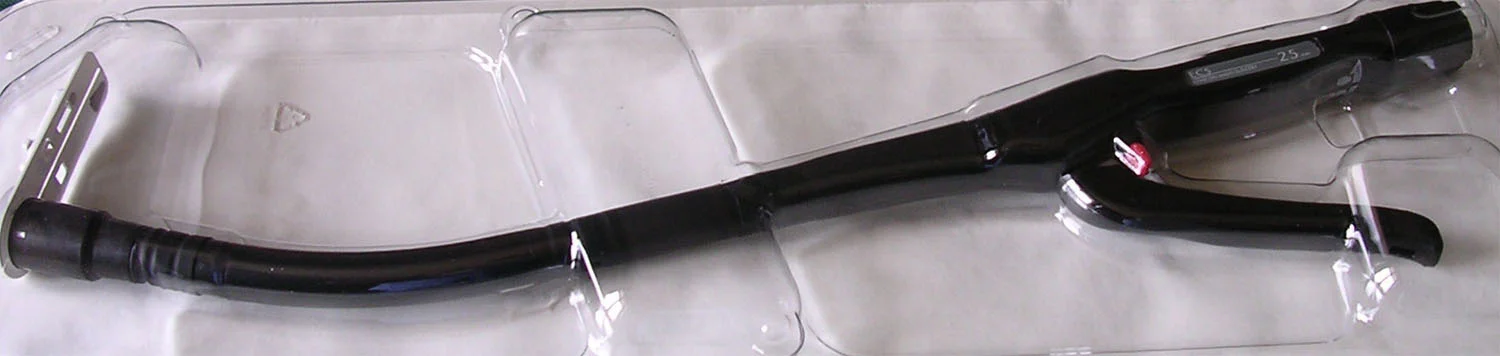
52 on this table. Tap a photo to zoom, the name for its card.

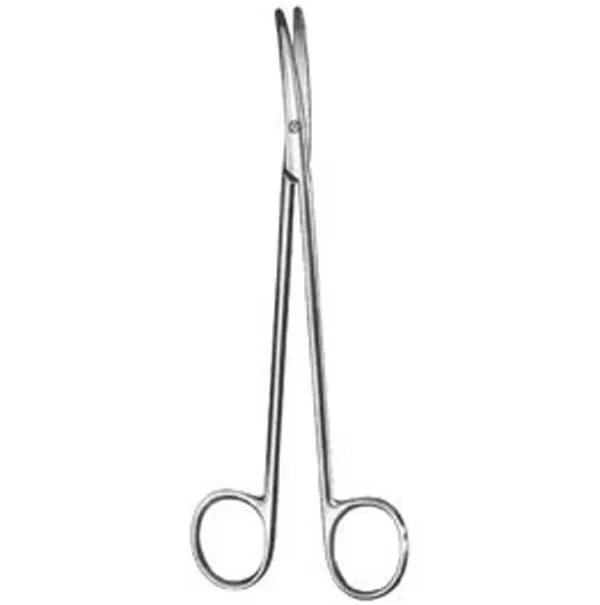
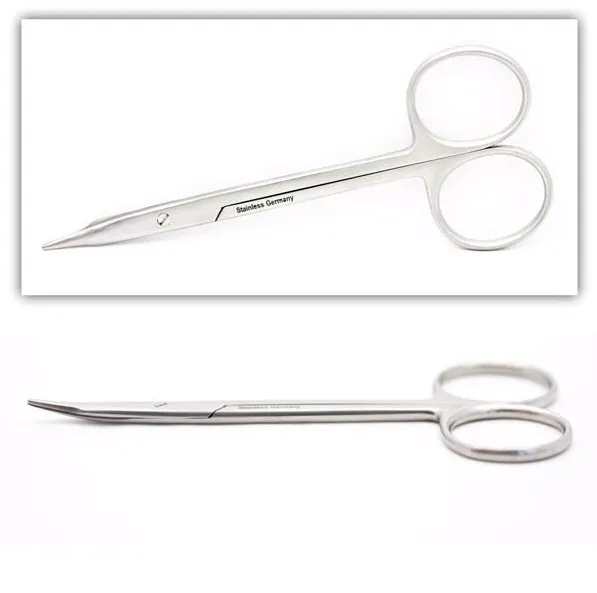
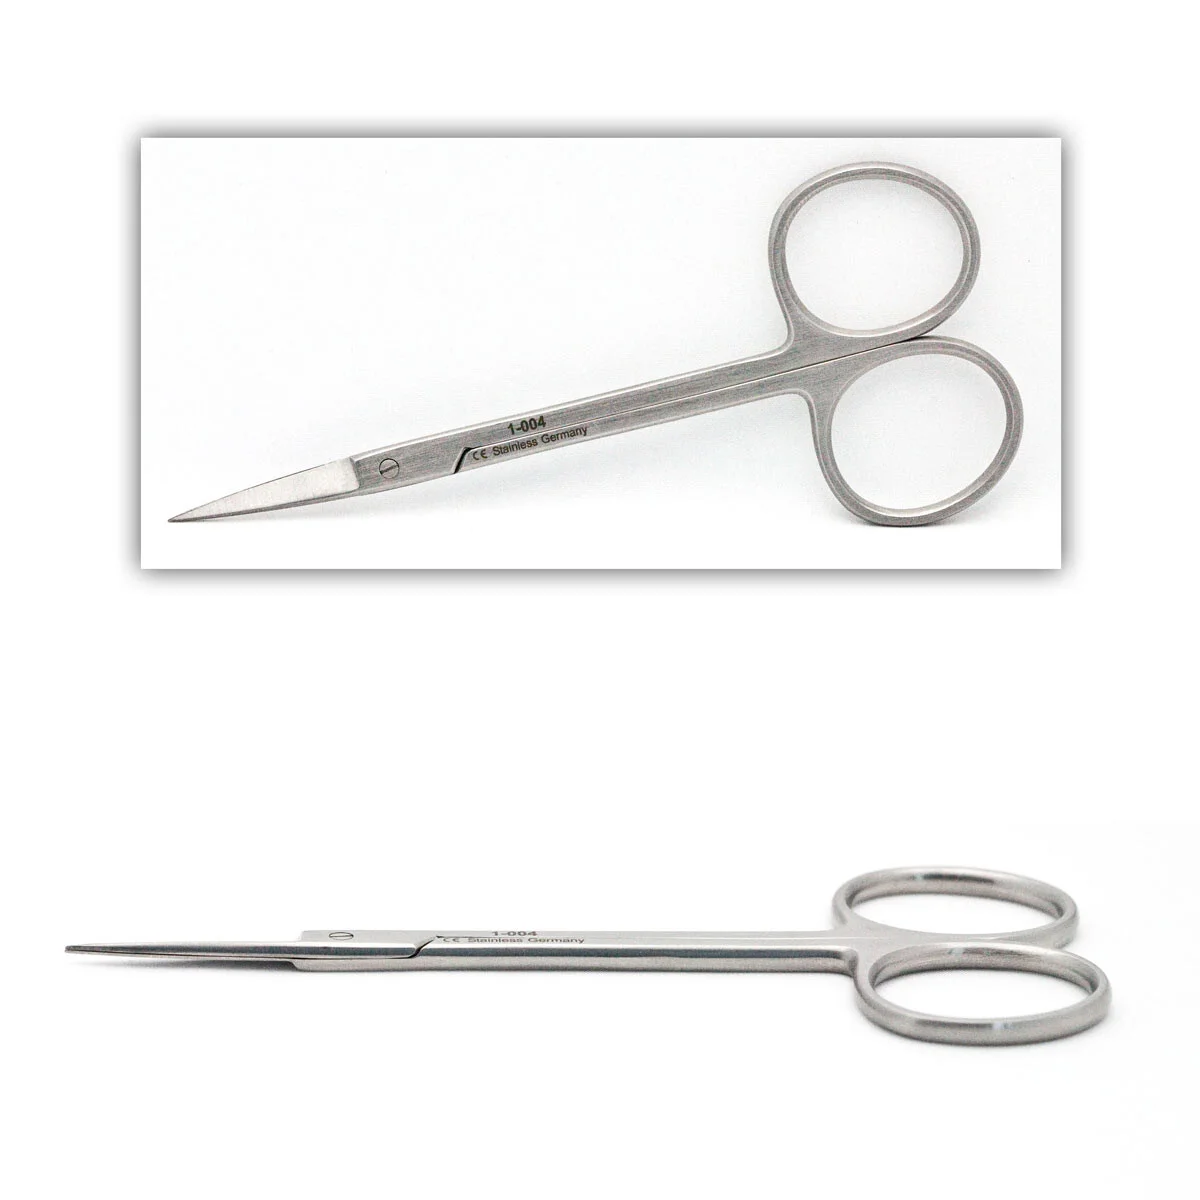
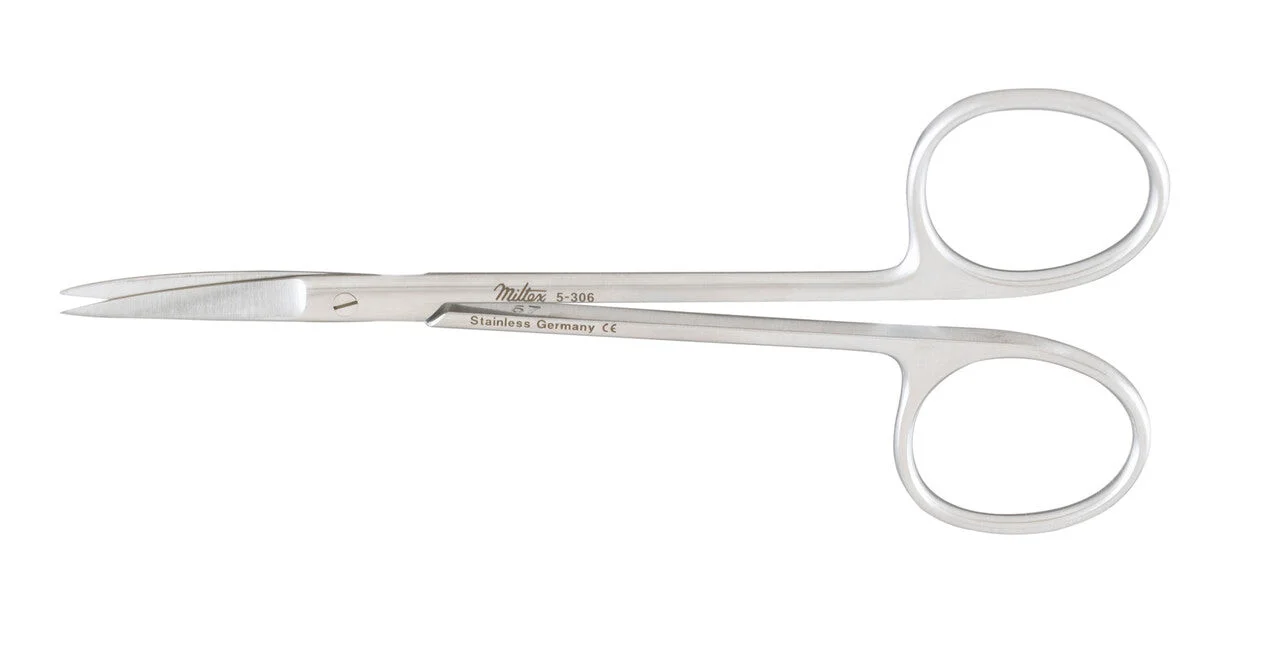
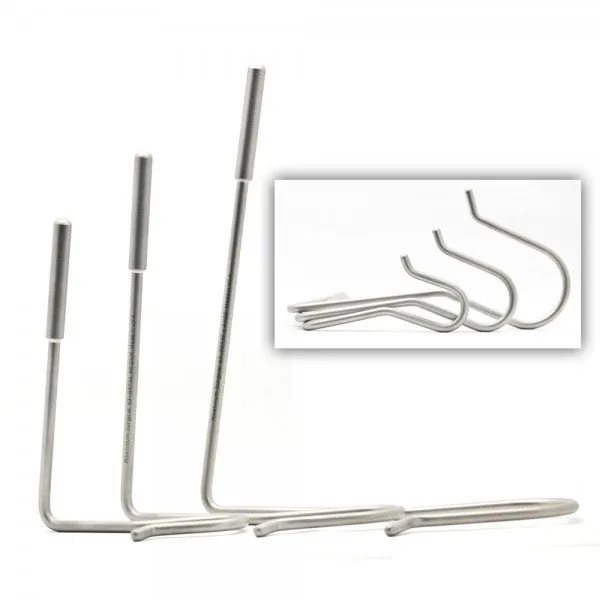
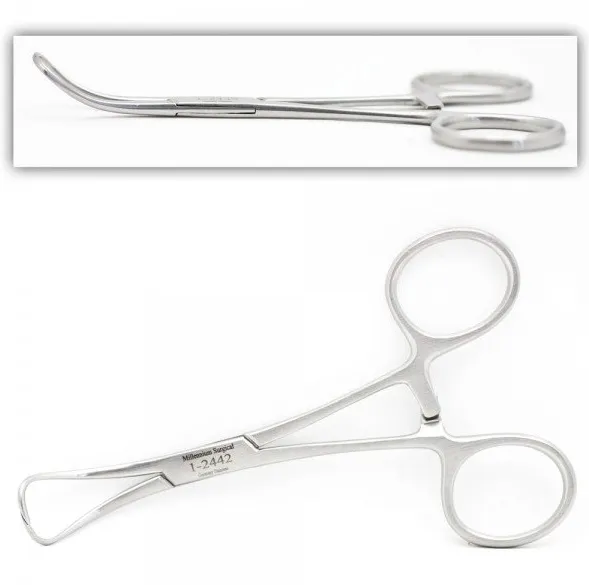
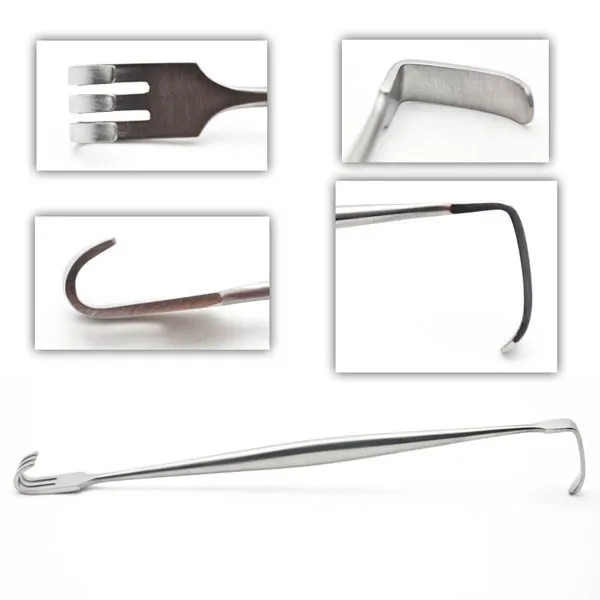
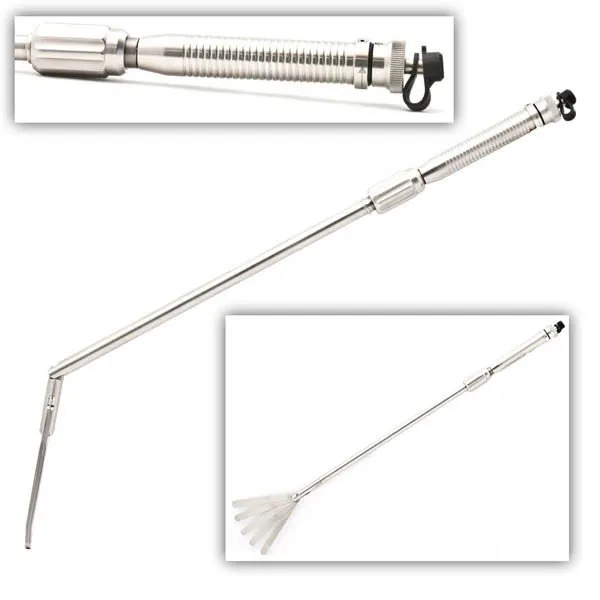
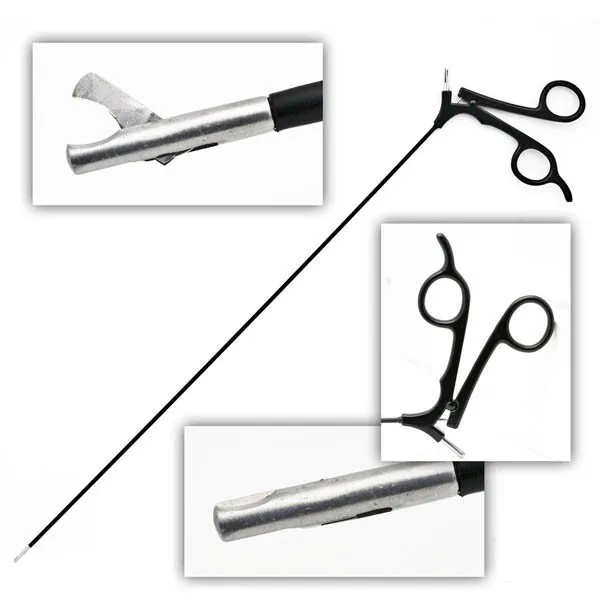
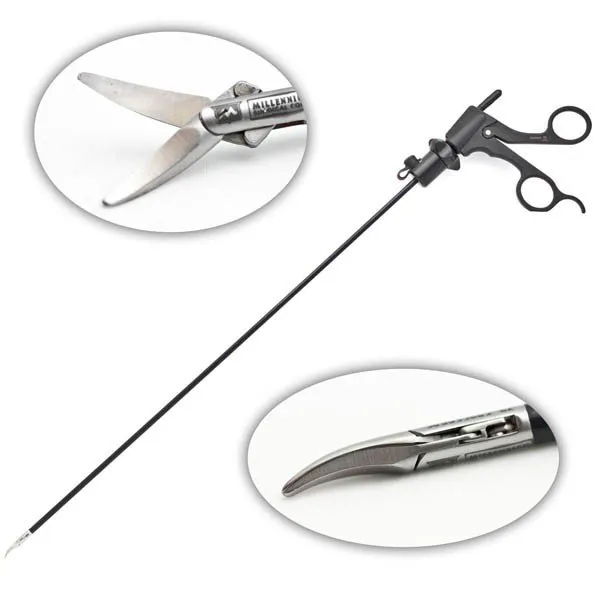
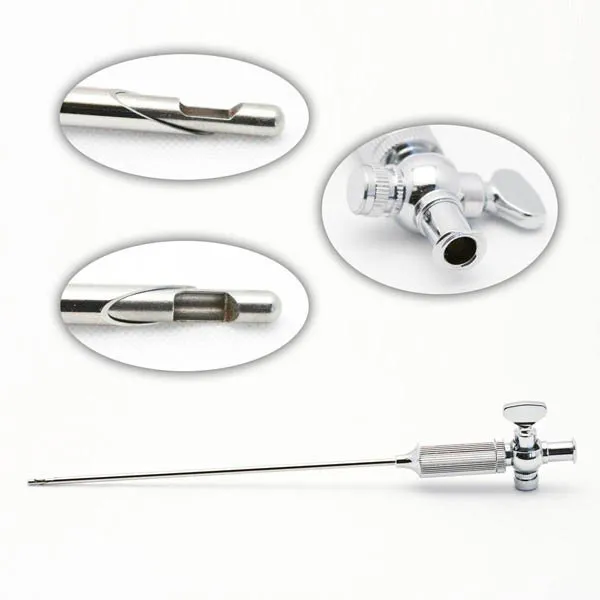
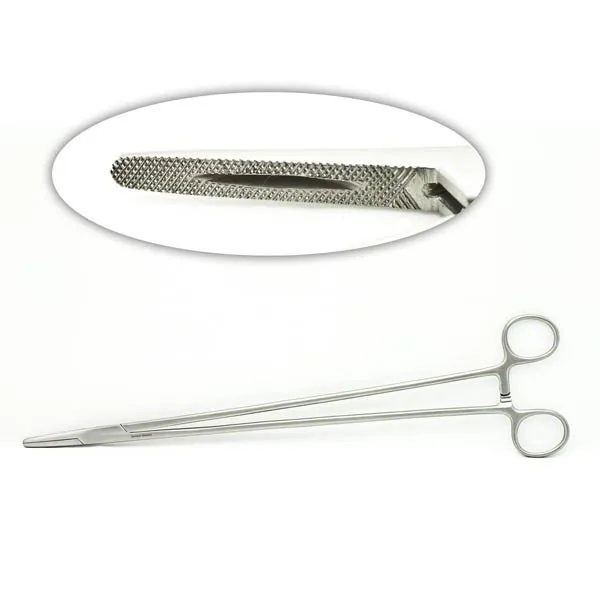
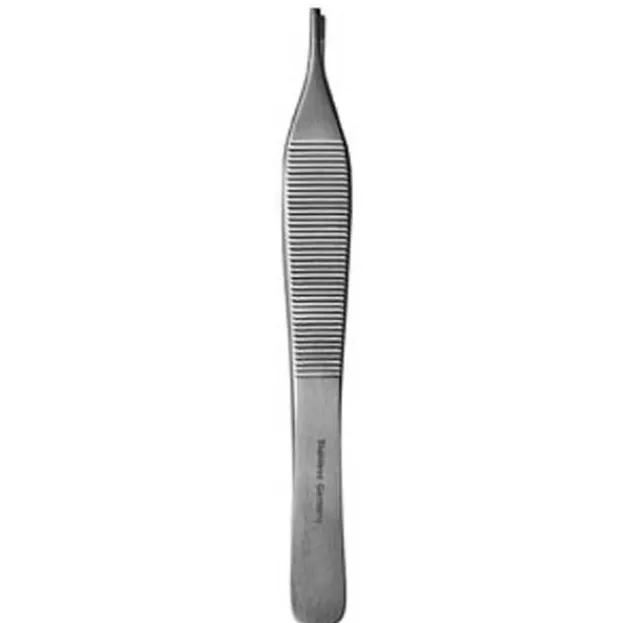
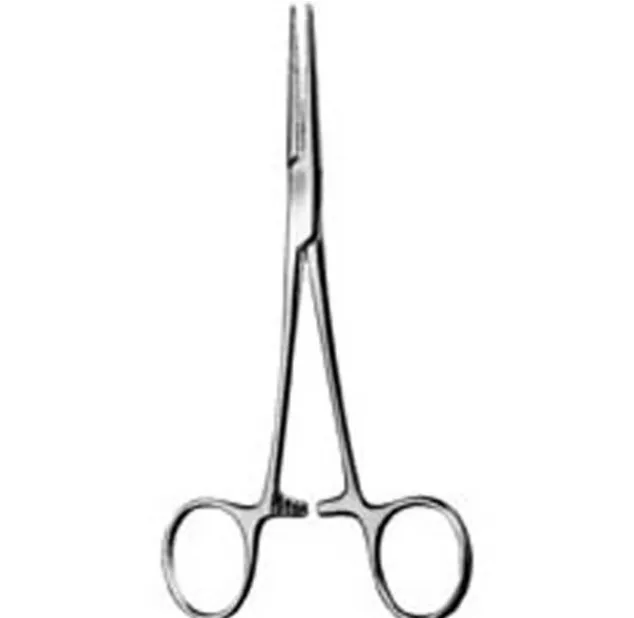
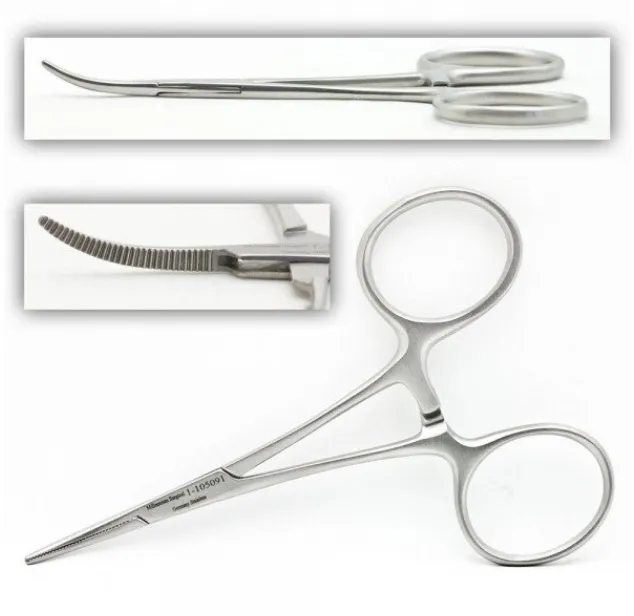
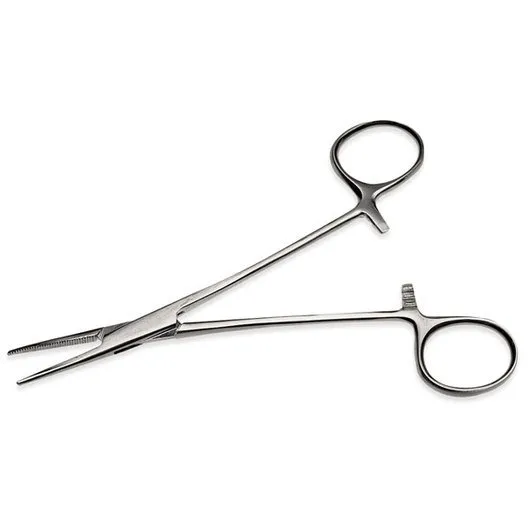
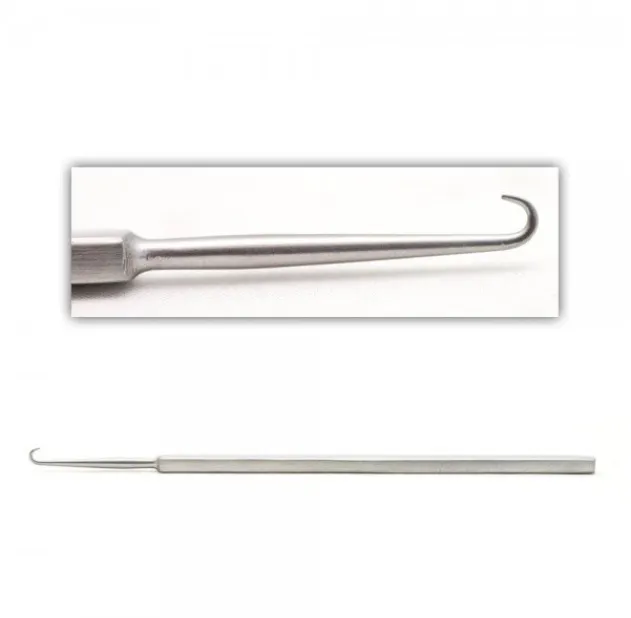
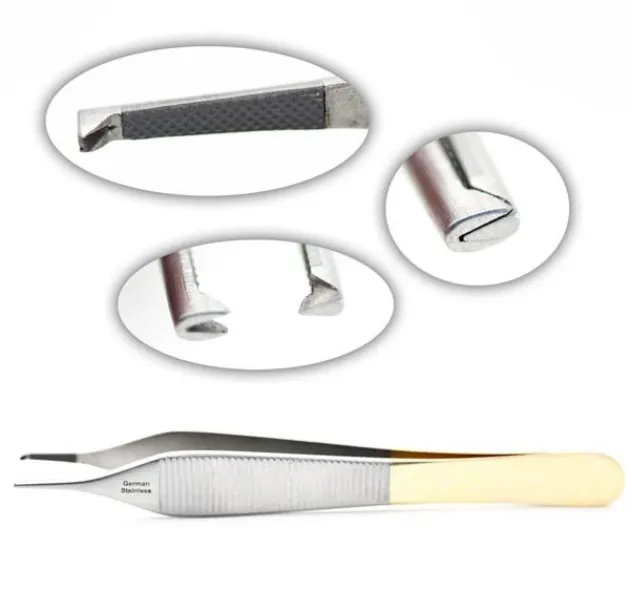
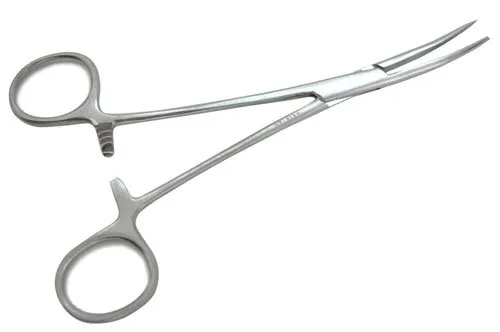
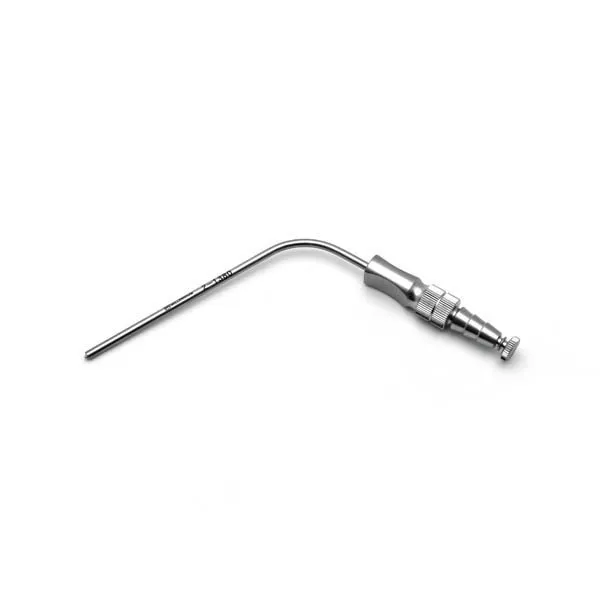
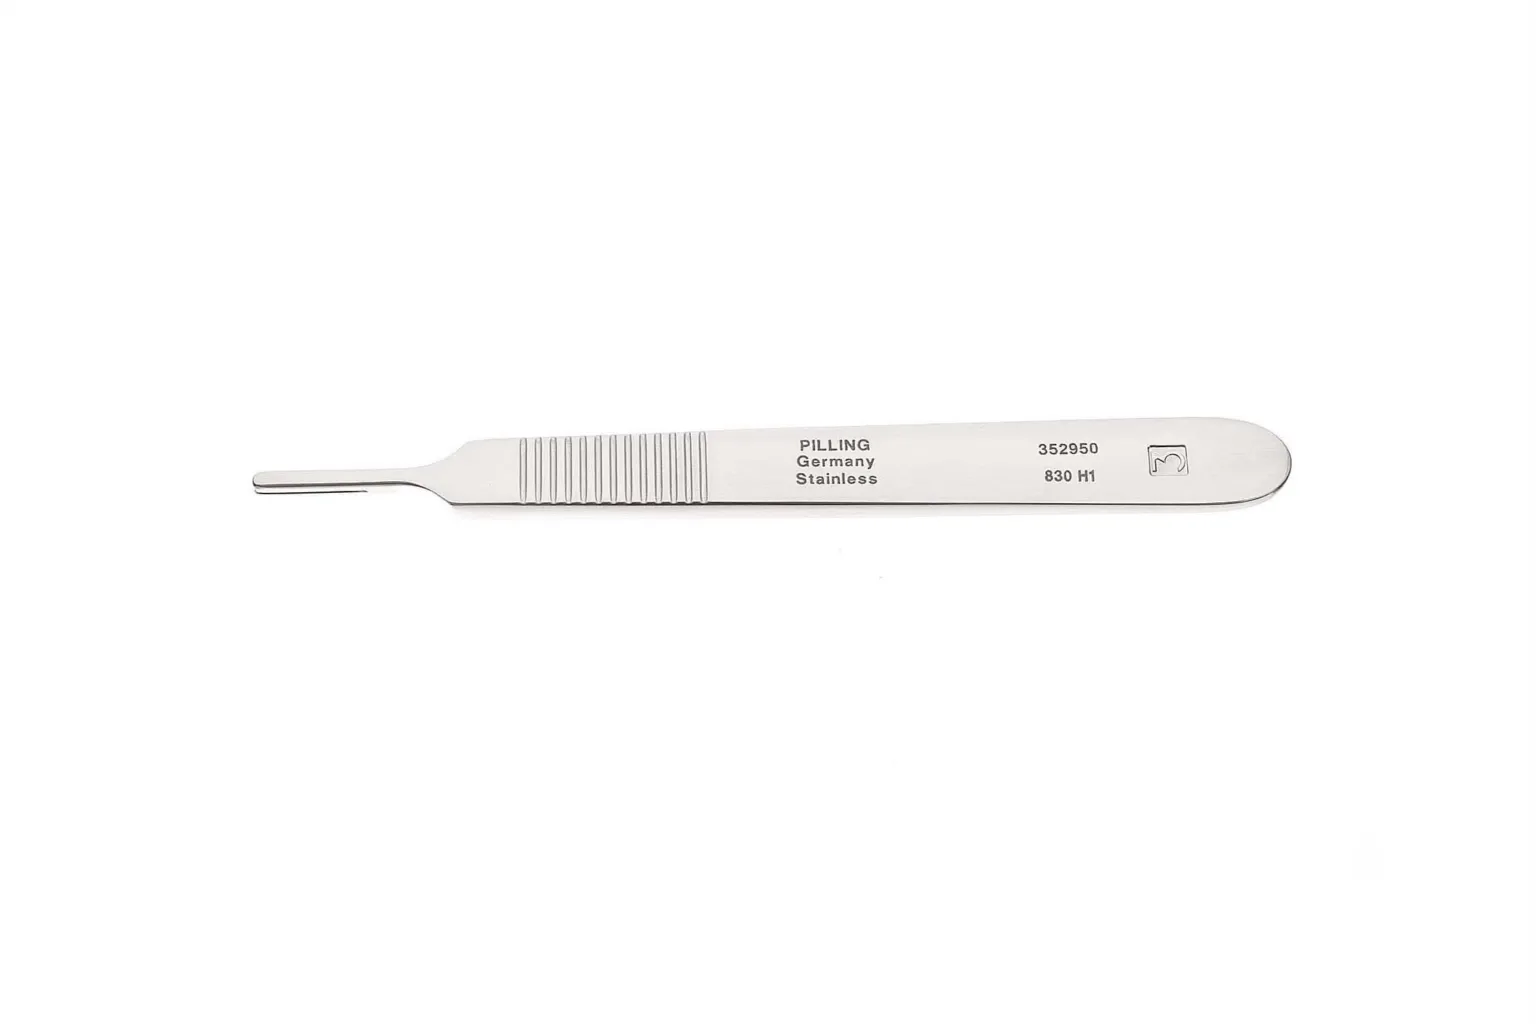
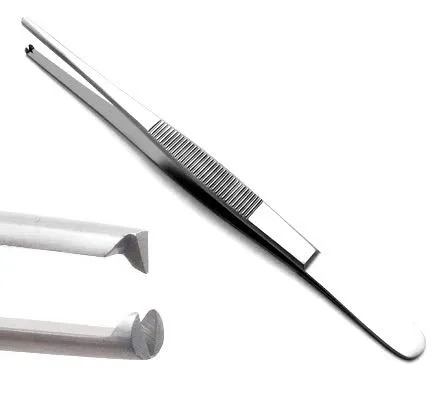
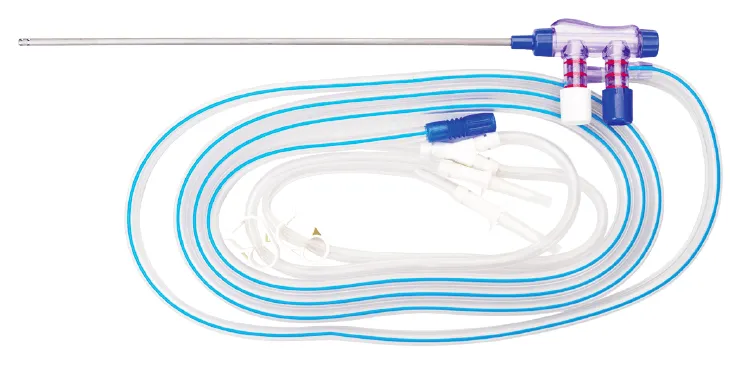
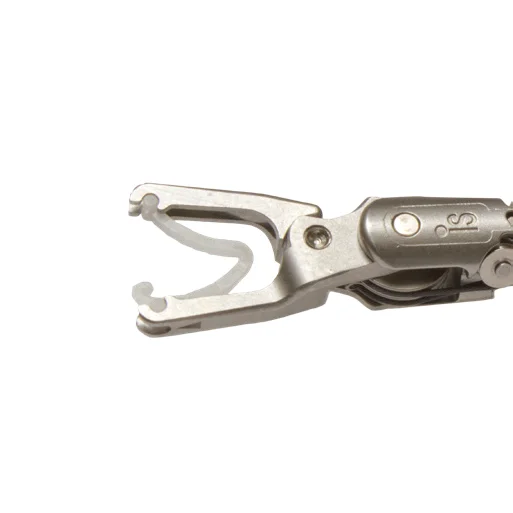

The case
Spark notes
The 30-second rundown. Scan this outside the room.
- Bowel prep and antibiotics; Foley with urimeter; NG tube; compression on the legs.
- Modified lithotomy in padded stirrups; shoulder braces; steep head-down, left side up.
- Prep the abdomen, then thighs and perineum, anus last; vaginal prep for women.
- Under-buttocks sheet and a laparoscopy sheet with leggings; drape the Xi.
- Veress, blunt-tip trocar, 8 mm da Vinci cannulas on the left, 12 mm assistant port.
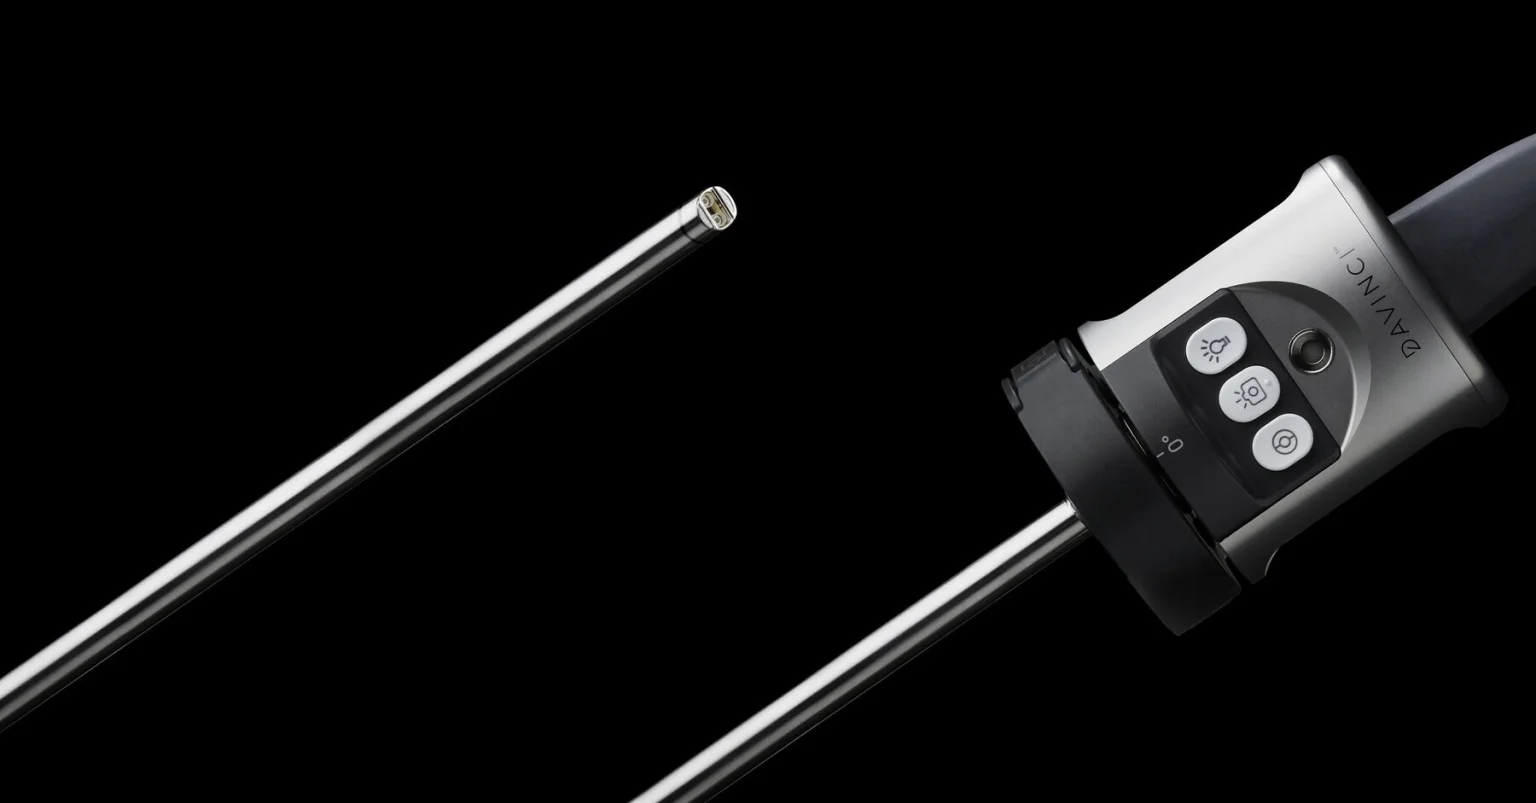
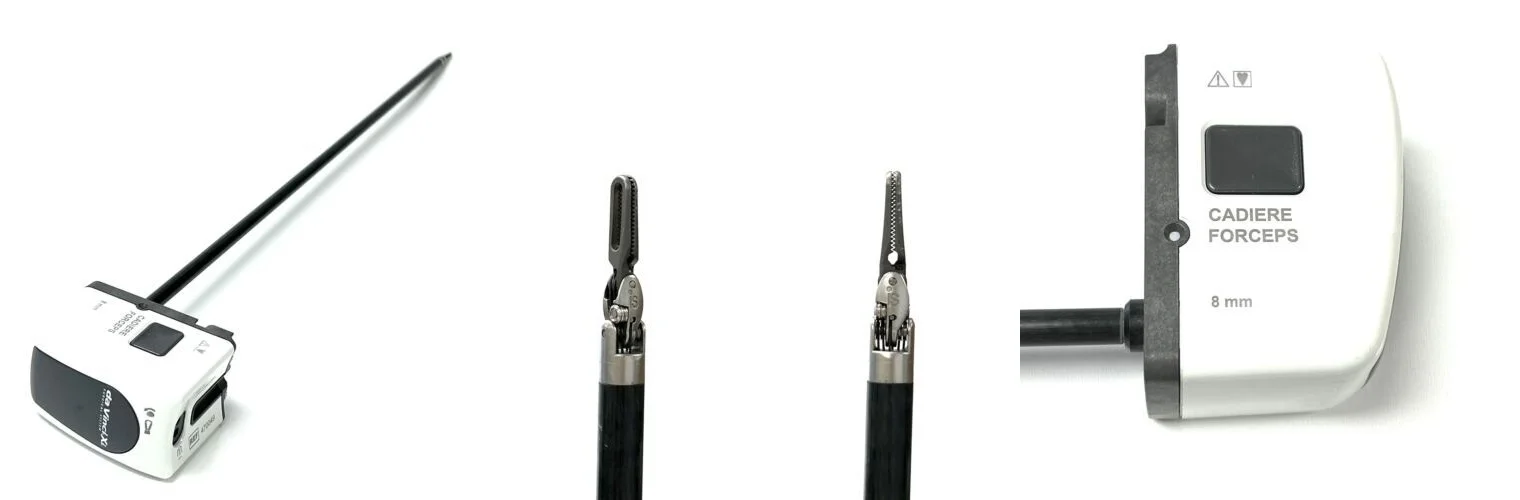
- Dock; 30-degree endoscope; Cadiere, Maryland bipolar, monopolar scissors.
- Medial approach: open the sigmoid mesentery, isolate the IMA, protect the ureter and nerves.
- IMA divided near the aorta with clips or a stapler.
- Free the descending colon along the white line of Toldt; splenic flexure if more length needed.
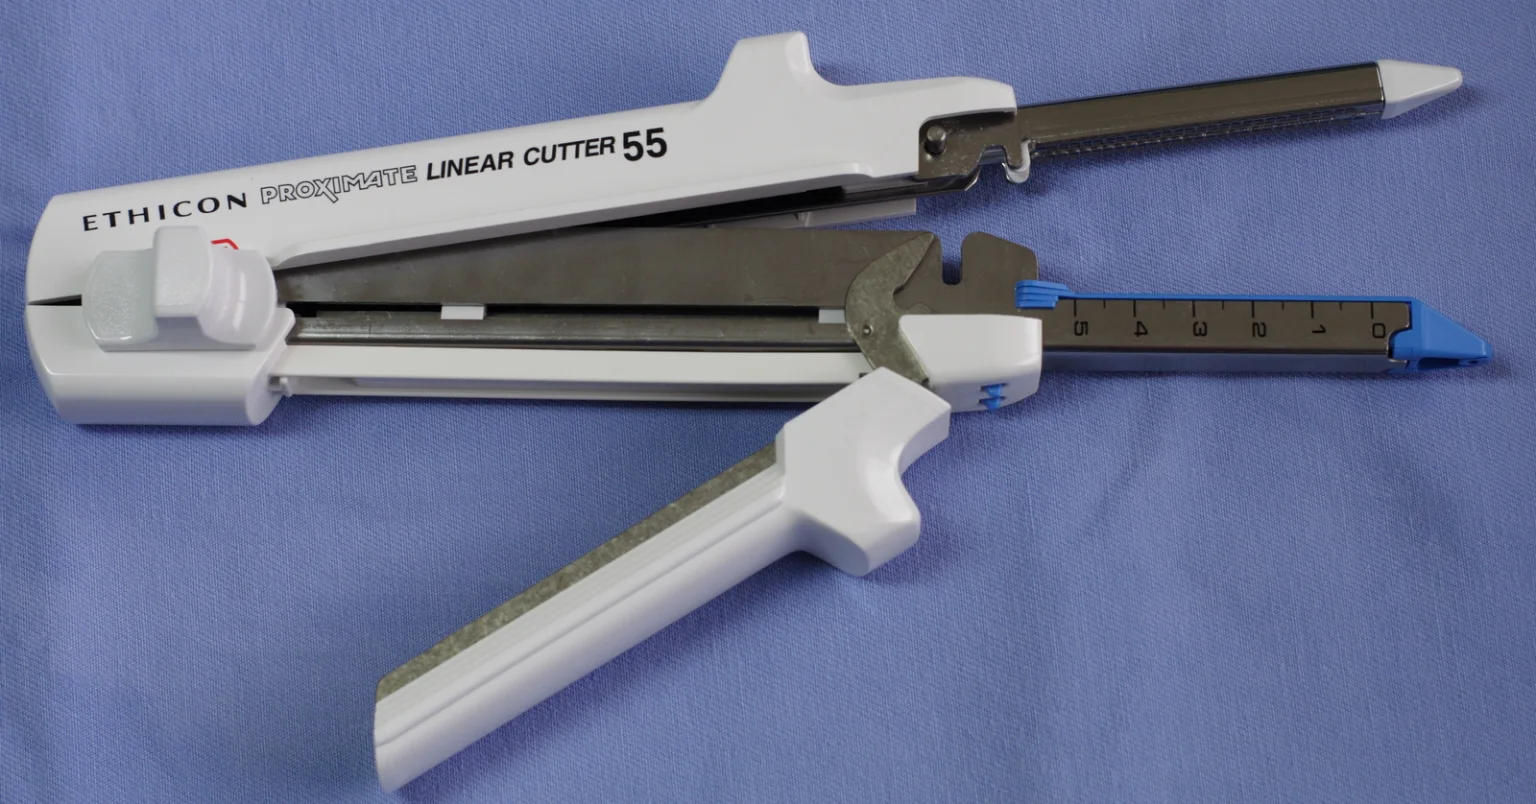
- Linear stapler-cutter divides the rectum; specimen out through a small incision.
- Anvil tied into the colon with a purse-string; EEA through the anus; anvil grasper; check the donuts.
- Sigmoidoscope or bulb syringe leak test; undock and close.
Walkthrough
What the surgeon does, and what to have in your hand before they ask.
Modified Lithotomy, Prep and Draping
Bowel prep and antibiotics are given before surgery. After general anesthesia, a Foley catheter goes in and is connected to a urimeter, anesthesia passes a nasogastric tube, and antiembolic stockings or compression sleeves go on. The patient is placed in modified lithotomy in padded Allen or Lloyd-Davies stirrups, so the surgical team can reach both the abdomen and the anus; padded shoulder braces are secured because the table will be tipped steeply head-down. The abdominal prep begins at the umbilicus and runs from the nipples to the pubic symphysis and down to the table at the sides; then the thighs and perineum are prepped, with the anus last (discard each sponge after it touches the anus). Women also get a vaginal prep. A sheet goes under the buttocks, followed by a laparoscopy sheet with attached leggings, and the robot's arms and column are covered with the Xi sterile drapes.
Next up: the Veress needle, then the blunt-tip trocar.
Insufflation and Ports
Pneumoperitoneum is made with the Veress needle, and the first port goes in with a blunt-tip trocar. The other ports are placed under direct vision, mostly on the patient's left side, since the work is in the left colon and pelvis. The robot's arms attach to 8 mm da Vinci cannulas, and a 12 mm port is kept for the assistant's staplers. The table is tipped head-down with the left side up so the small bowel falls out of the pelvis.
Next up: the patient cart and the 30-degree endoscope.
Docking and Loading the Instruments
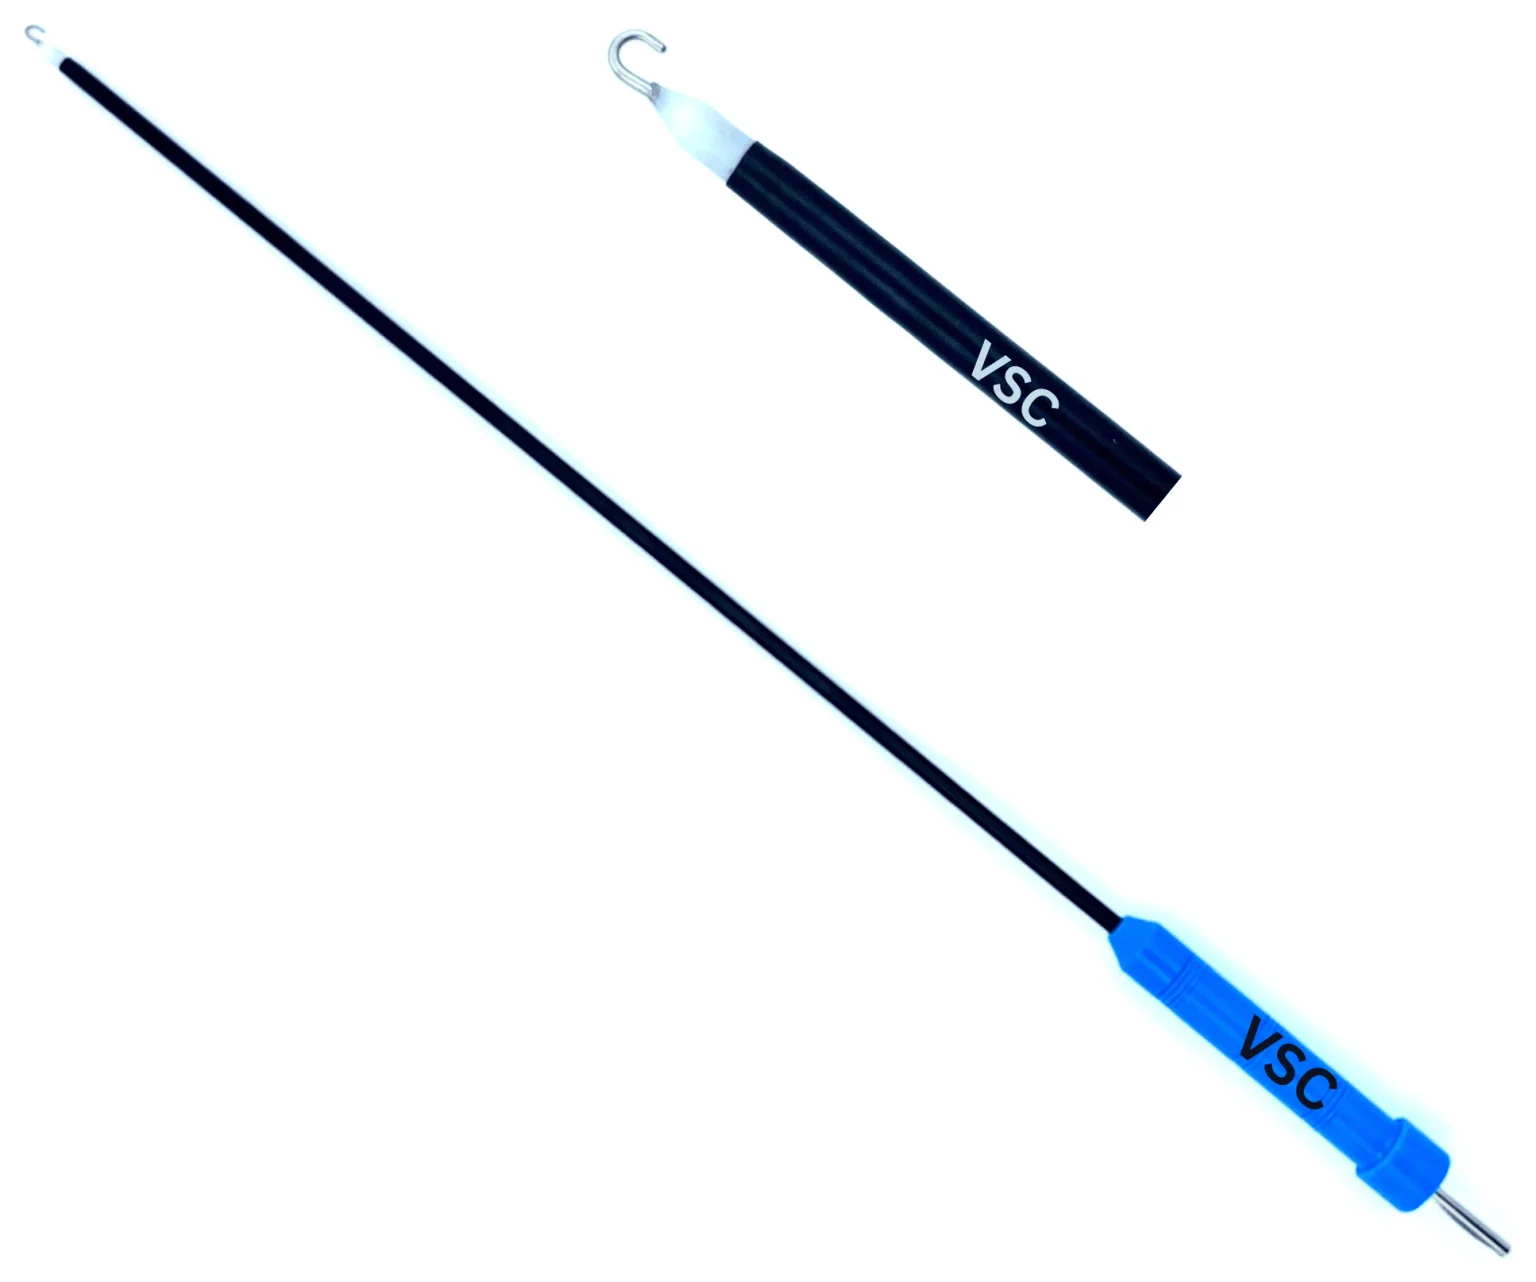
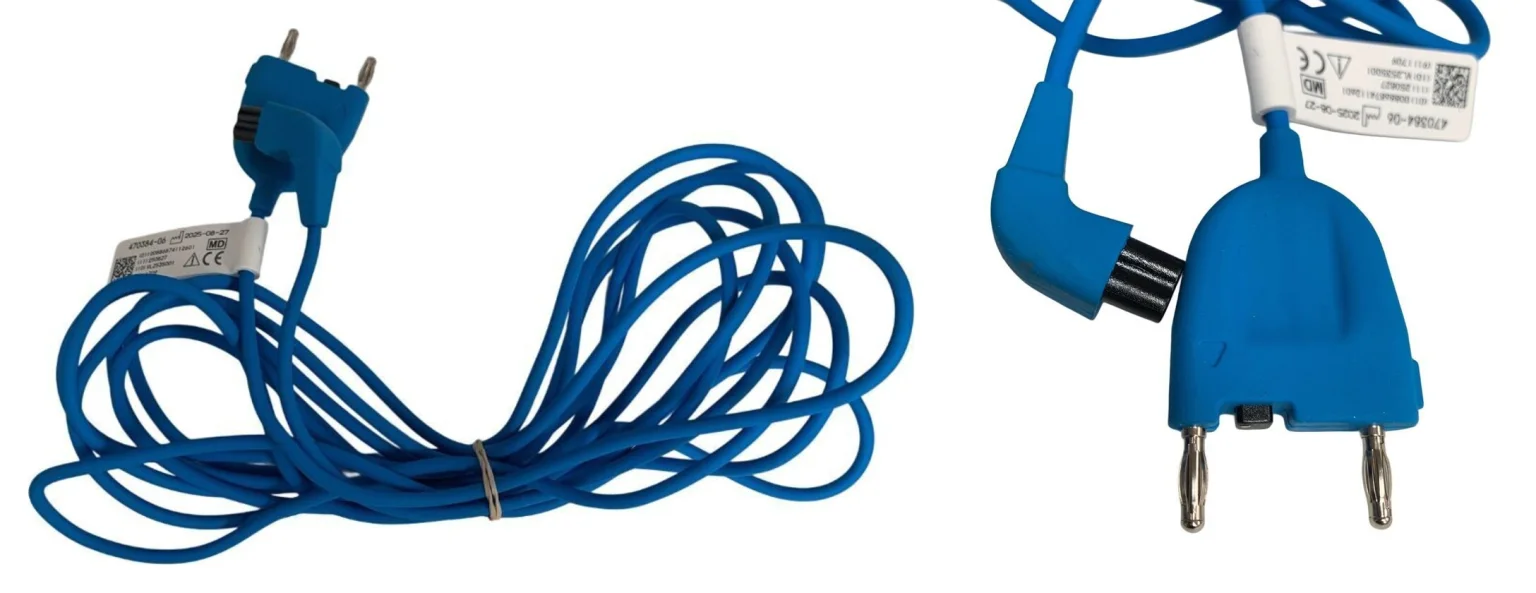
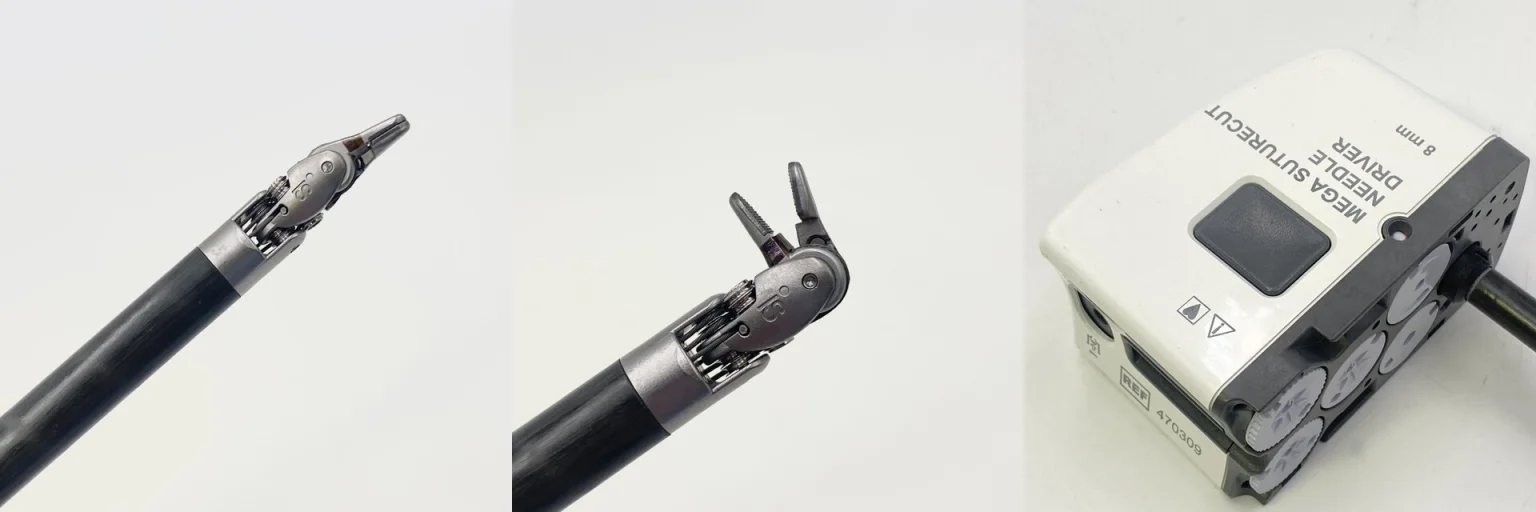
The cart is brought over the patient with the surgeon guiding it and the arms are attached. The 30-degree da Vinci endoscope goes in first, then the robotic instruments: typically Cadiere forceps, a Maryland bipolar dissector and the monopolar curved scissors, with needle drivers on standby. Plug in the bipolar and monopolar cords. The bedside assistant works with laparoscopic Babcocks, graspers, a fan retractor and the suction-irrigator, and passes clips and staplers through the assistant port.
Next up: the scissors and Maryland dissector for the sigmoid mesentery.
Medial Approach to the Sigmoid Mesentery
The dissection starts from the inside (medial to lateral). The sigmoid mesentery is opened where it meets the retroperitoneum, and the inferior mesenteric artery (IMA) comes into view. The tissue above and below the artery is cleared so it can be isolated all the way around. The left ureter runs close by and must be found and protected; starting low, at the intersigmoid fossa at the base of the mesosigmoid, helps. The superior hypogastric nerve plexus lies on the artery near the aortic bifurcation and is preserved.
Next up: the clip applier or a vascular stapler load for the IMA.
Dividing the Inferior Mesenteric Artery
For cancer, the IMA is divided close to the aorta so its lymph nodes come out with the specimen. The surgeon chooses clips (the assistant's multifire clip applier or a robotic clip applier) or a stapler; confirm which before the vessel is dissected so it is ready.
Next up: the scissors and energy for the lateral attachments.
Freeing the Descending Colon and, if Needed, the Splenic Flexure
The descending colon is freed from the retroperitoneum in the bloodless plane, then its lateral attachment (the white line of Toldt) is divided. The surgeon avoids the gonadal vessels, the ureter, the stomach and the spleen. If more length is needed to reach the pelvis without tension, the splenic flexure is freed too: the gastrocolic ligament is divided into the lesser sac, the dissection stops short of the splenic hilum, and the marginal artery is kept to protect the colon's blood supply.
Next up: the endoscopic linear stapler-cutter.
Mobilizing the Rectum and Dividing the Bowel
For a lower resection, the sigmoid and upper rectum are freed, again watching the gonadal vessels, the ureters and, in women, the uterus and ovaries. The mesentery is divided, and the bowel is divided below the diseased segment with the endoscopic linear stapler-cutter, leaving a stapled-closed rectal stump.
Next up: a knife for the extraction incision and a purse-string suture for the anvil.
Taking Out the Specimen and Placing the Anvil
The specimen is brought out through a small incision or a large port site (sometimes through the anus). The proximal colon is divided outside the body, and its stapled end is cut off. The anvil of the circular stapler is placed in the open end and tied in with a hand-sewn purse-string suture (or an automatic purse-string device). The colon with the anvil attached is put back into the abdomen.
Next up: the circular (EEA) stapler and its sizers.
The Circular Stapled Anastomosis
The surgeon chooses the stapler size, using sizers if needed. An assistant at the perineum passes the circular stapler through the anus up to the end of the rectal stump and advances its trocar through the staple line. Inside, the colon is steadied with a laparoscopic anvil grasper, the anvil is snapped onto the trocar, and the surgeon makes sure nothing else is caught between them before the stapler is closed and fired. After the stapler is removed, the two rings of tissue (the "donuts") are checked to be sure they are complete; hand them to the surgeon to inspect.
Next up: the rigid sigmoidoscope or a bulb syringe for the leak test.
Testing the Anastomosis
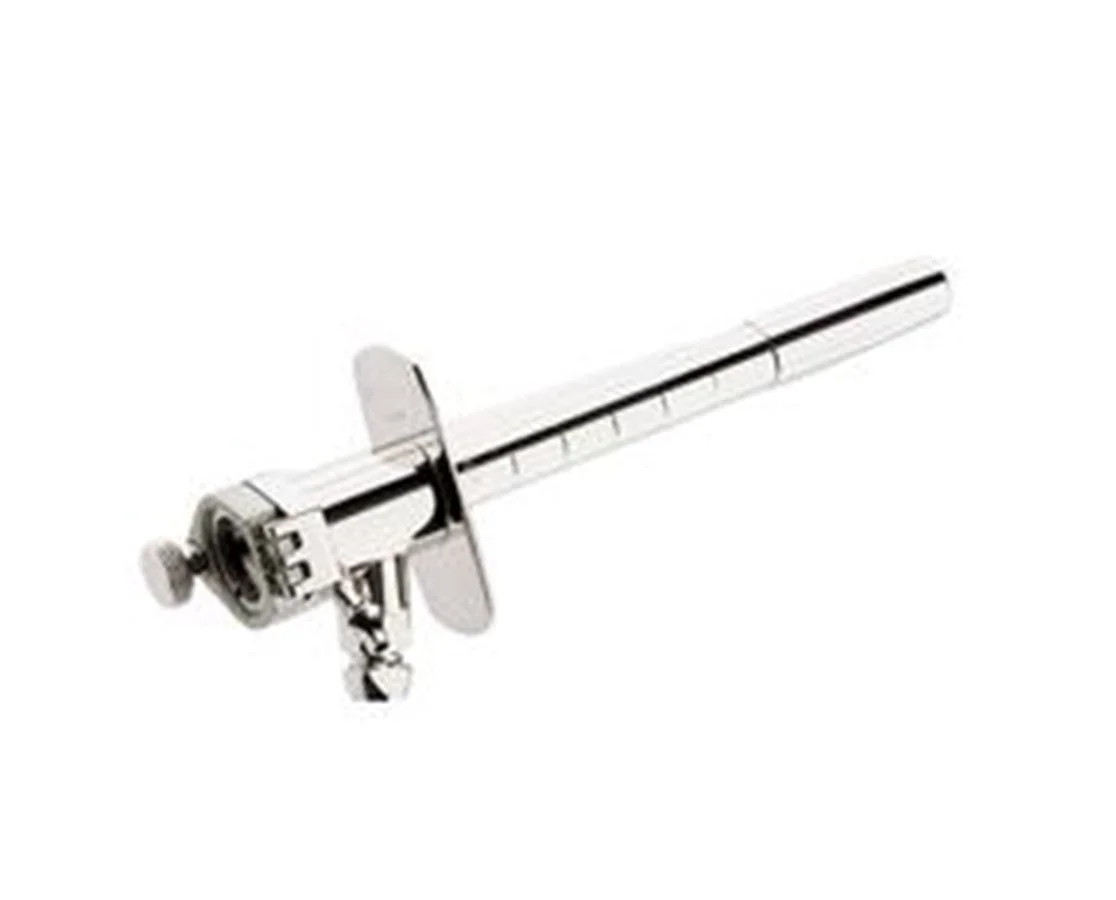
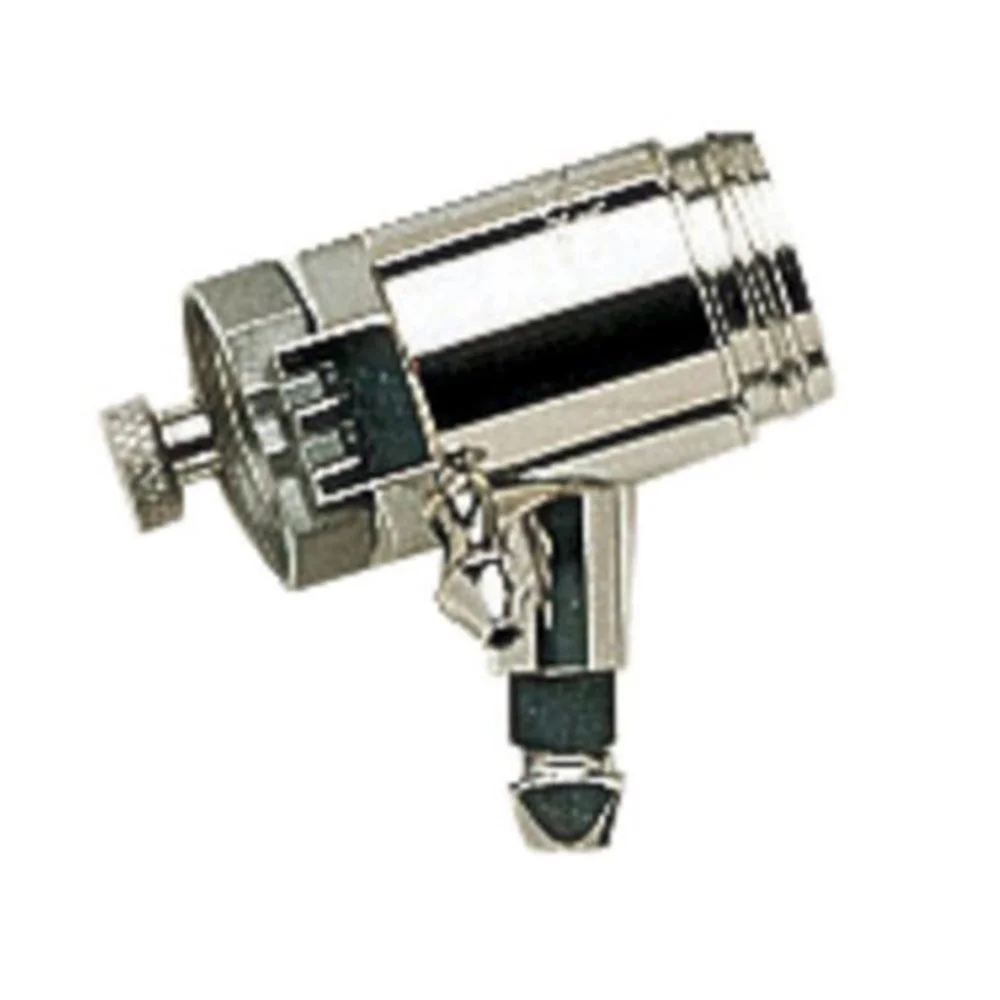
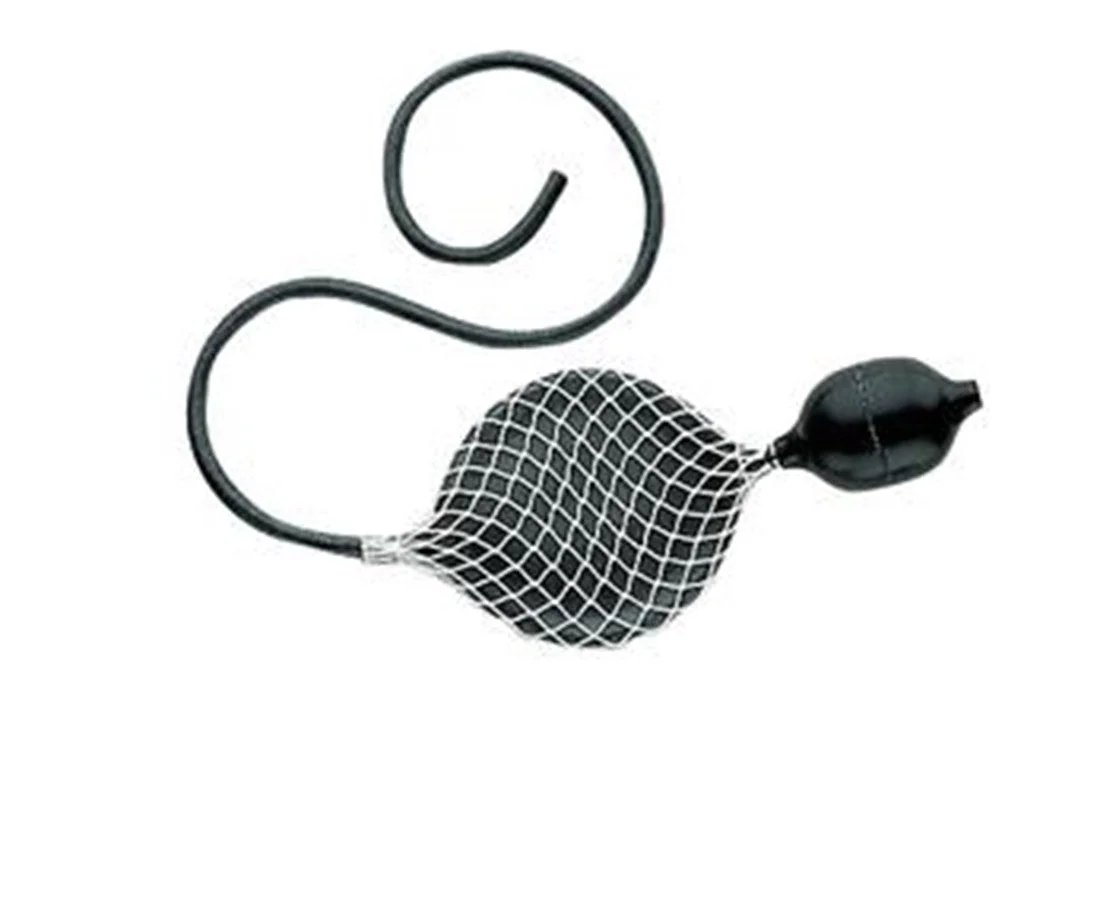
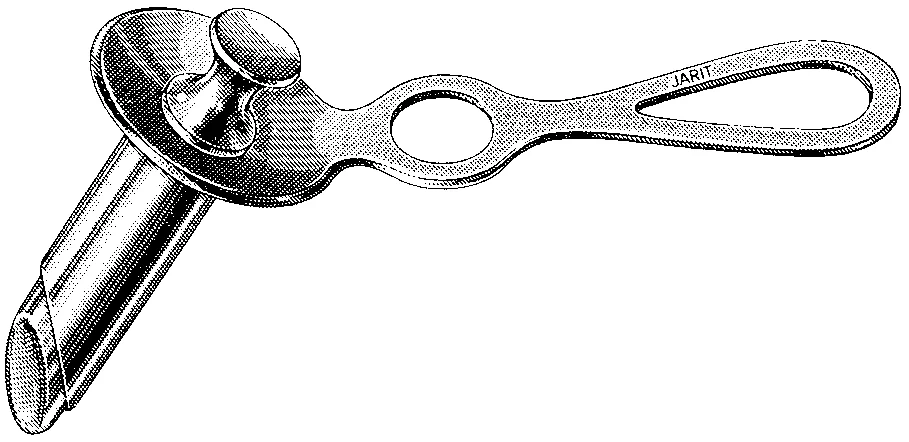
The anastomosis is tested from below, either with a rigid sigmoidoscope from the sigmoidoscopy tray or with a bulb syringe, while the surgeon watches the staple line from above. Some surgeons add a loop ileostomy to protect a low anastomosis.
Next up: undocking and closure.
Final Check and Closure
The extraction incision is closed and the abdomen is refilled with gas so the surgeon can look at the anastomosis and check for bleeding; then the pneumoperitoneum is released. The instruments come out, the cart is undocked, and the port sites are closed.
Tips and Tricks
Confirm before the case whether the lesion has been tattooed at colonoscopy, how low the resection will go and whether a stoma is possible, because that decides the lithotomy setup, the circular stapler and the sigmoidoscopy tray. If the operation becomes a Hartmann procedure, the rectal stump is closed and the colon is brought out as an end colostomy instead. Excessive bleeding means a prompt conversion to open, so the major and long trays, an open setup and the instrument release kit must be in the room.
Add your table
Every surgeon runs it a little differently. Submissions stay private, are reviewed by our team, and accepted contributions earn a credit in the contributor list.